

Disclosure: This post may contain affiliate links, which means I may earn a small commission at no extra cost to you. I only share products I genuinely love and recommend. This content is also for educational purposes only and is not intended to diagnose, treat, cure, or prevent any illness or disease. Please consult your healthcare provider with any medical concerns or medication questions.
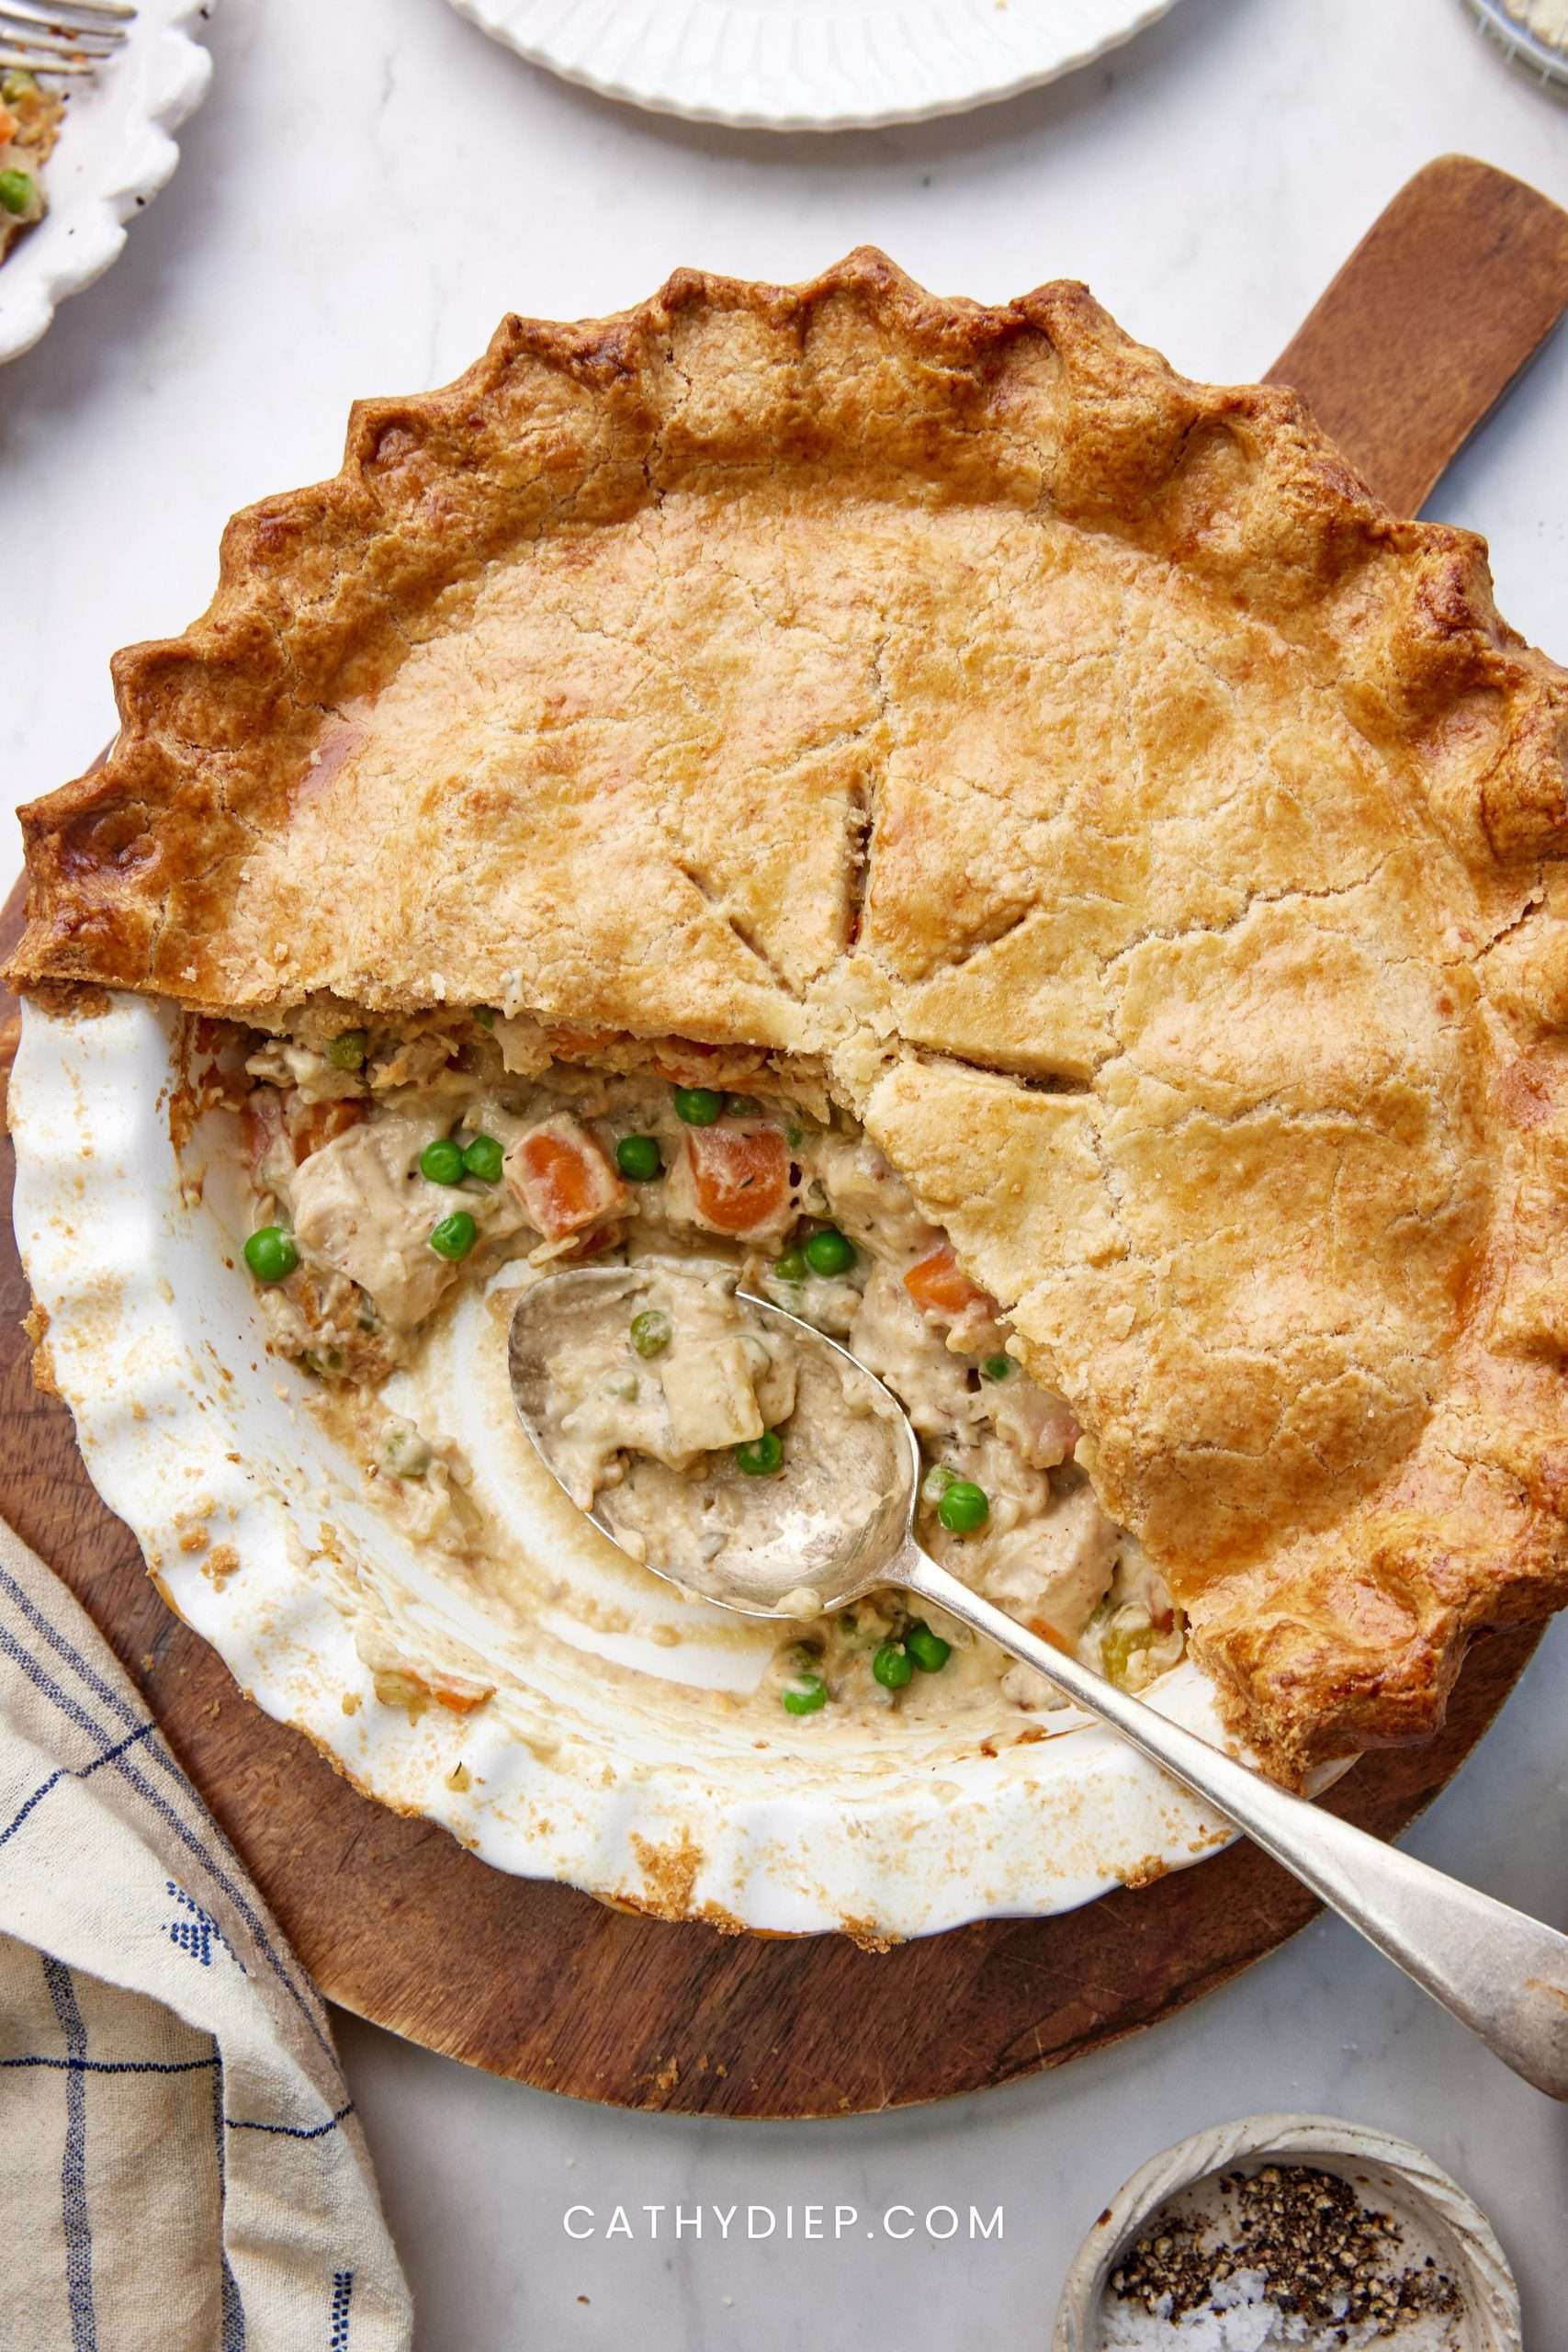
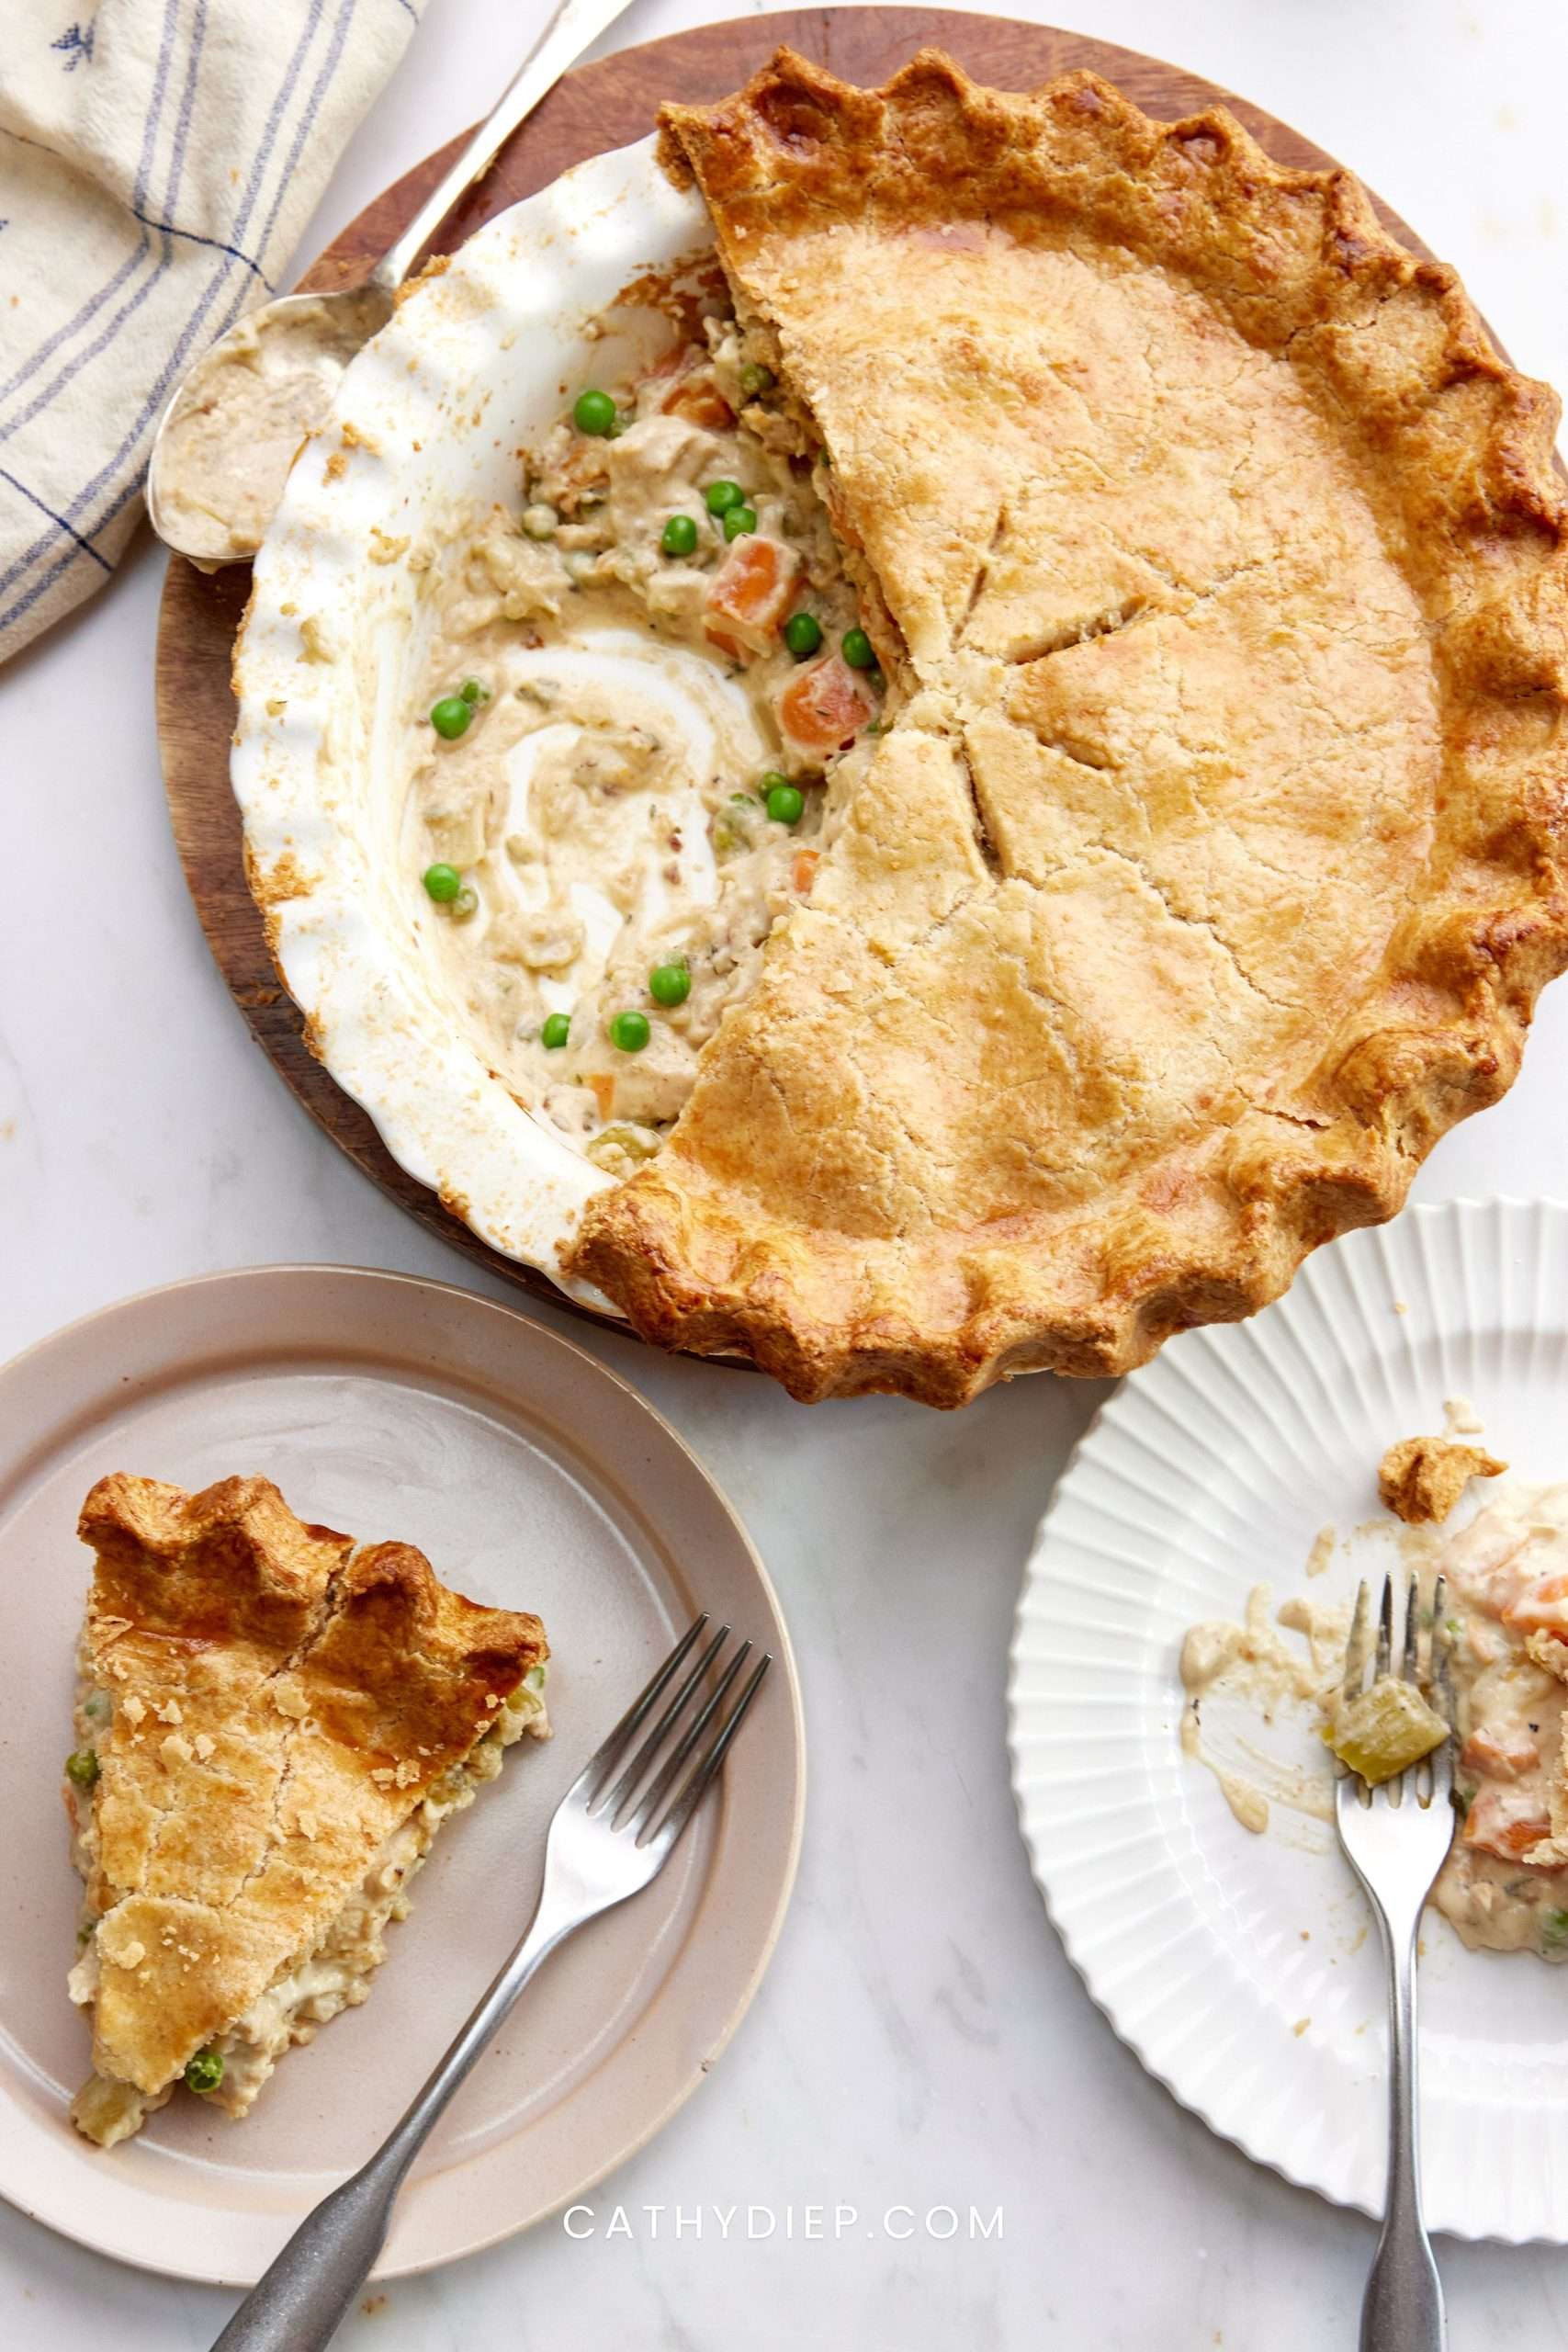
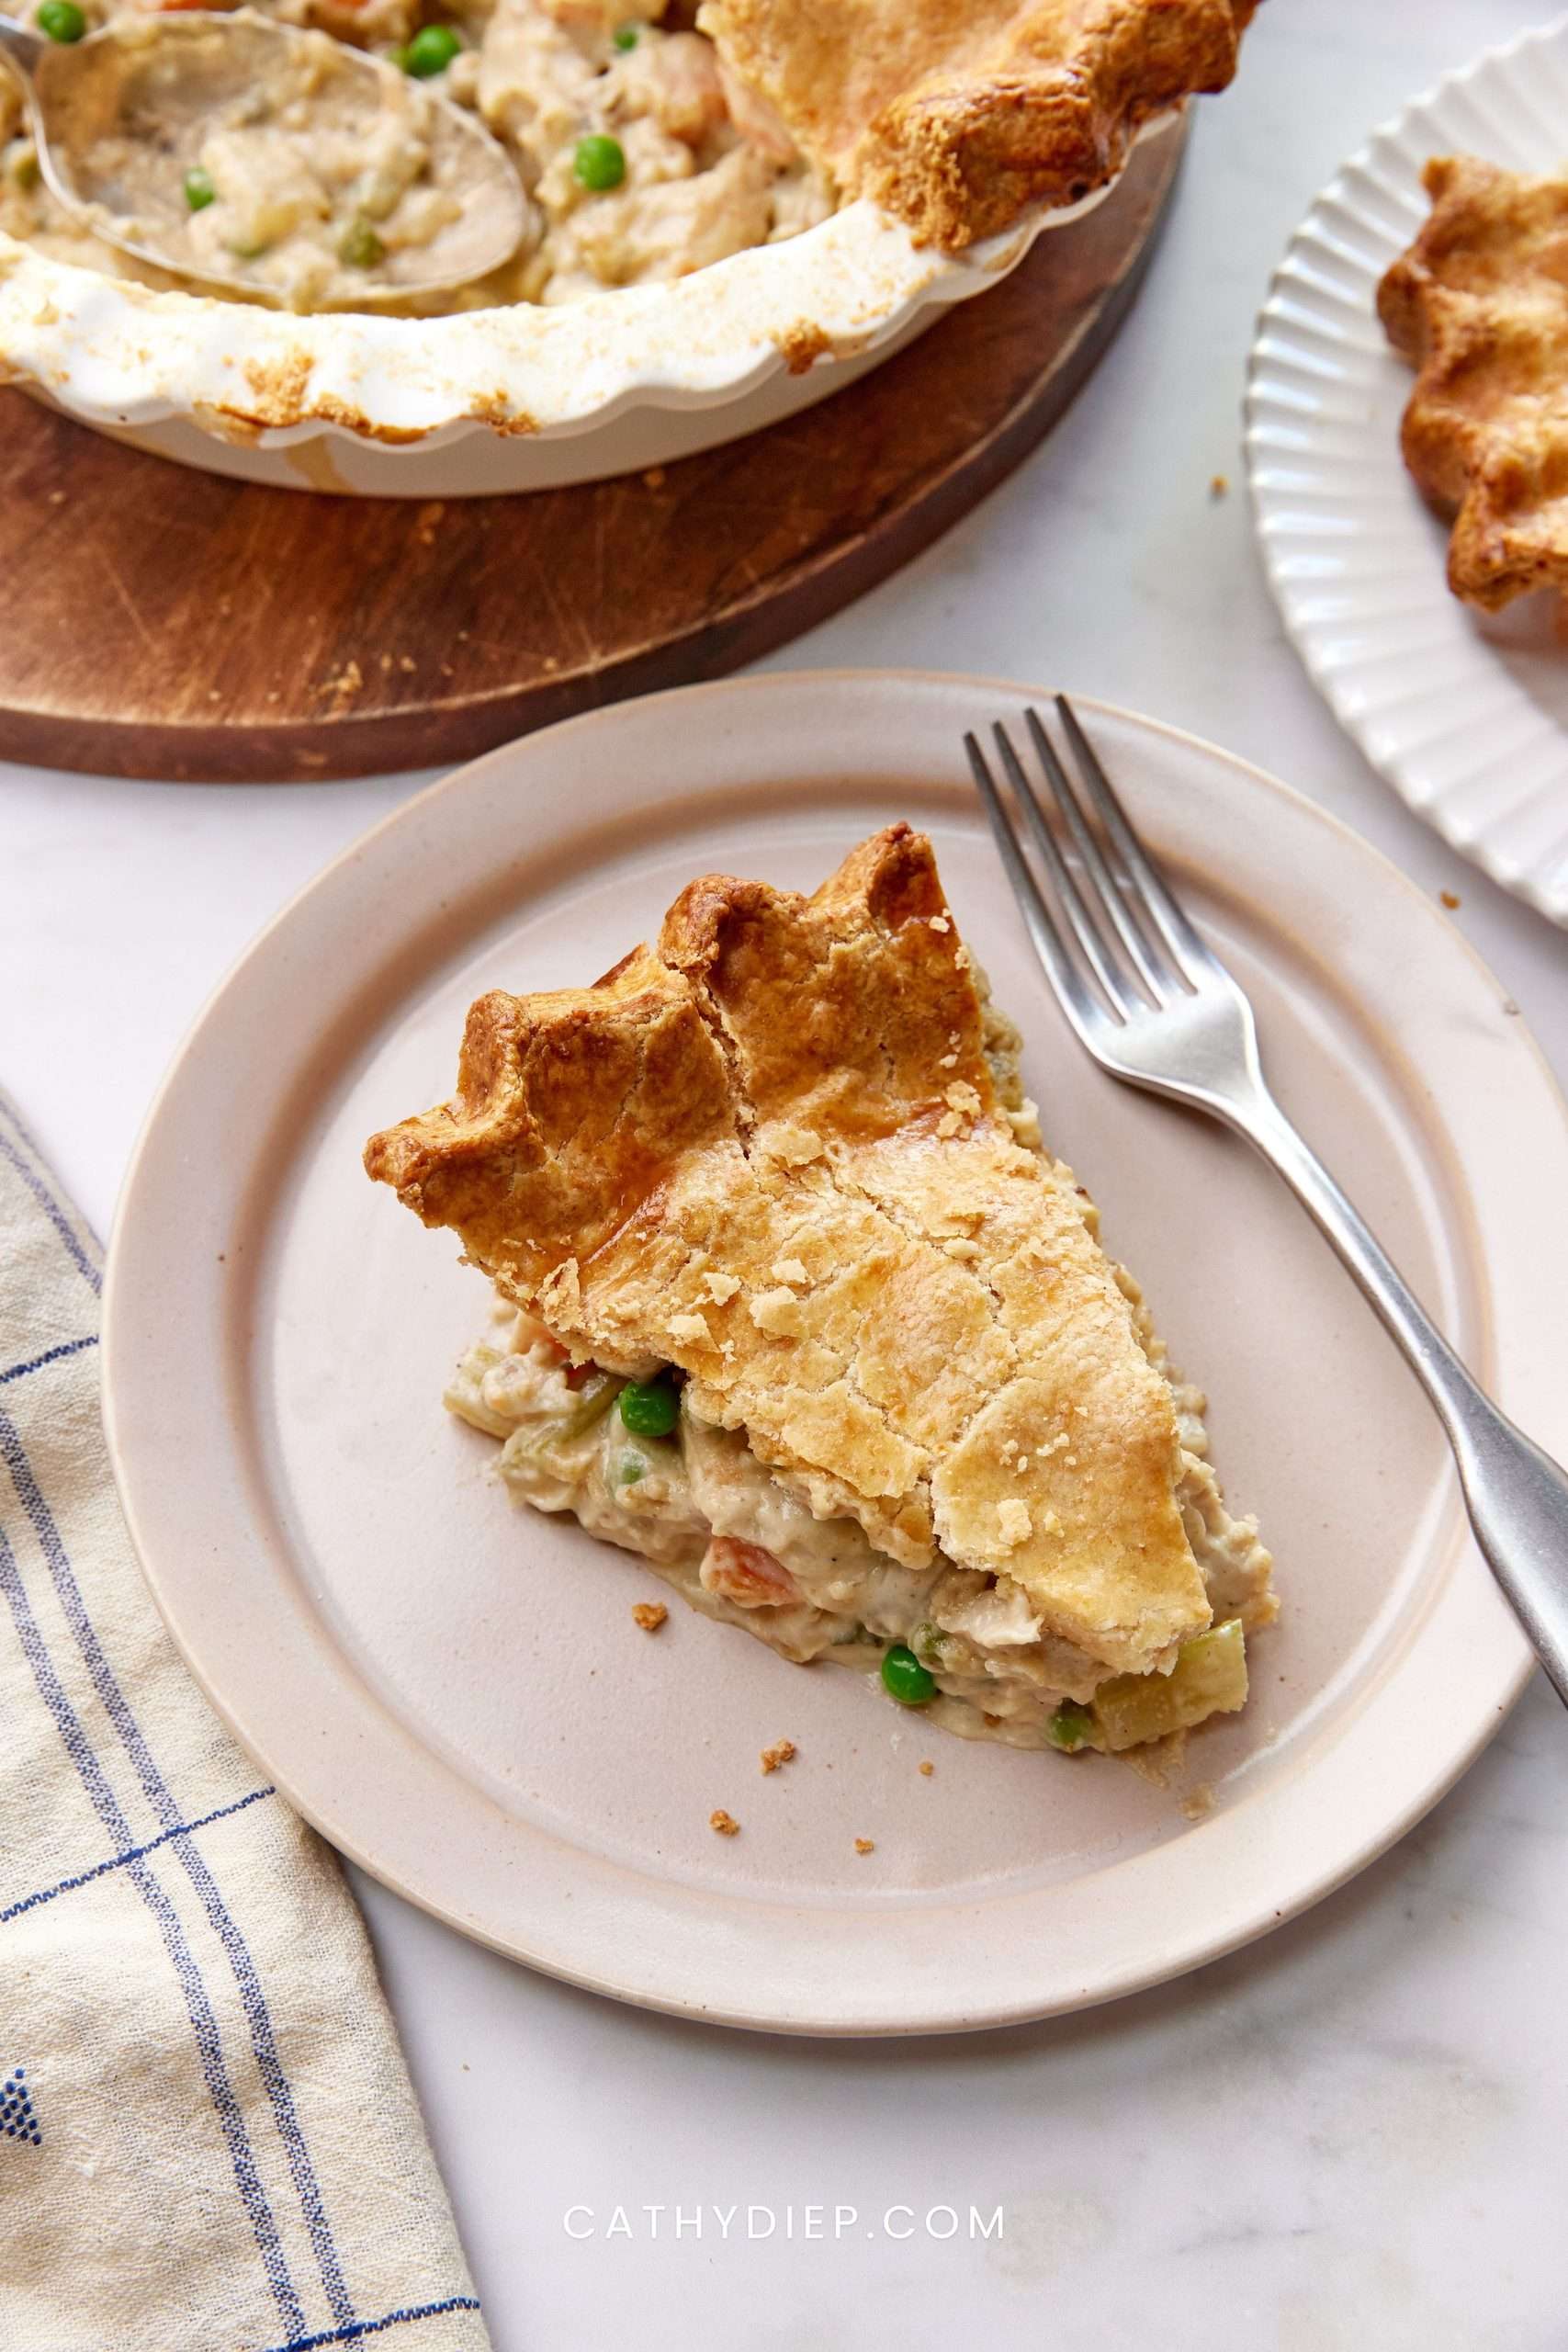
There’s something so comforting about a homemade chicken pot pie, especially once the weather starts to cool down. I wanted this gluten free chicken pot pie to have everything I love about the classic, with a creamy chicken and vegetable filling and a flaky, golden crust that actually holds together beautifully.
I also kept the process as practical as possible. The filling comes together in one pot, you only need a top crust, and both the dough and filling can be made ahead of time. That makes this gluten-free chicken pot pie recipe much easier to prep when you want a cozy dinner without spending the entire evening in the kitchen.
I love how the tender chicken, carrots, peas, fresh herbs, and crisp pastry all come together in this homemade chicken pot pie. It feels special enough for a weekend dinner, but still manageable for a weeknight when you do a little prep ahead.
👉 Before we get started:
Be sure to access my free Ultimate Gut Health Starter Kit. It’s an evidence-based guide to help you build a strong foundation for gut health, support digestion, and nourish your microbiome naturally.
Watch How to Make Gluten-Free Chicken Pot Pie
If you want to see exactly how this comes together, I filmed the full step-by-step below.
👉 Turn on captions for instructions
🔔 If you enjoyed this, I’d love to have you over on YouTube, too! I share new recipes there every week.
Why You’ll Love This Recipe
- Flaky gluten-free crust: This gluten free chicken pot pie has a crisp, golden top crust that stays tender and flaky instead of dry or crumbly.
- Creamy, cozy filling: Tender chicken, carrots, peas, sage, and thyme simmer in a rich, savory sauce for classic pot pie flavor in every bite.
- Simpler assembly: Using just a top crust means less rolling, shaping, and transferring than a traditional double-crust pie.
- Easy to make ahead: Both the dough and filling can be prepared in advance, so this gluten-free chicken pot pie recipe is easy to split up over a day or two.
- Less cleanup: The filling comes together in one pot before being transferred straight to the pie dish, keeping dishes to a minimum.
Gluten Free Chicken Pot Pie Ingredients
This gluten free chicken pot pie uses a simple mix of gluten-free flours, tender chicken, vegetables, and fresh herbs to create that classic cozy flavor without gluten or dairy.
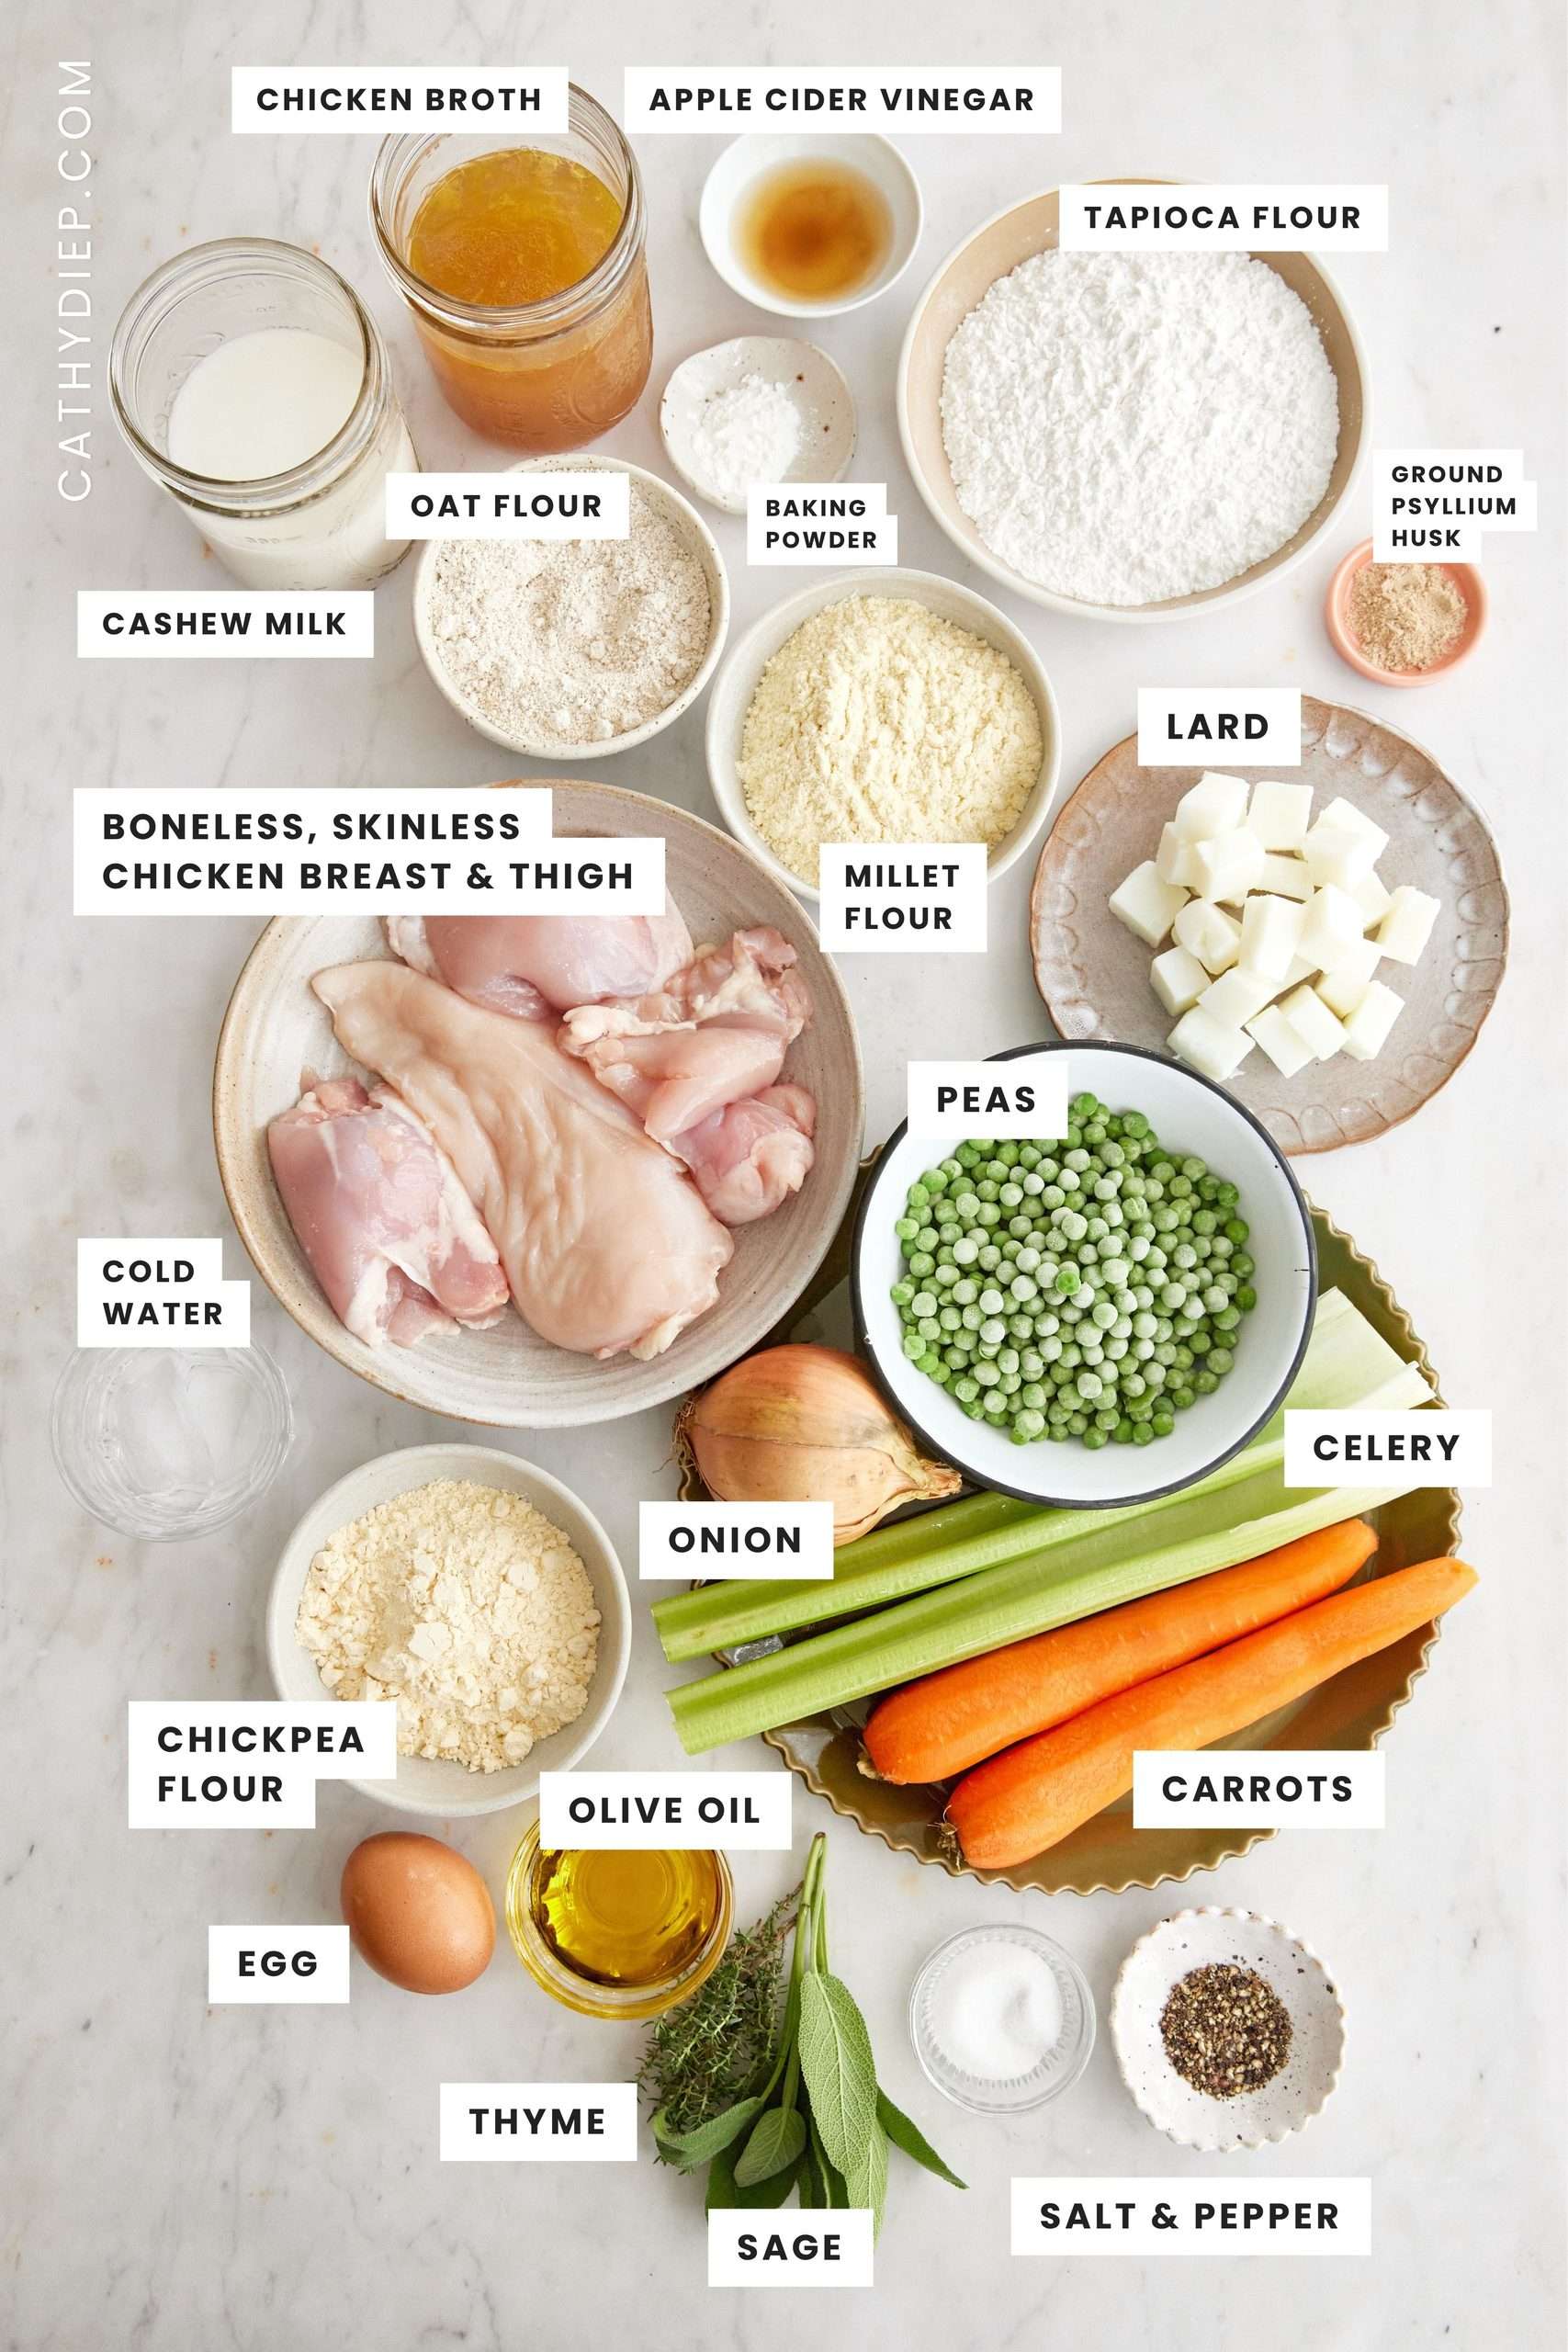
For the Gluten-Free Pie Crust
- Tapioca starch: Helps give the crust a lighter texture and a little flexibility so it is easier to roll and shape.
- Oat flour: Adds a soft, tender texture. Be sure to use certified gluten-free oat flour if needed.
- Millet flour: Gives the crust structure and a mild, slightly nutty flavor.
- Ground psyllium husk: Helps bind the gluten-free dough and makes it easier to work with.
- Baking powder: Adds a little lift and helps keep the pastry from feeling too dense.
- Lard: Keeps the crust flaky and crisp. Make sure it is very cold before mixing it into the flour. Cold solid coconut oil can work in a pinch, although the flavor and texture will be slightly different.
- Apple cider vinegar: Helps create a tender crust and balances the dough.
- Egg: The white goes into the dough for structure, while the yolk is brushed over the top for a deeply golden finish.
For the Chicken Pot Pie Filling
- Chicken breast and thighs: I like using a combination of both. Breast keeps the filling lean, while thighs add extra tenderness and flavor. You can use all breast or all thighs if you prefer.
- Carrots, celery, and onion: The classic savory base that adds sweetness, texture, and plenty of flavor.
- Chickpea flour: Thickens the filling while keeping the recipe gluten-free. It also adds a subtle nutty flavor without needing a traditional flour-based roux.
- Chicken broth: Forms the savory base of the sauce. I recommend using a low-sodium broth so you can control the seasoning.
- Unsweetened cashew milk: Makes the filling creamy without dairy. Unsweetened almond milk is another good option, but avoid flavored or sweetened varieties.
- Fresh sage and thyme: Give this homemade chicken pot pie its classic cozy, savory flavor. Dried herbs work well too if that is what you have on hand.
- Frozen peas: Add sweetness and color, and there is no need to thaw them first.
For a little extra flavor, you can add a small amount of minced garlic, chopped parsley, or a pinch of rosemary to the filling. I like to keep the seasonings simple so the chicken, vegetables, and flaky crust still shine.
Find the complete recipe with measurements and instructions below. 👇
How to Make Gluten Free Chicken Pot Pie: Step by Step
These simple, step-by-step instructions walk you through making the crust, filling, and assembling the pie so everything comes together smoothly.
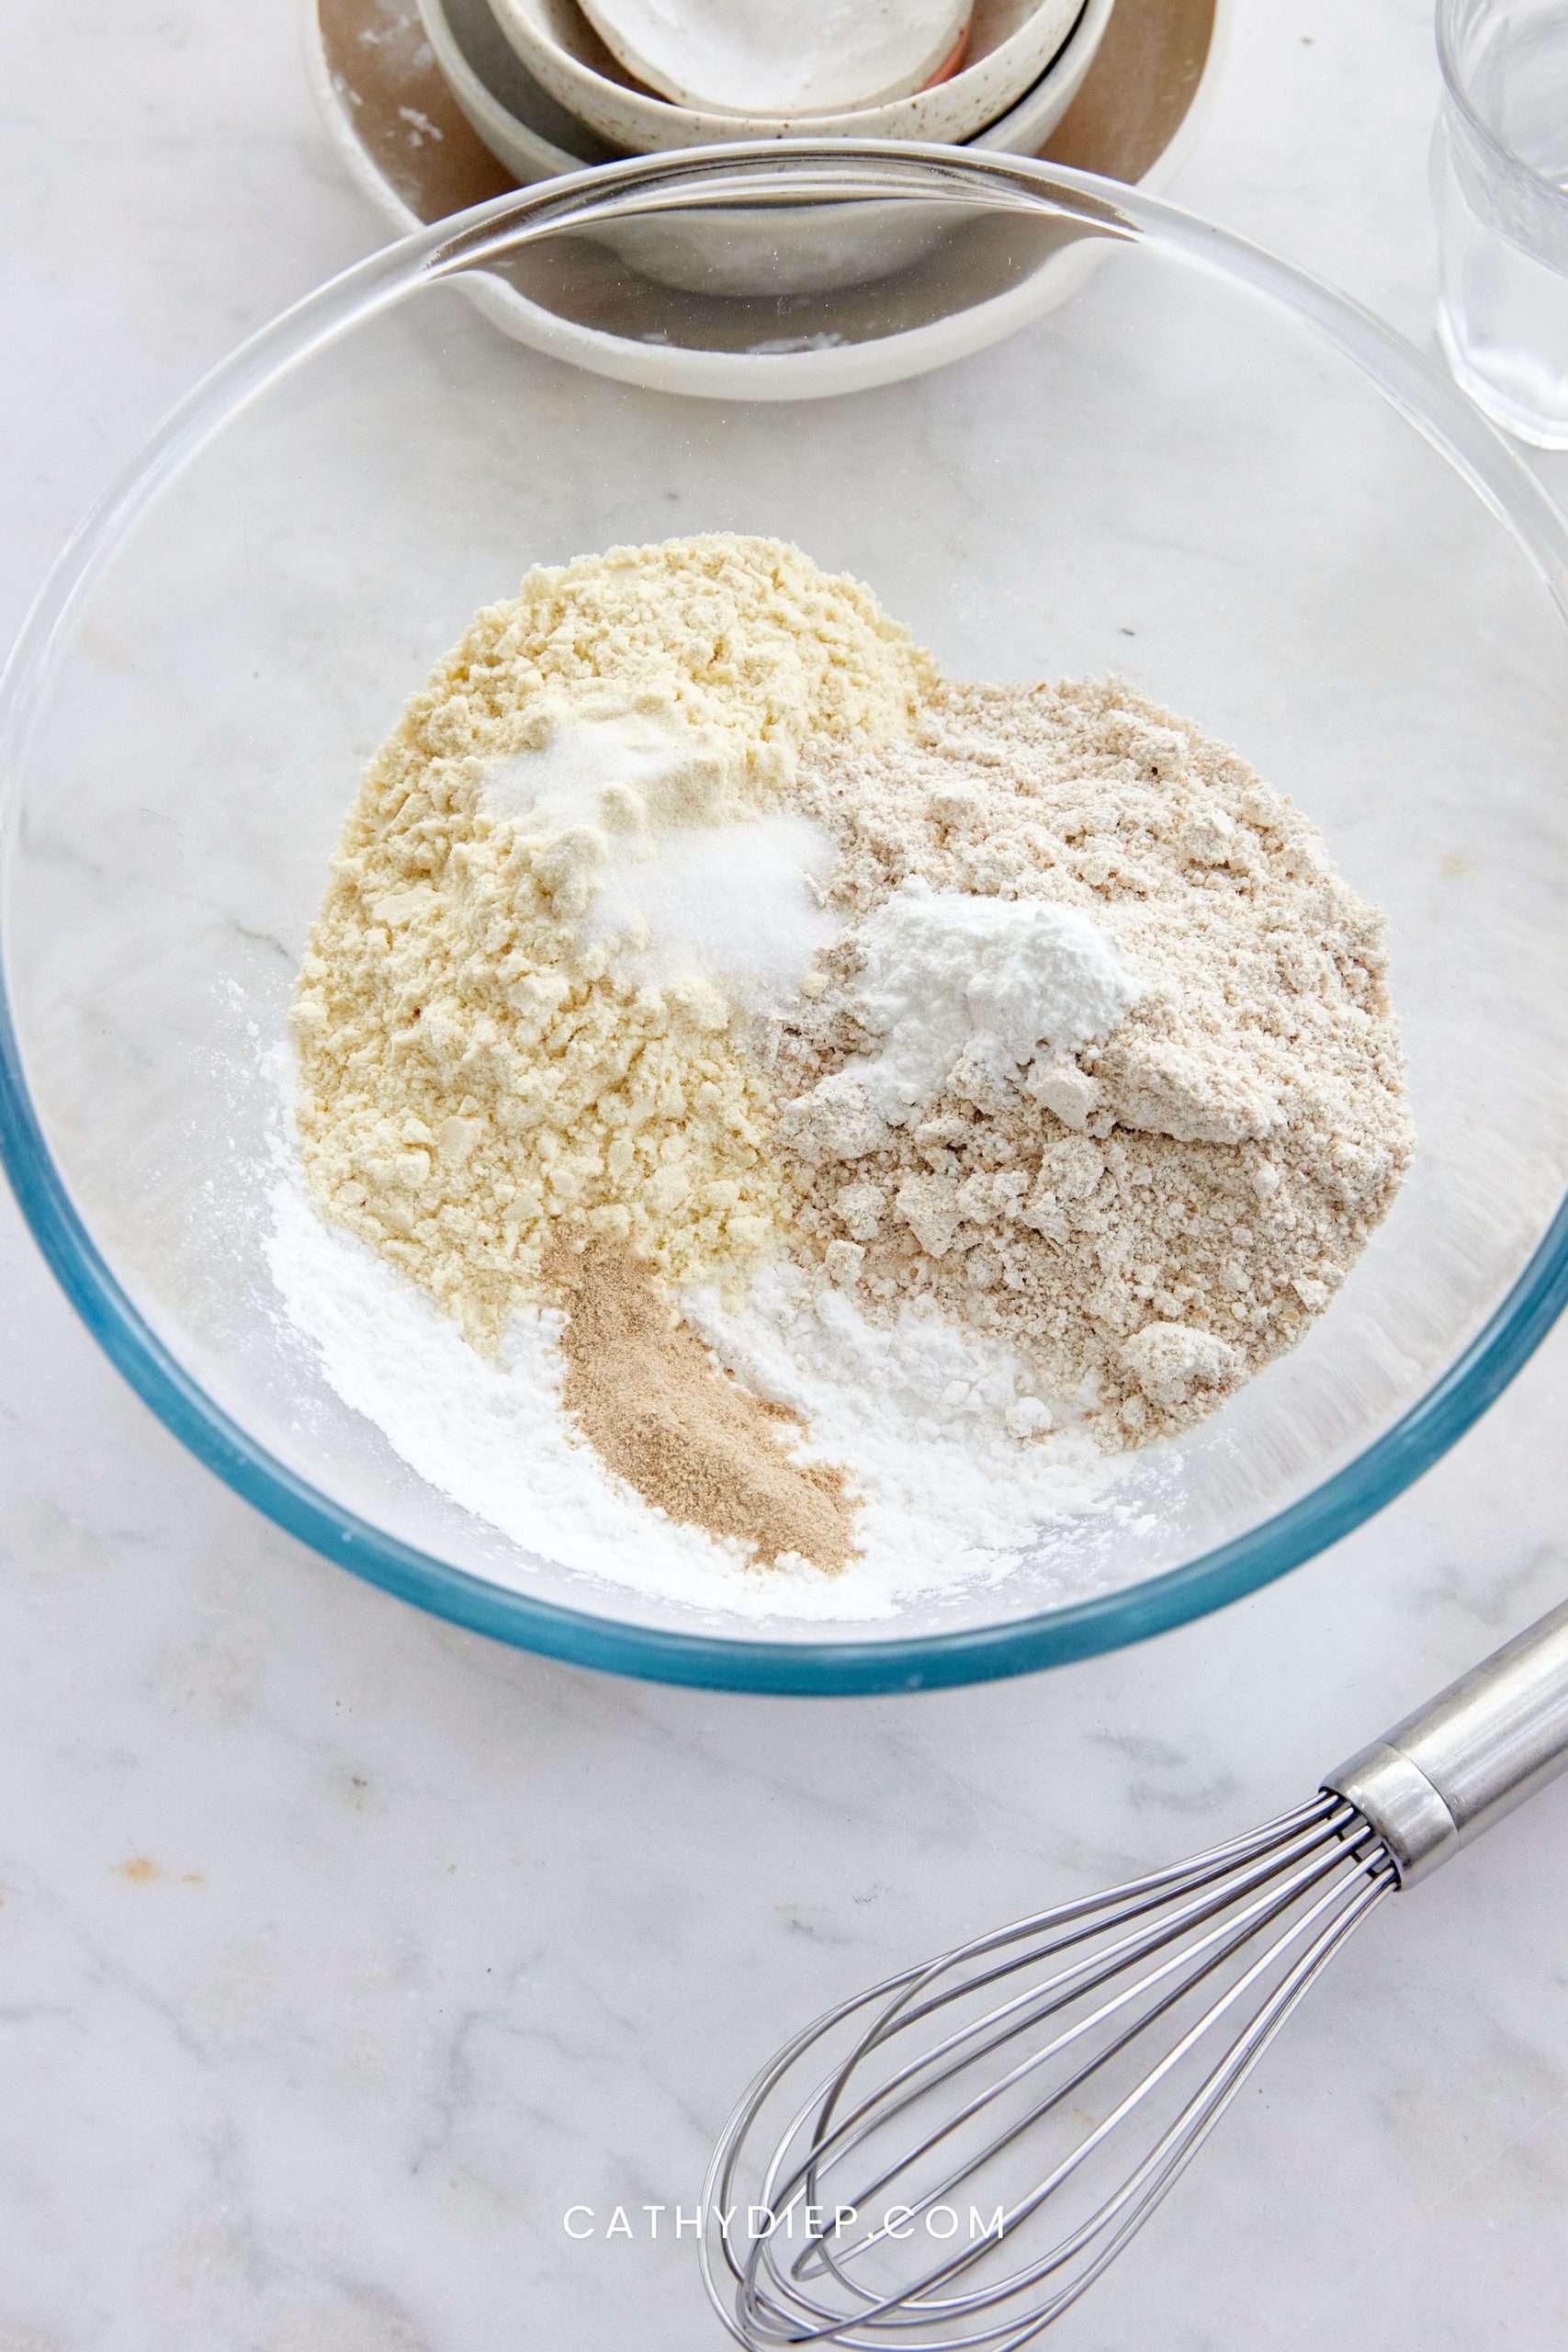
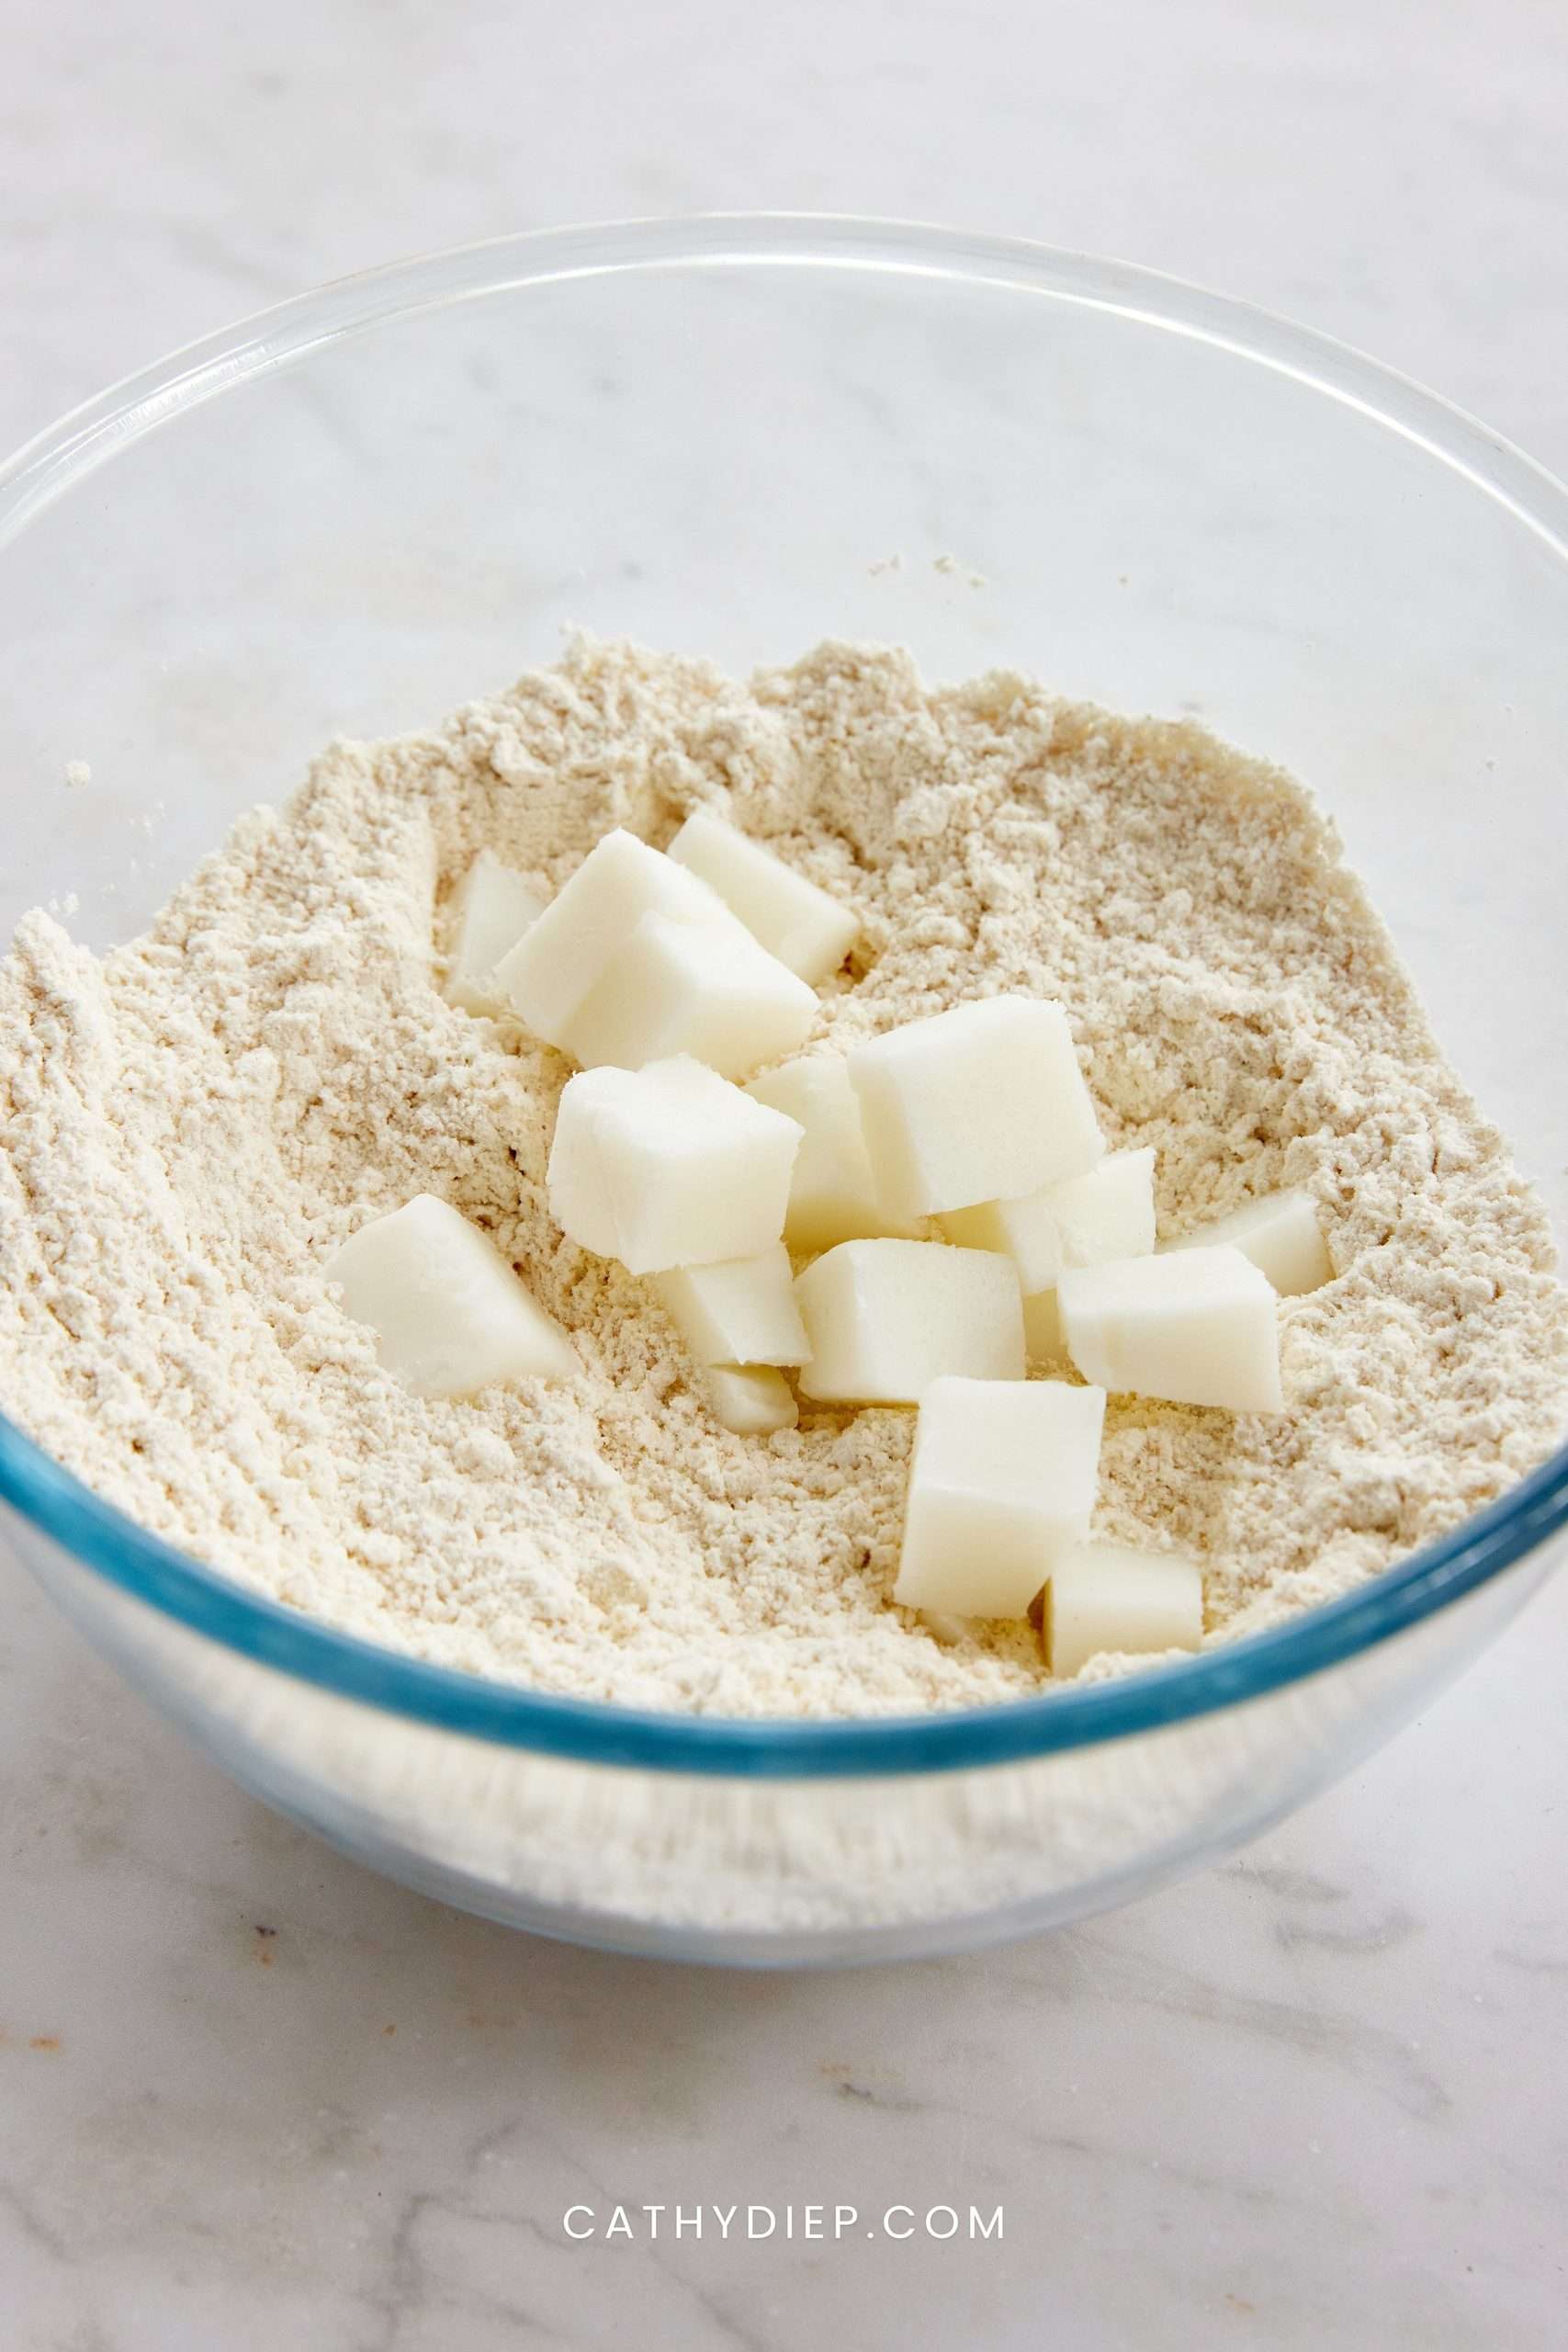
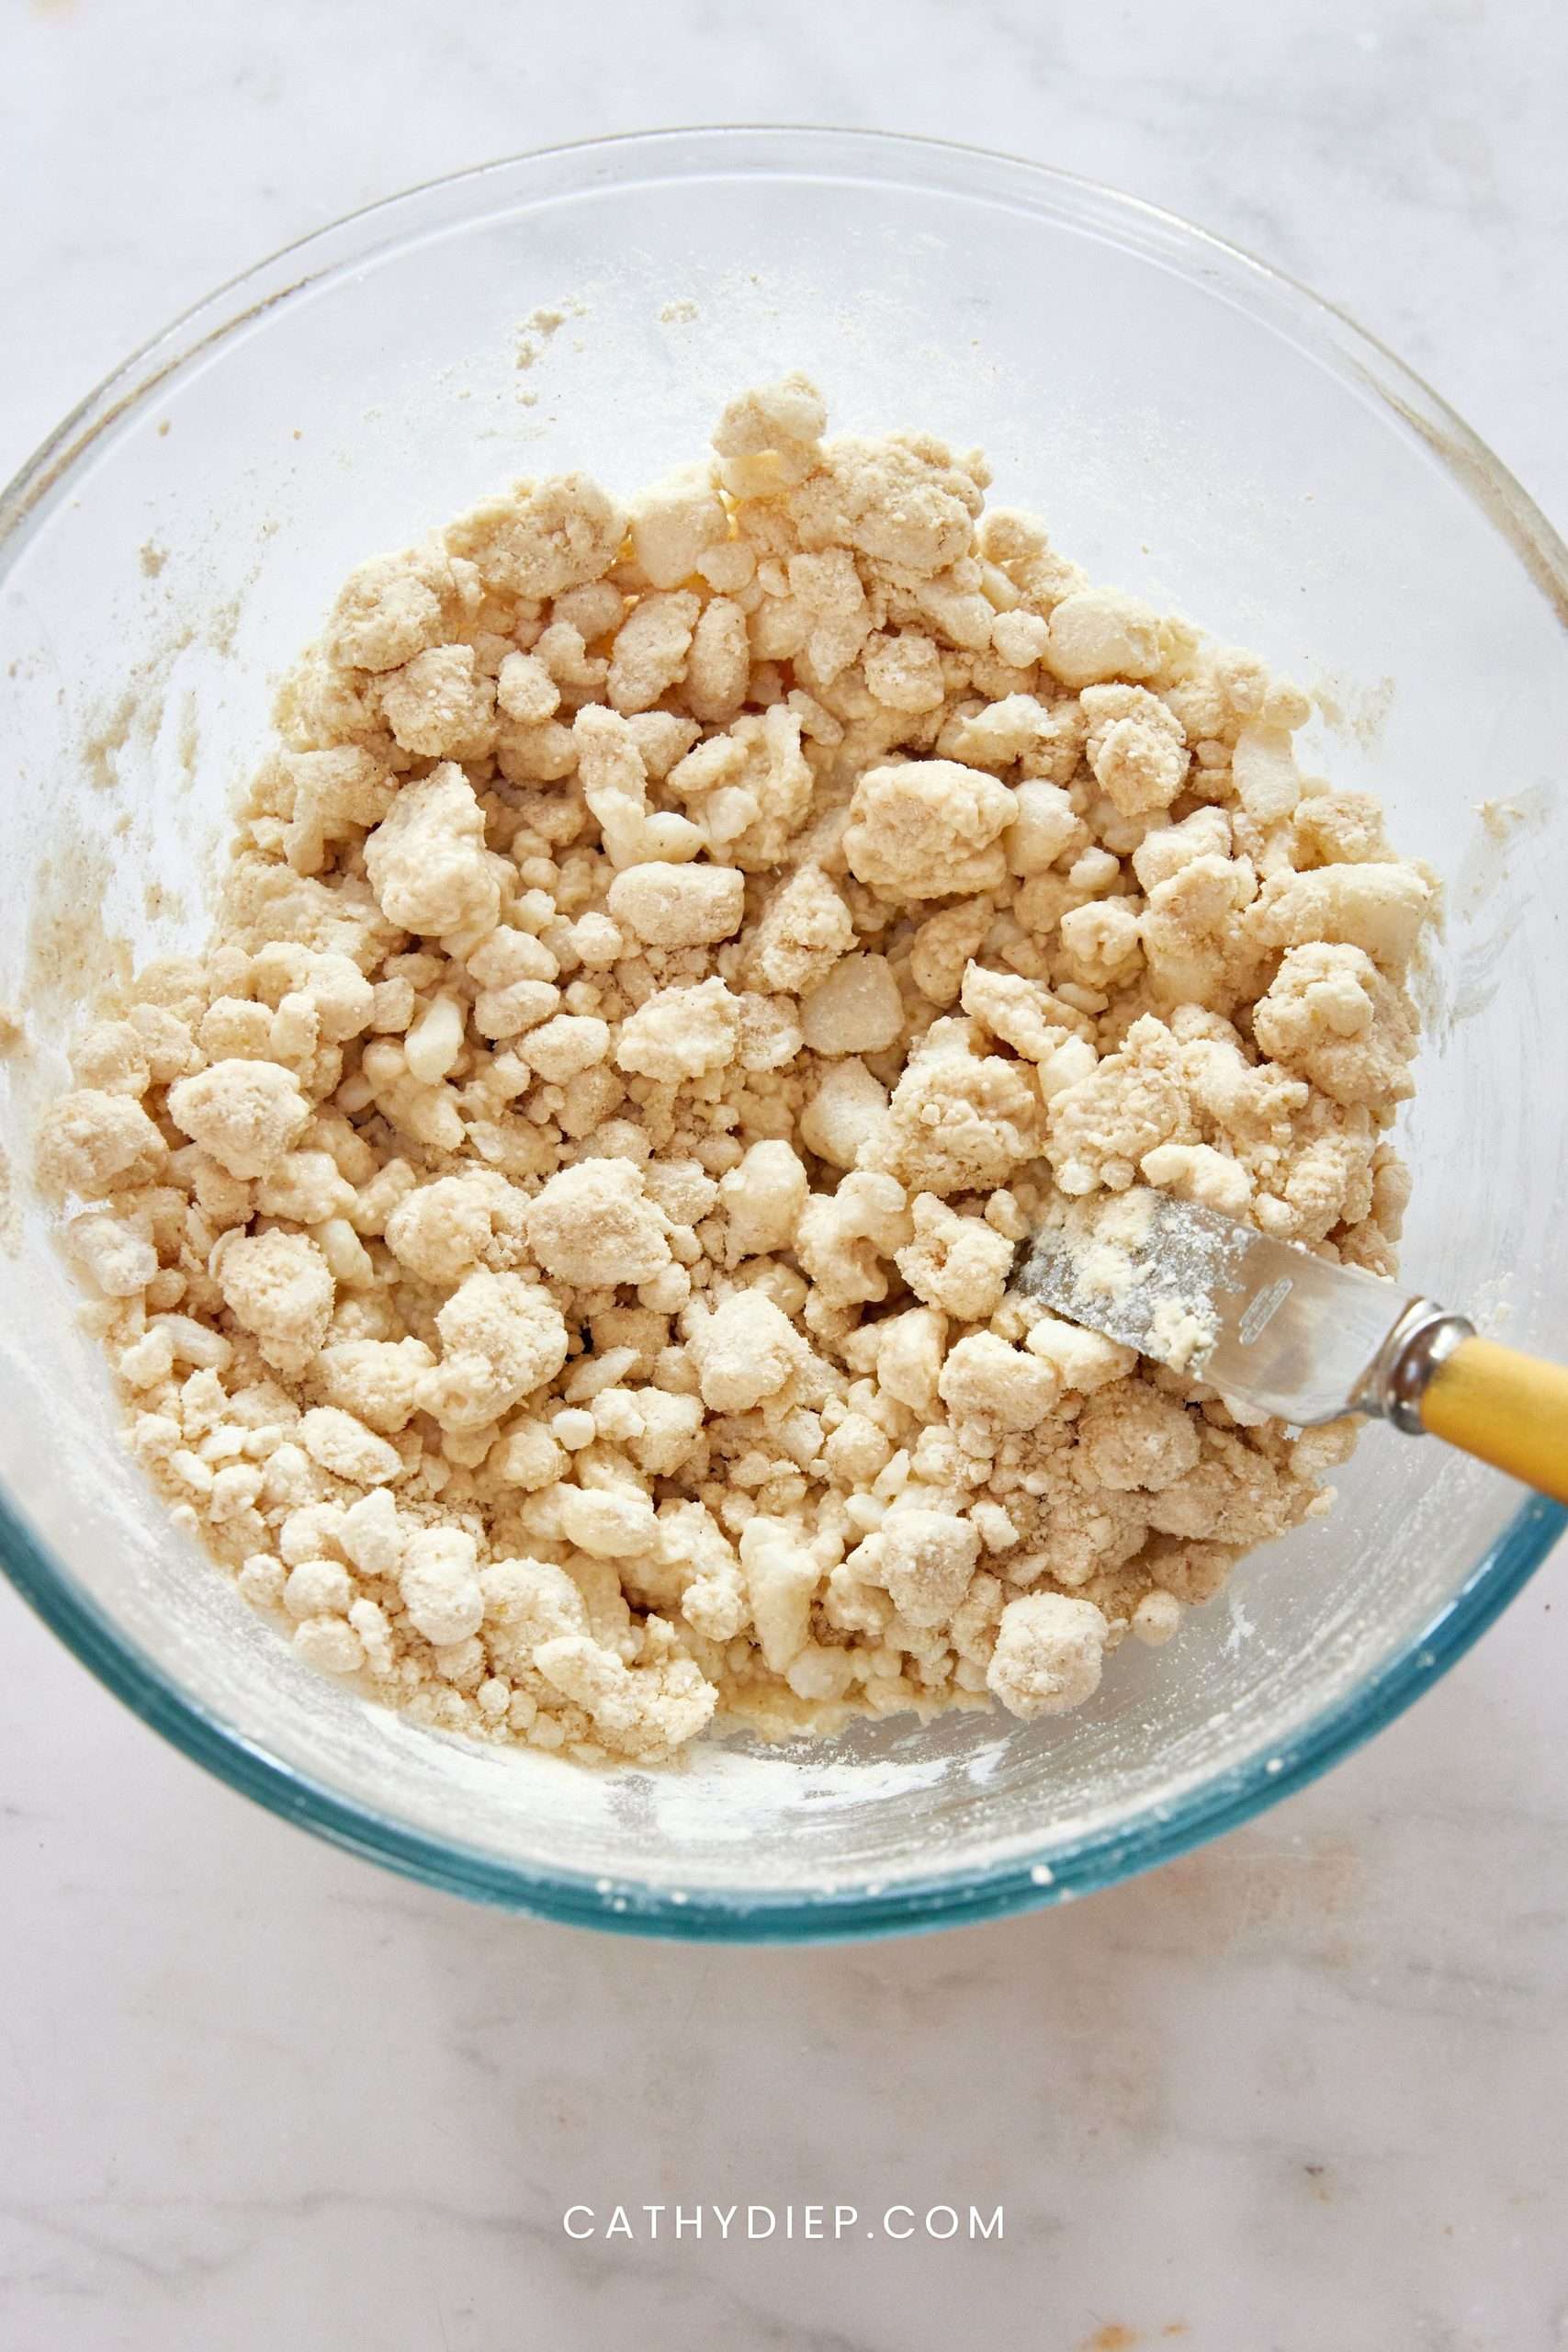
Step 1: Whisk together the oat flour, millet flour, tapioca starch, salt, psyllium husk, and baking powder. Cut in the cold lard until you have mostly pea-sized pieces.
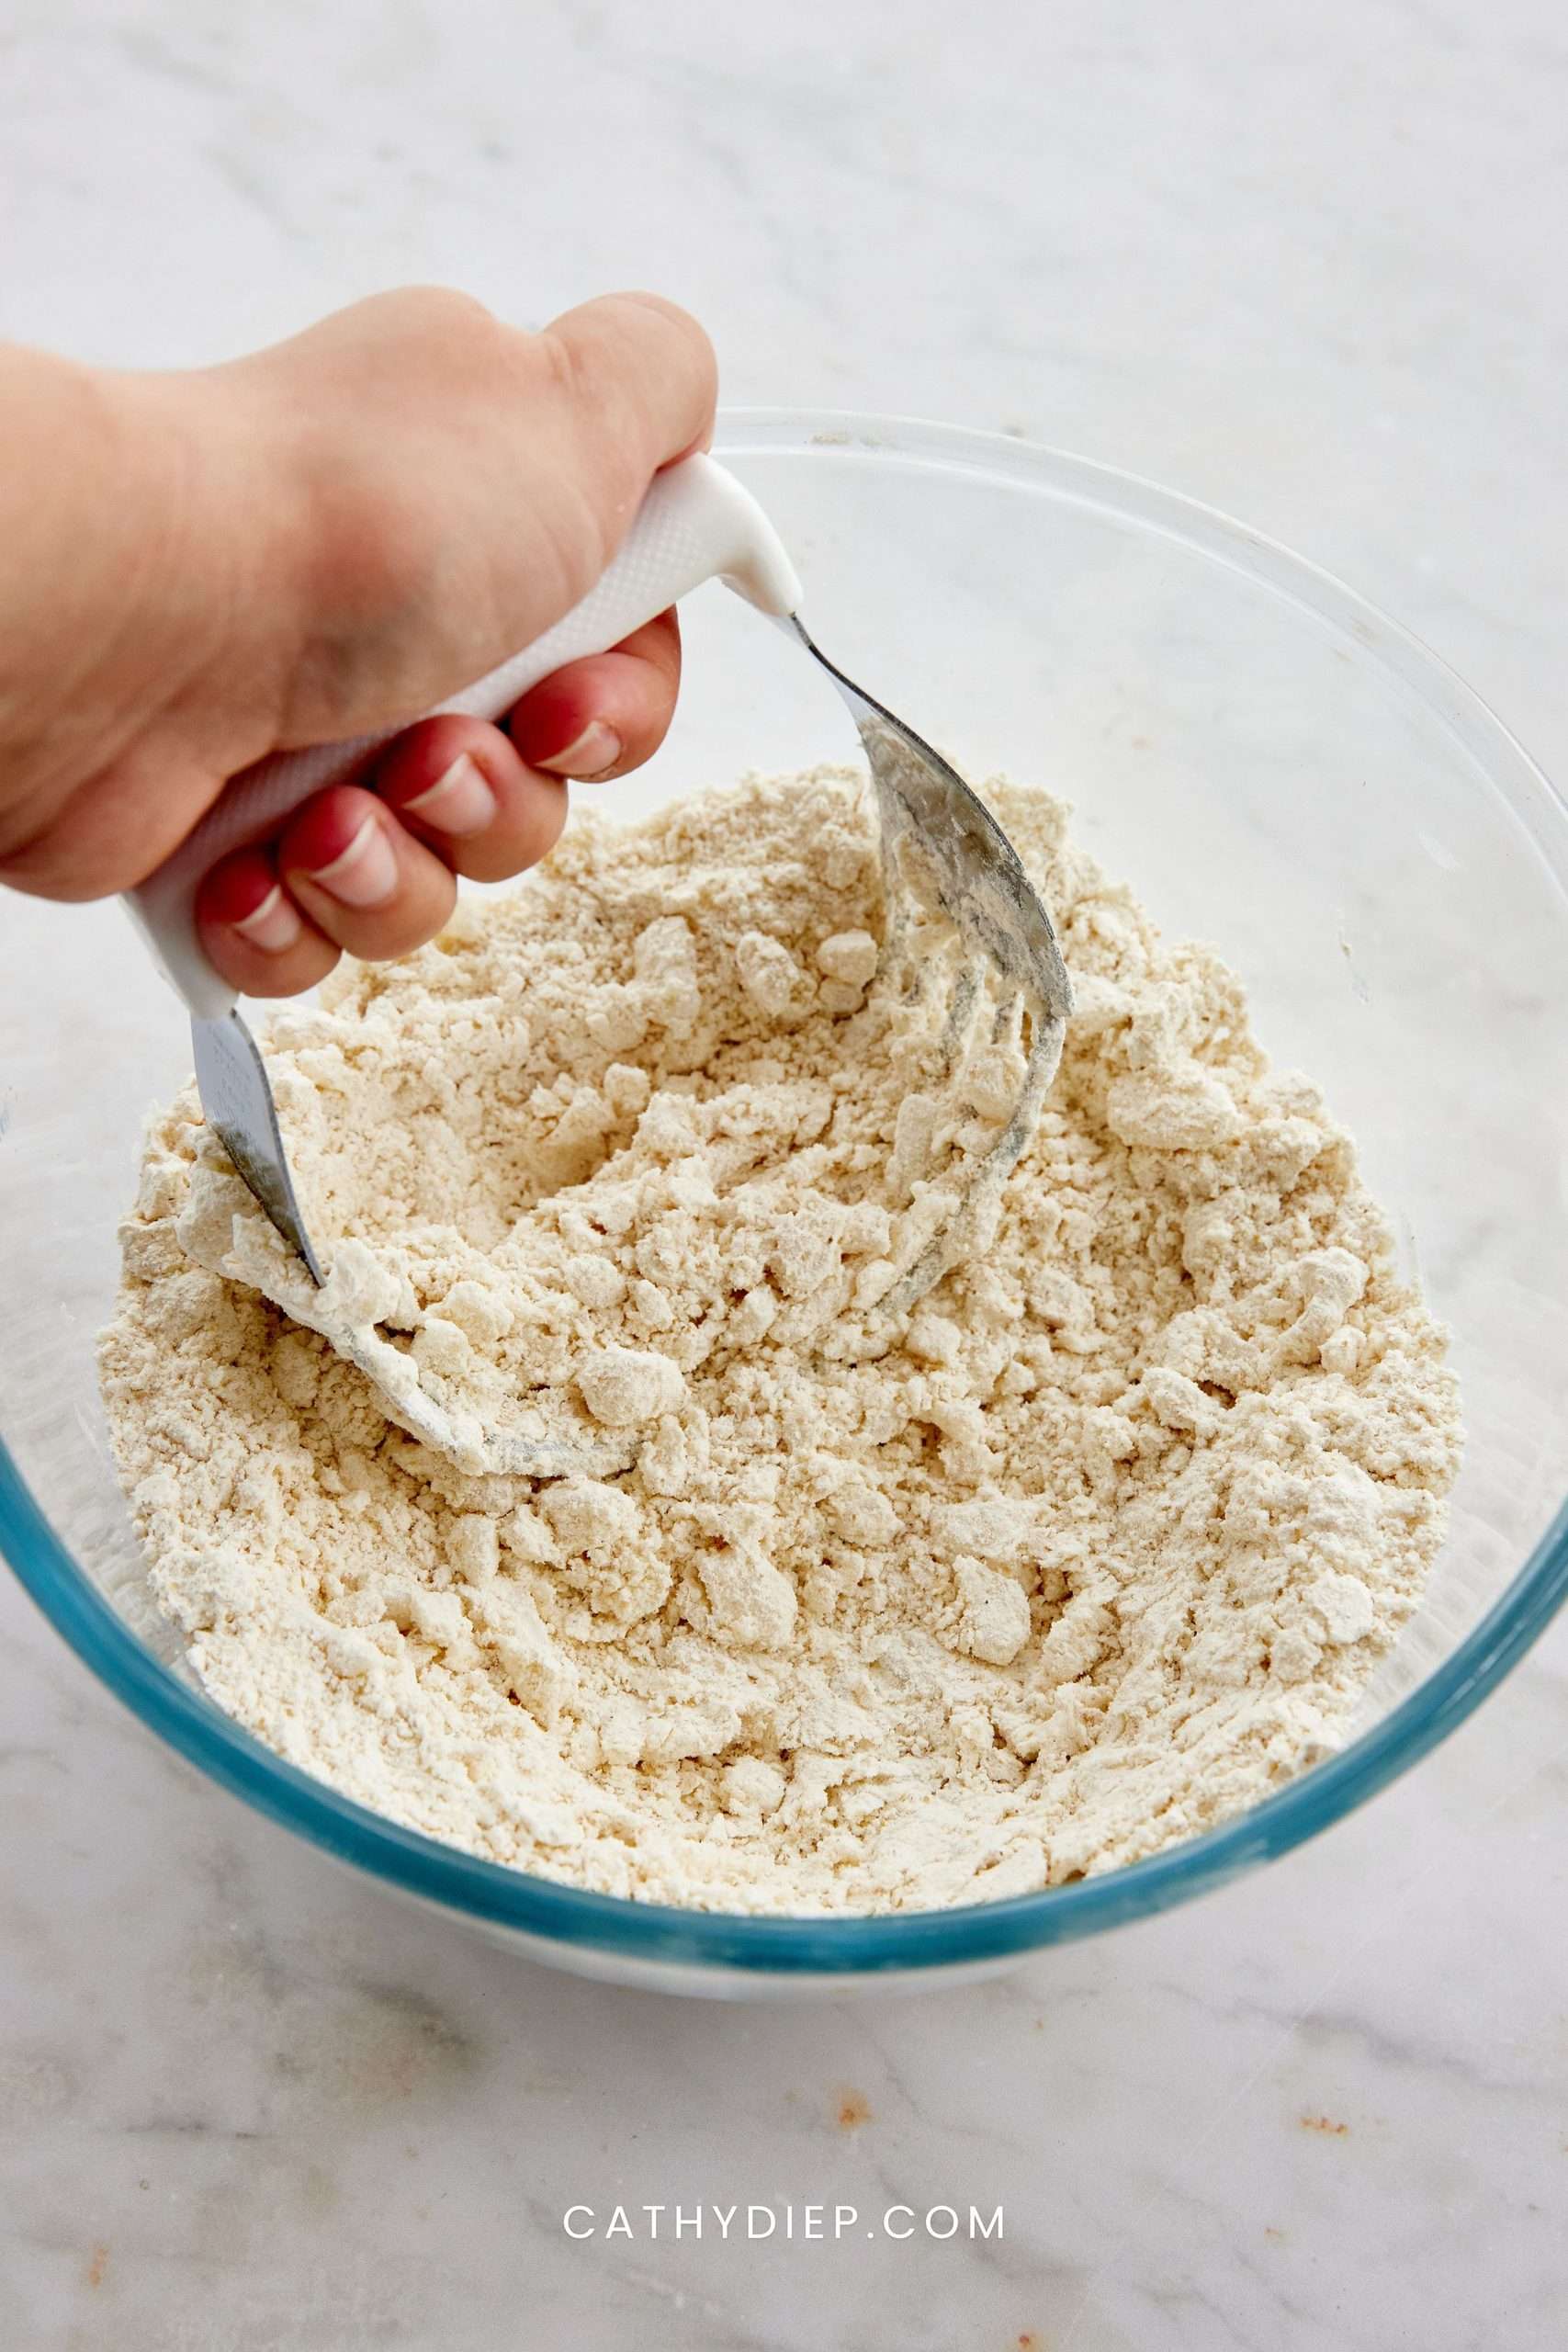
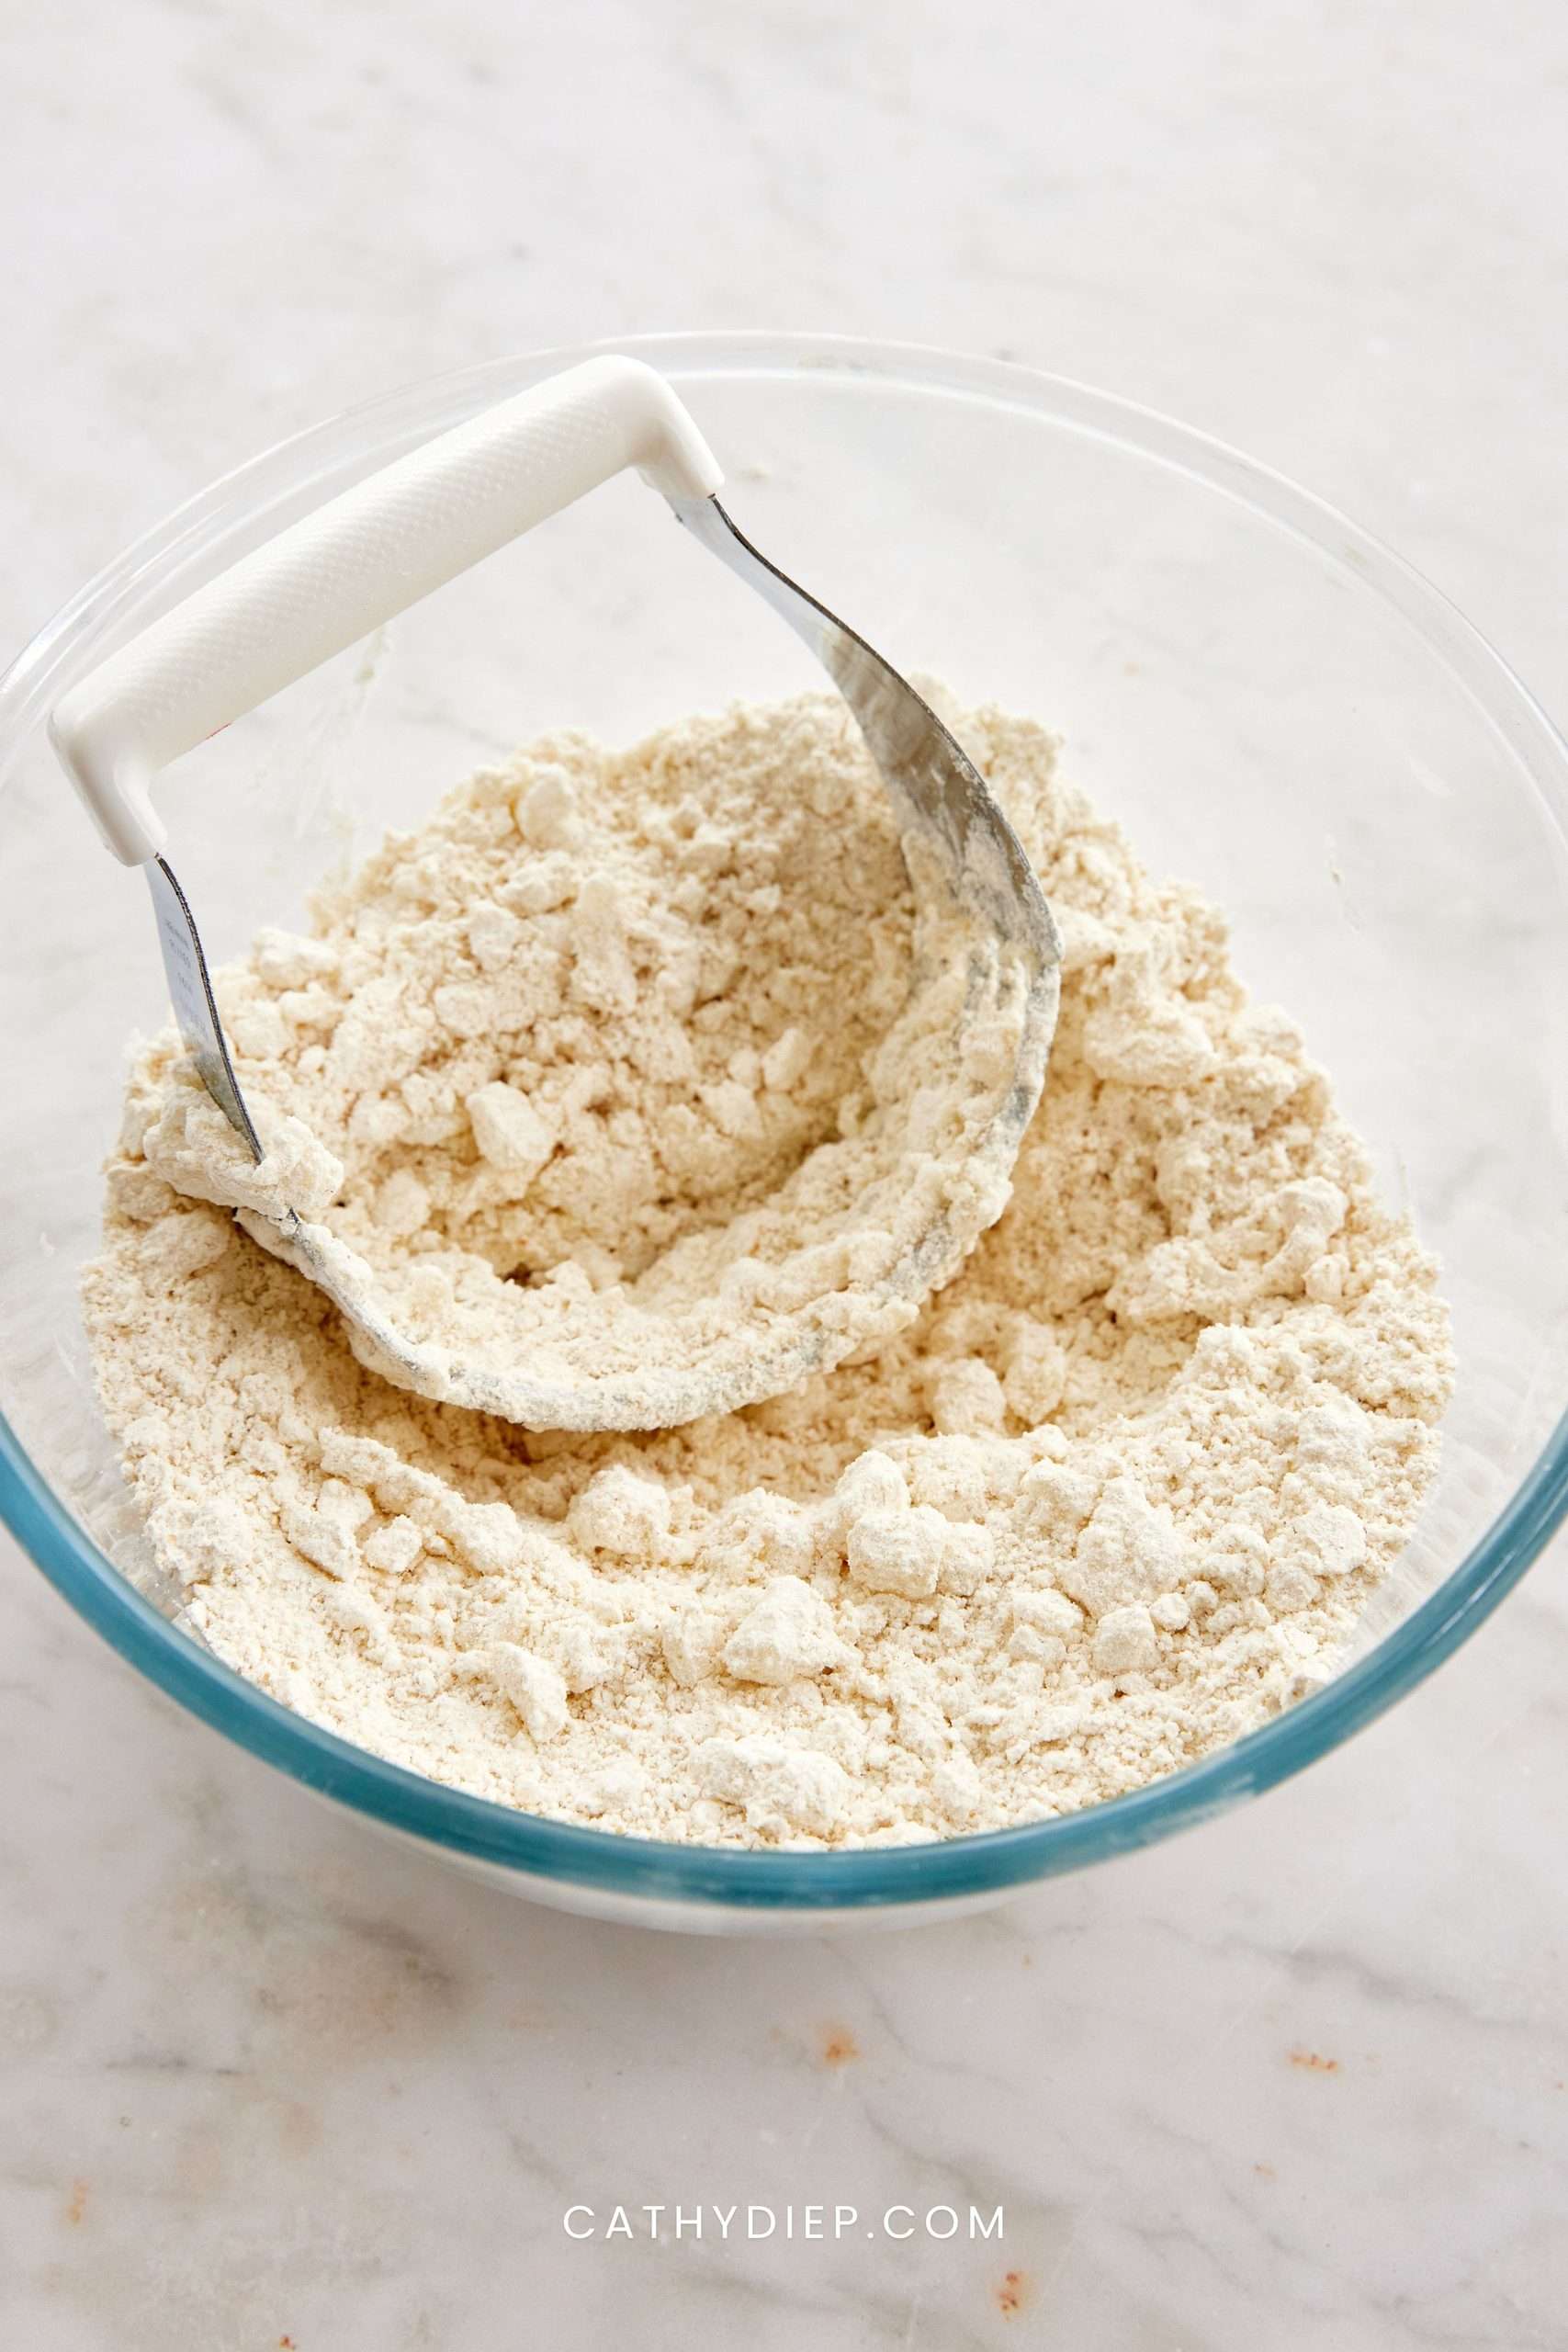
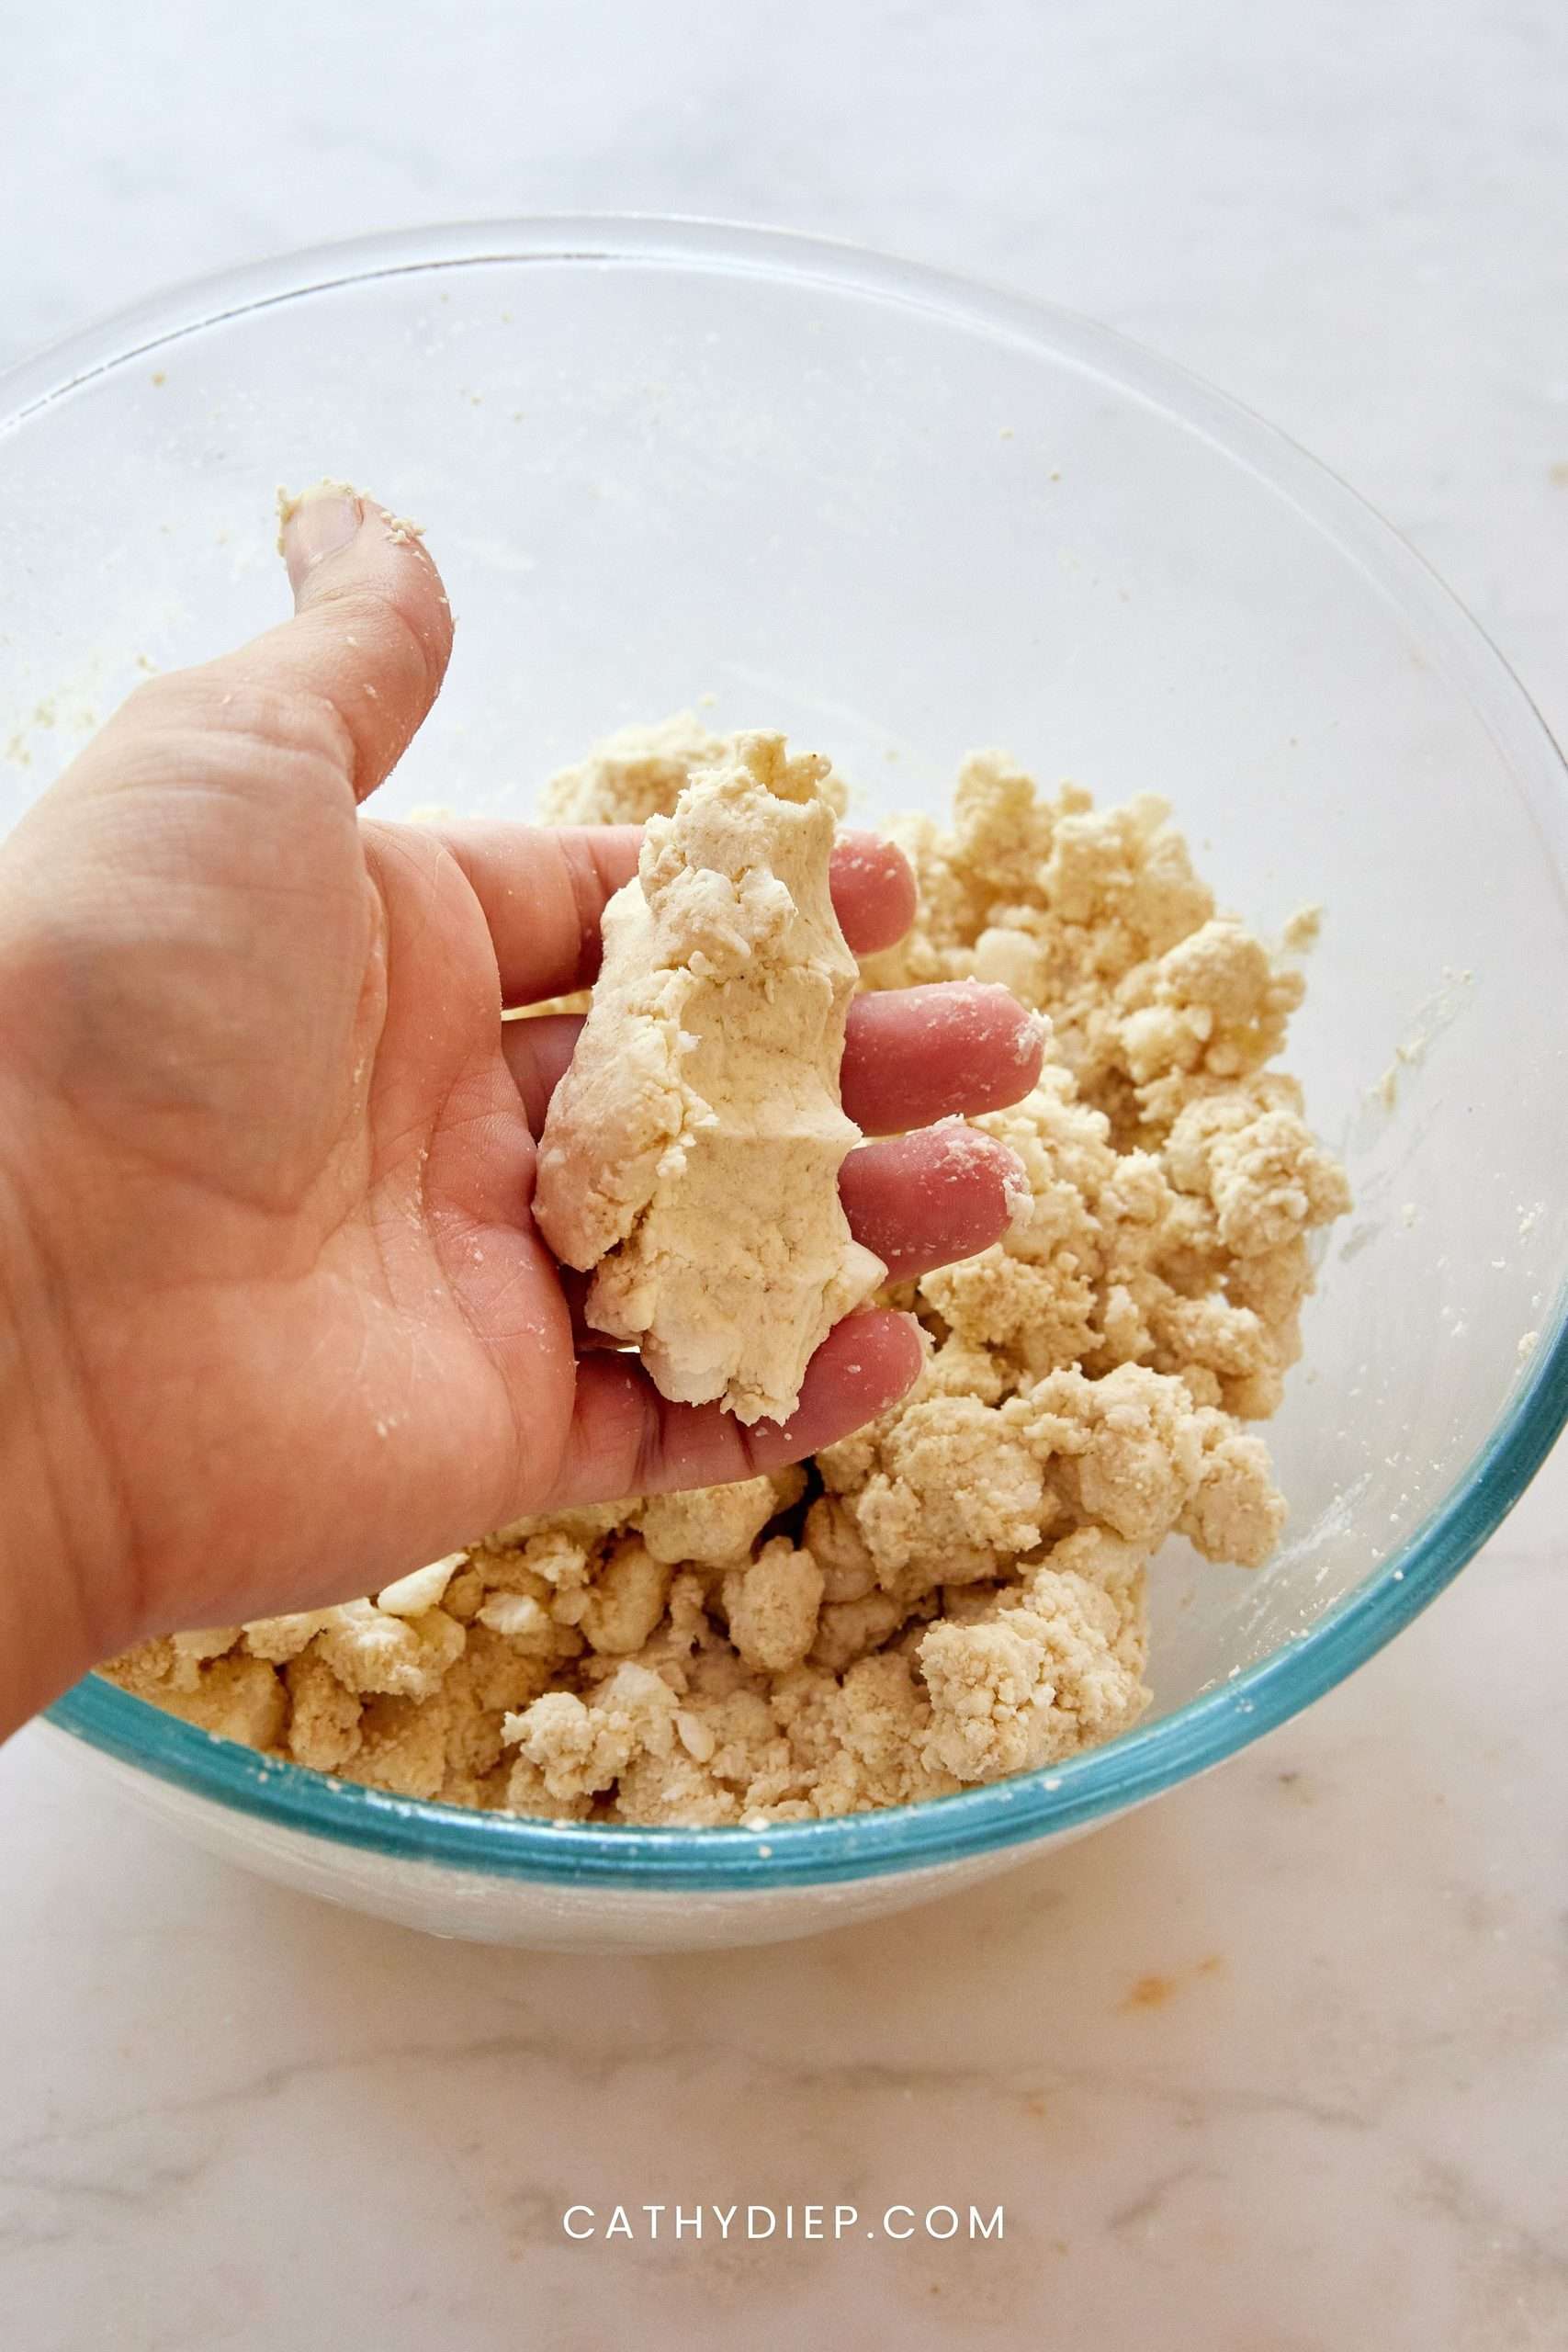
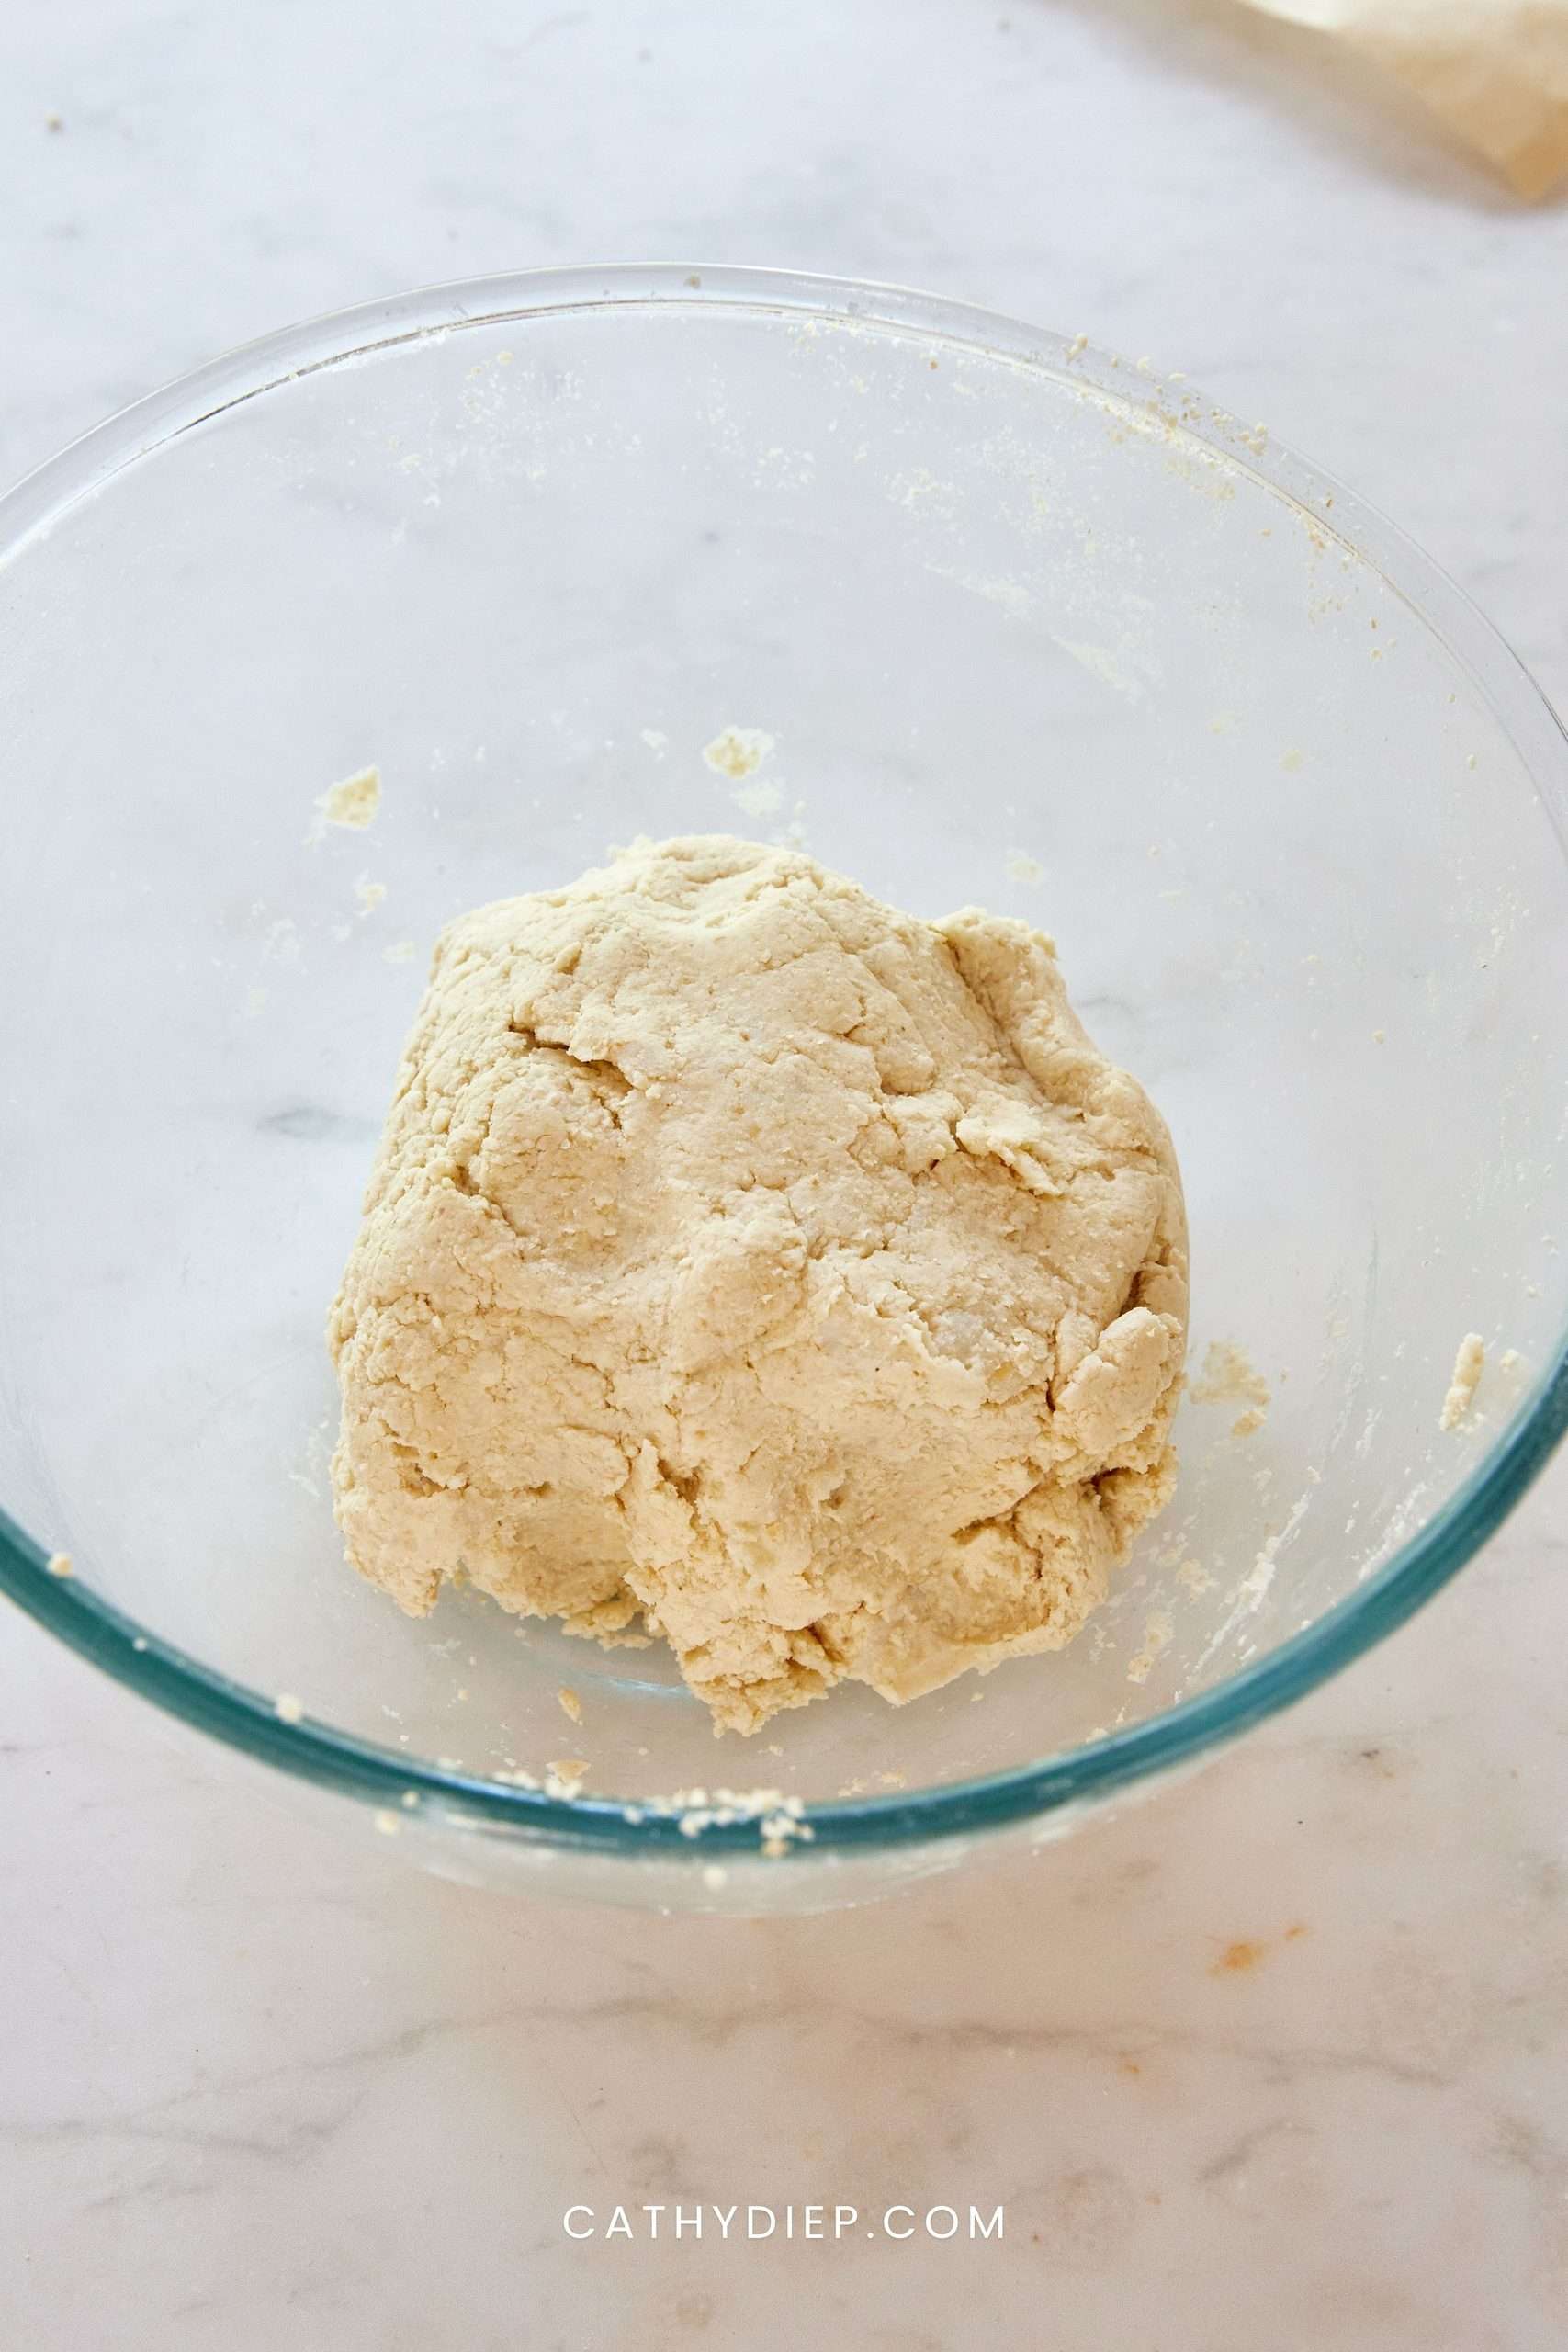
Step 2: Stir the apple cider vinegar into the ice water, then add the egg white and about 3 tablespoons of the water mixture to the flour. Gently mix, adding more water as needed until the dough is soft and holds together when squeezed.
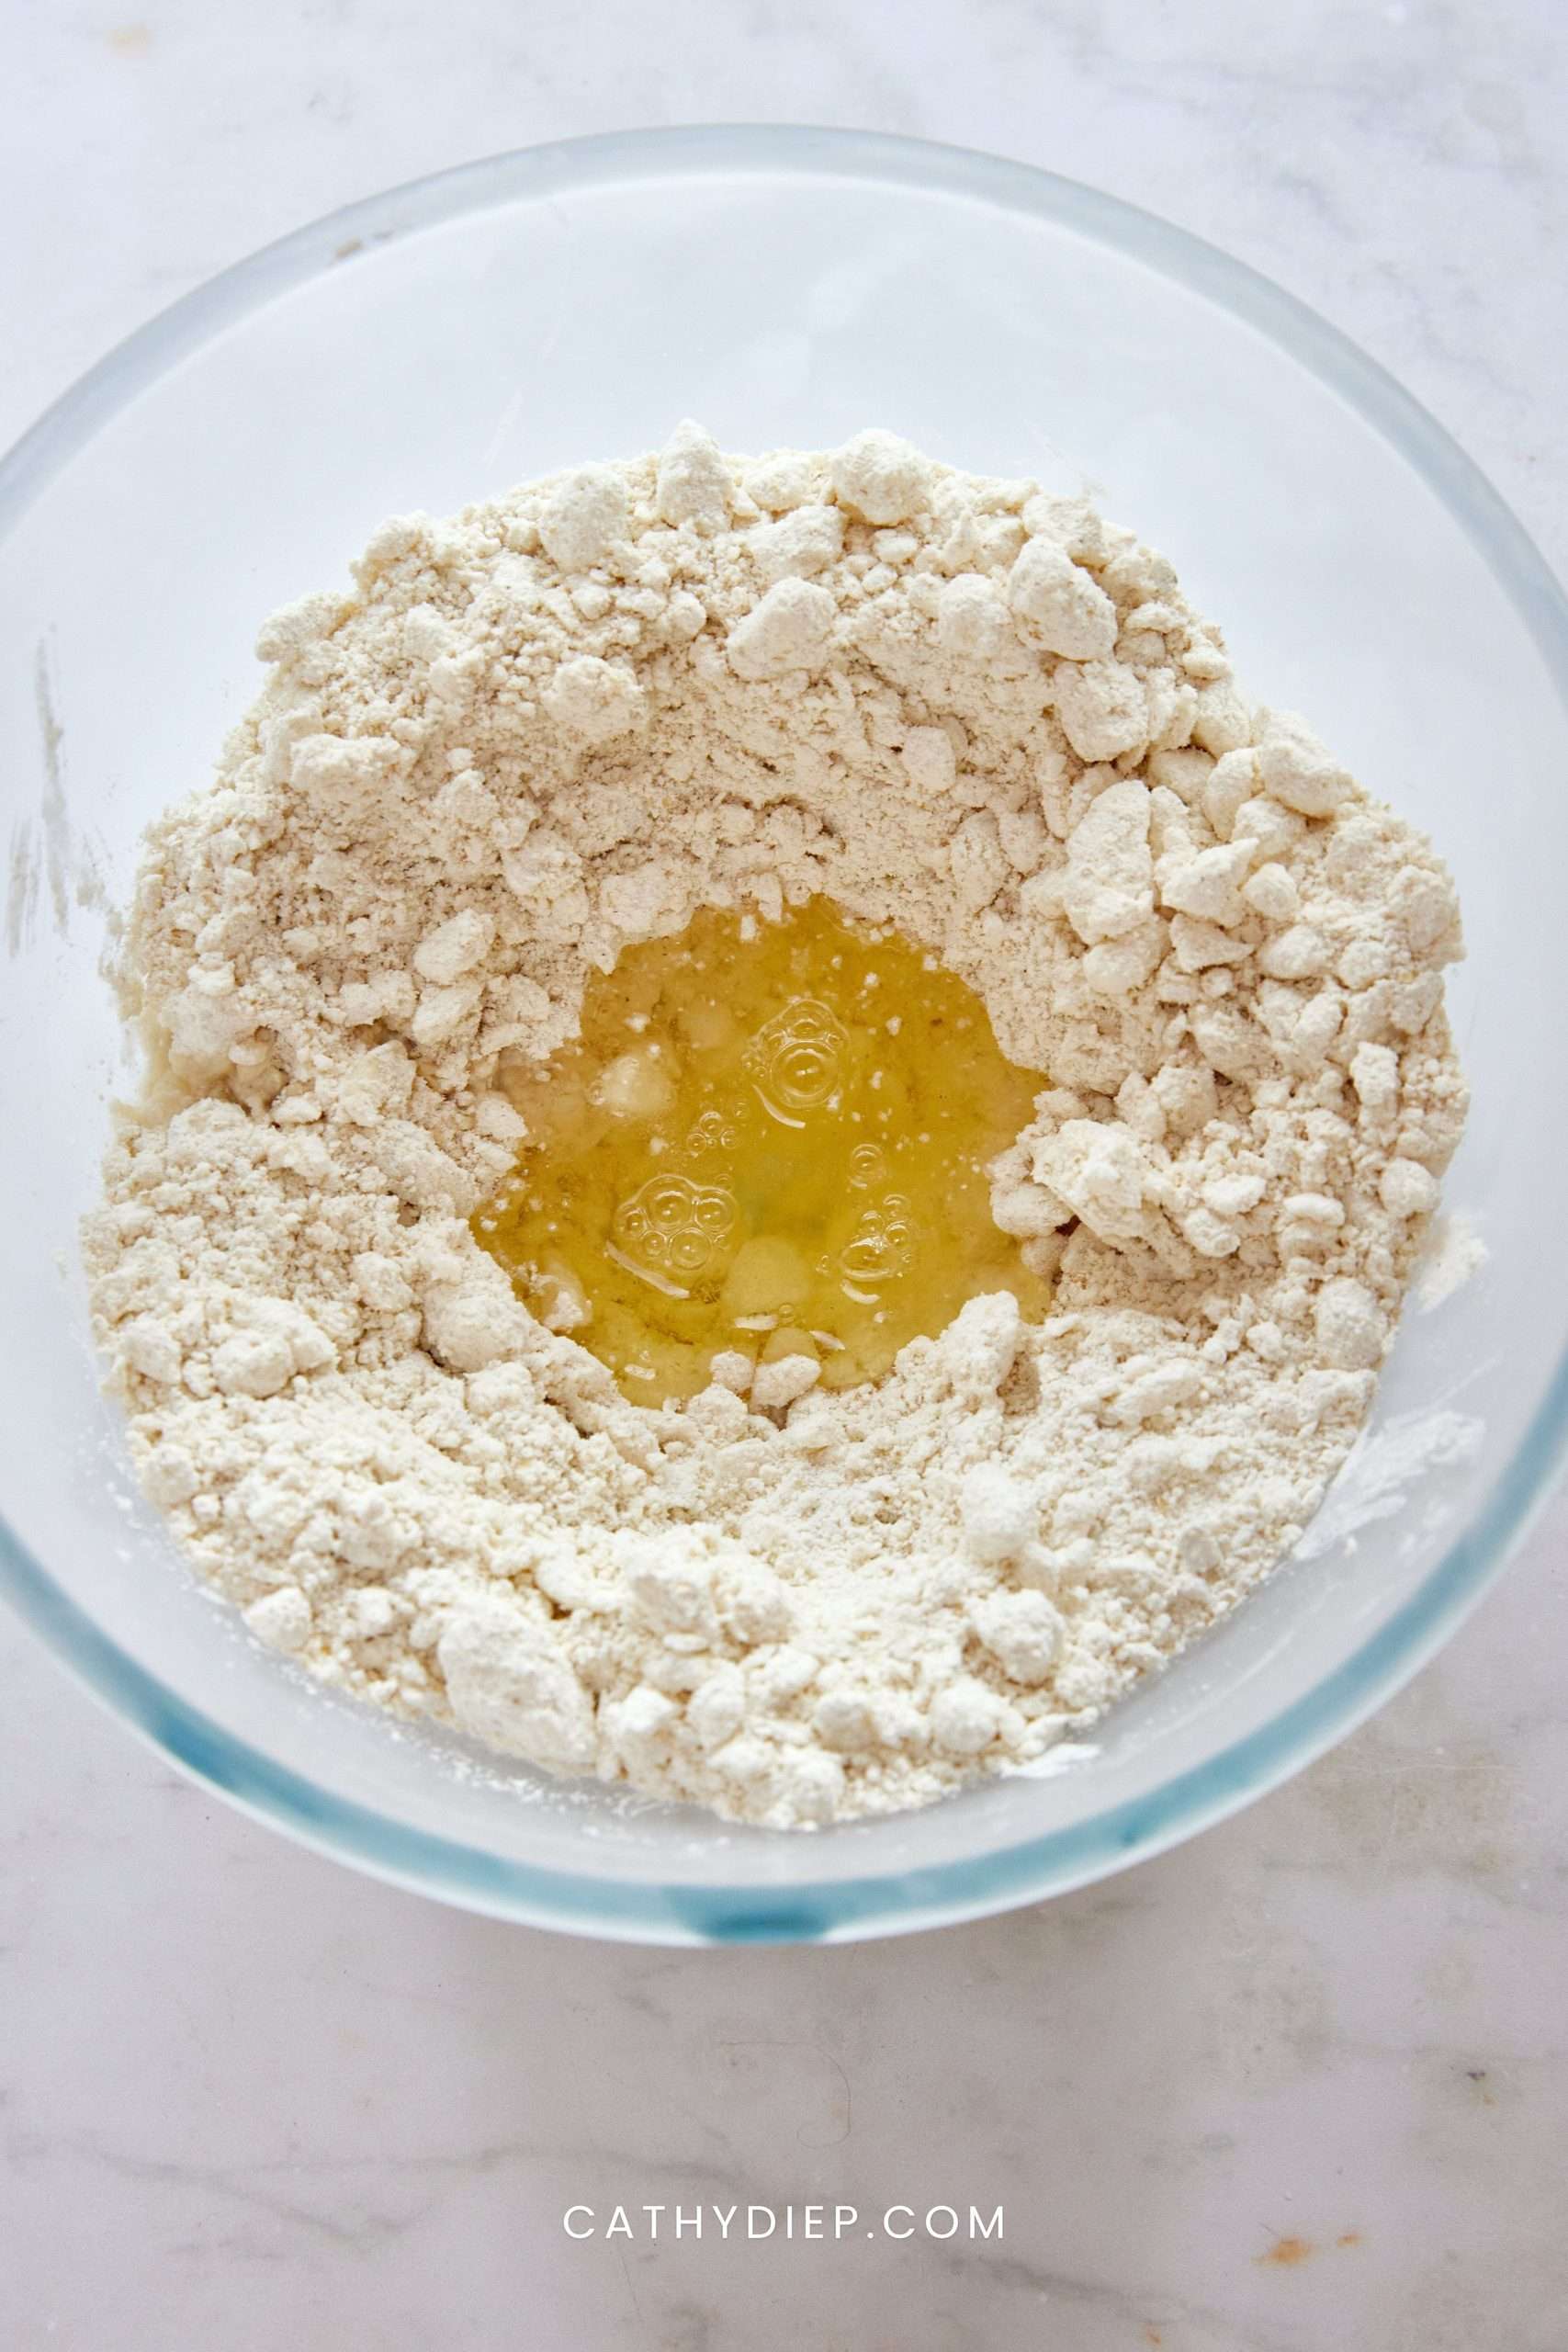
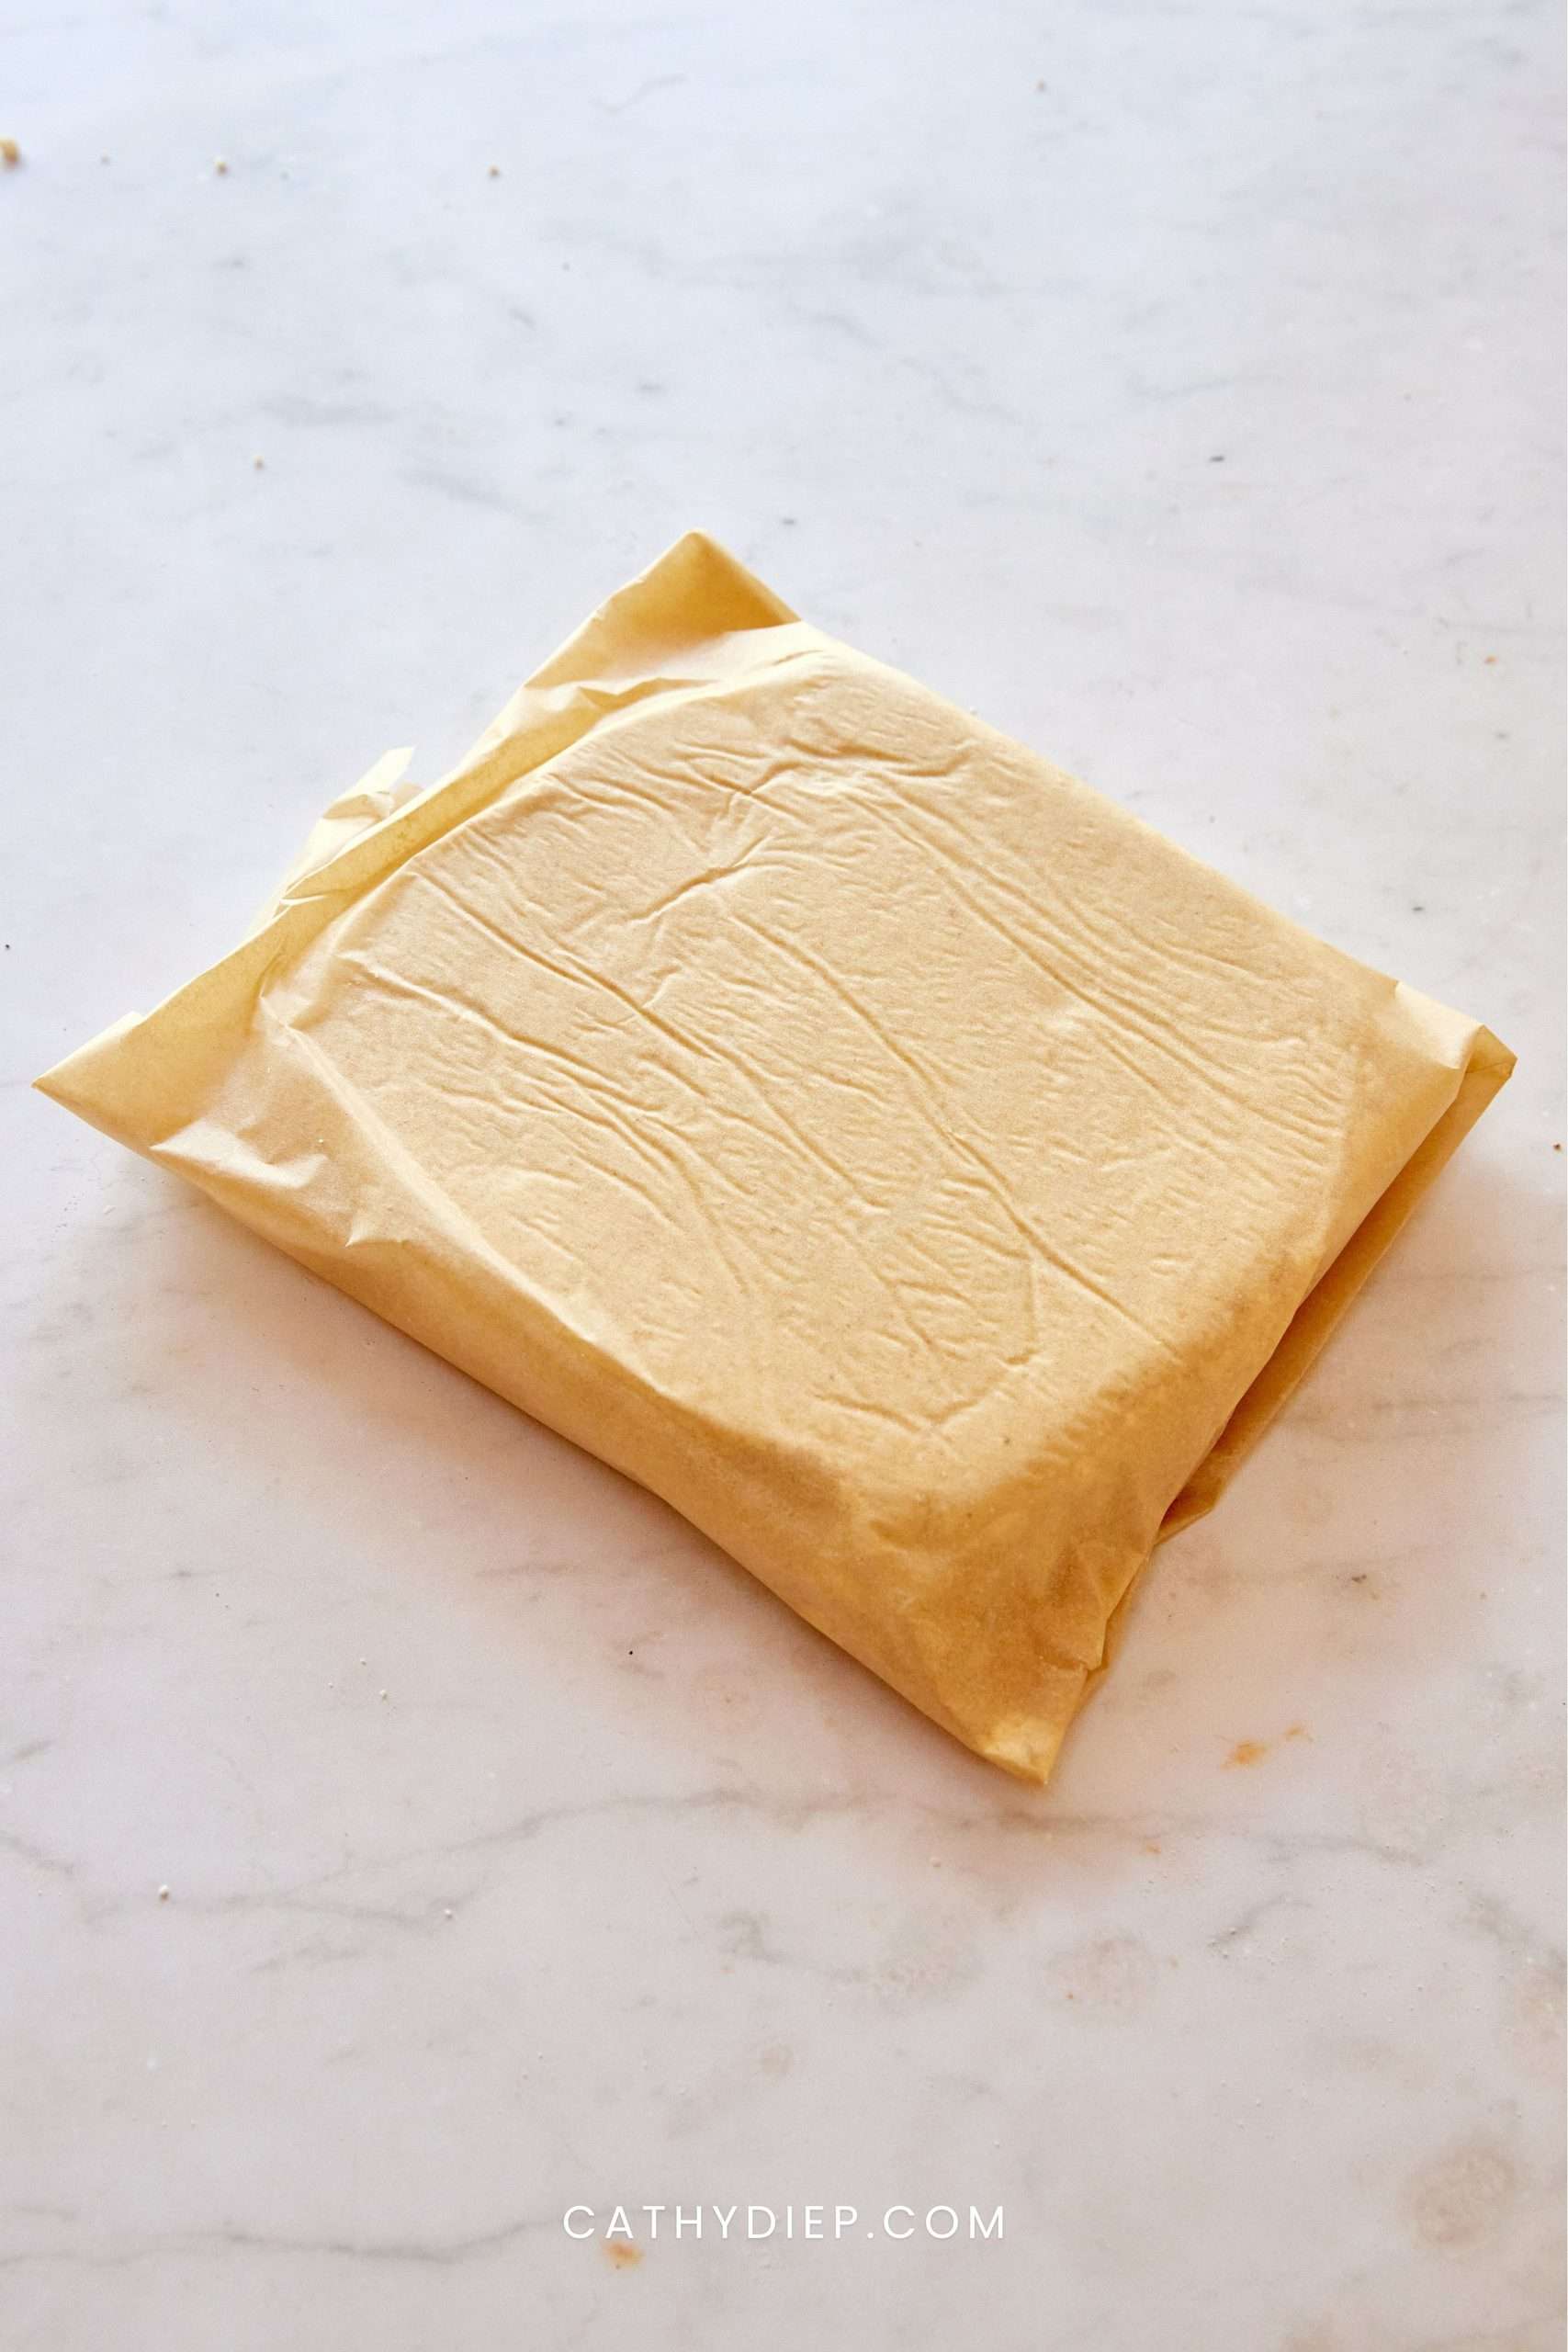
Step 3: Gently knead the dough into a ball, pat it into a rectangle on lightly floured baking paper, and wrap it tightly. Refrigerate for at least 30 minutes, or up to 24 hours.
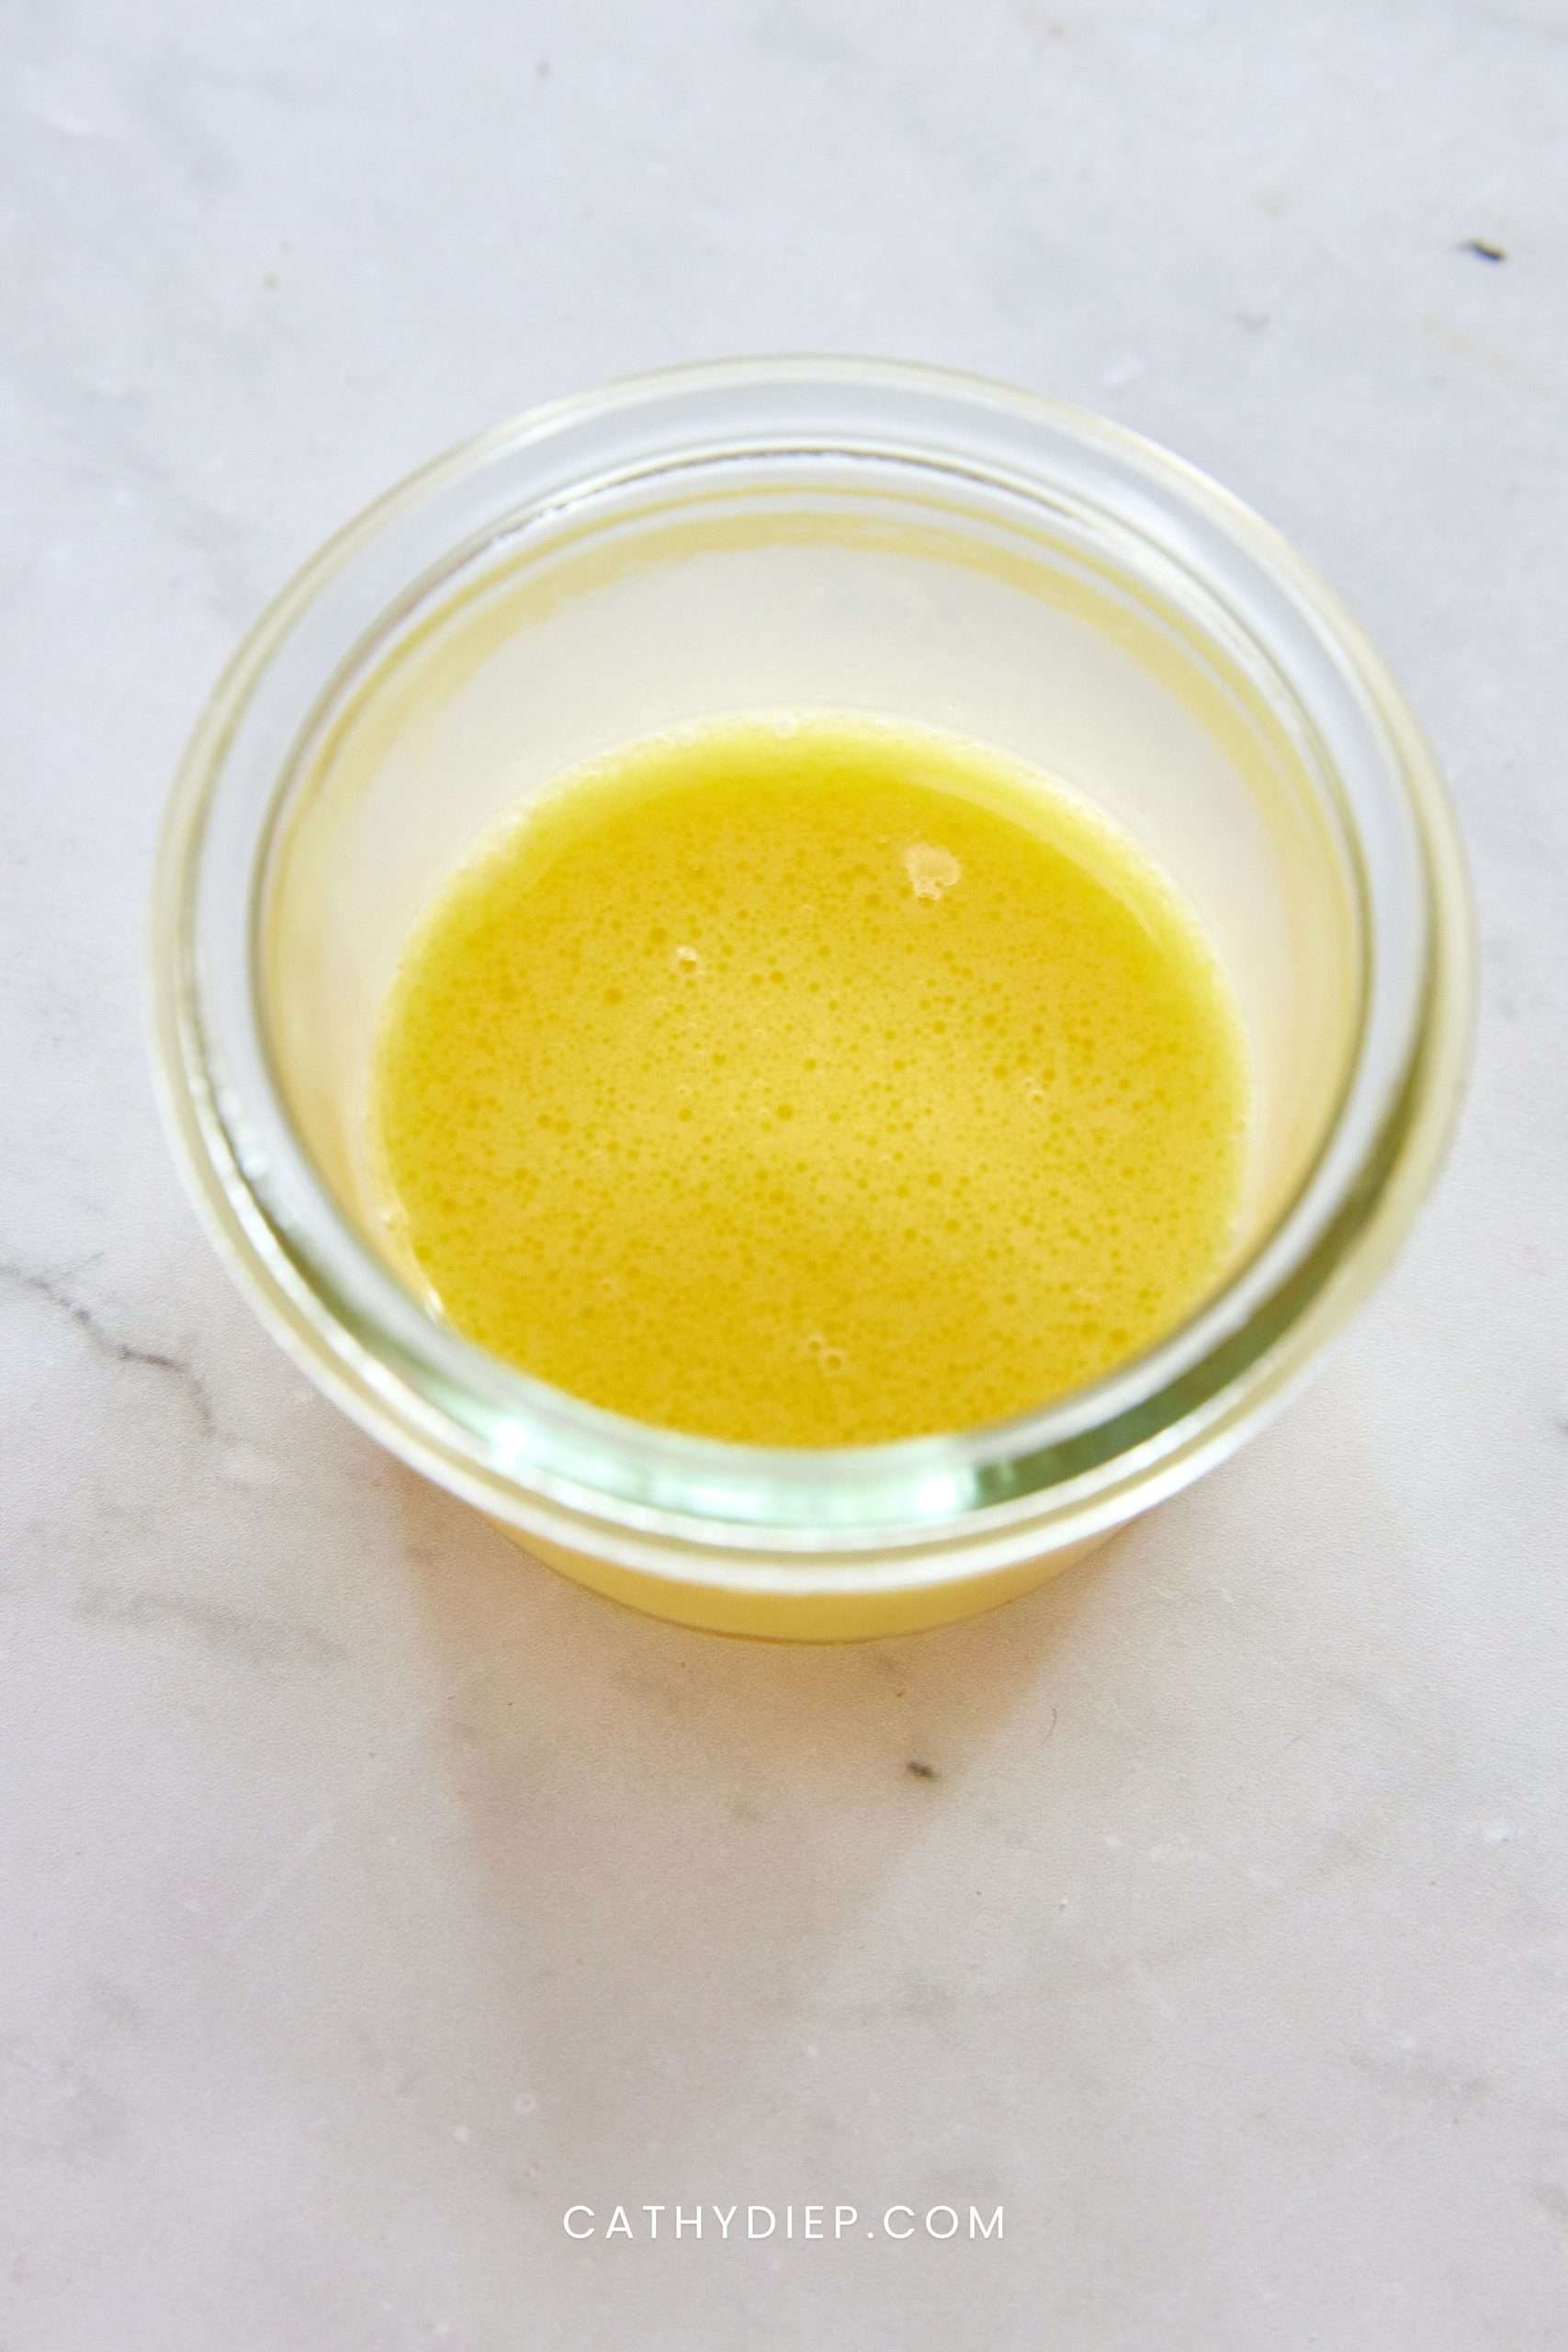
Step 4: Mix the reserved egg yolk with a small splash of water and refrigerate it for brushing over the crust later.
Step 5: Heat 1 tablespoon olive oil in a large pot over medium-high heat. Add the chicken and cook for 3 to 5 minutes, stirring occasionally, until no longer pink, then transfer it to a plate.
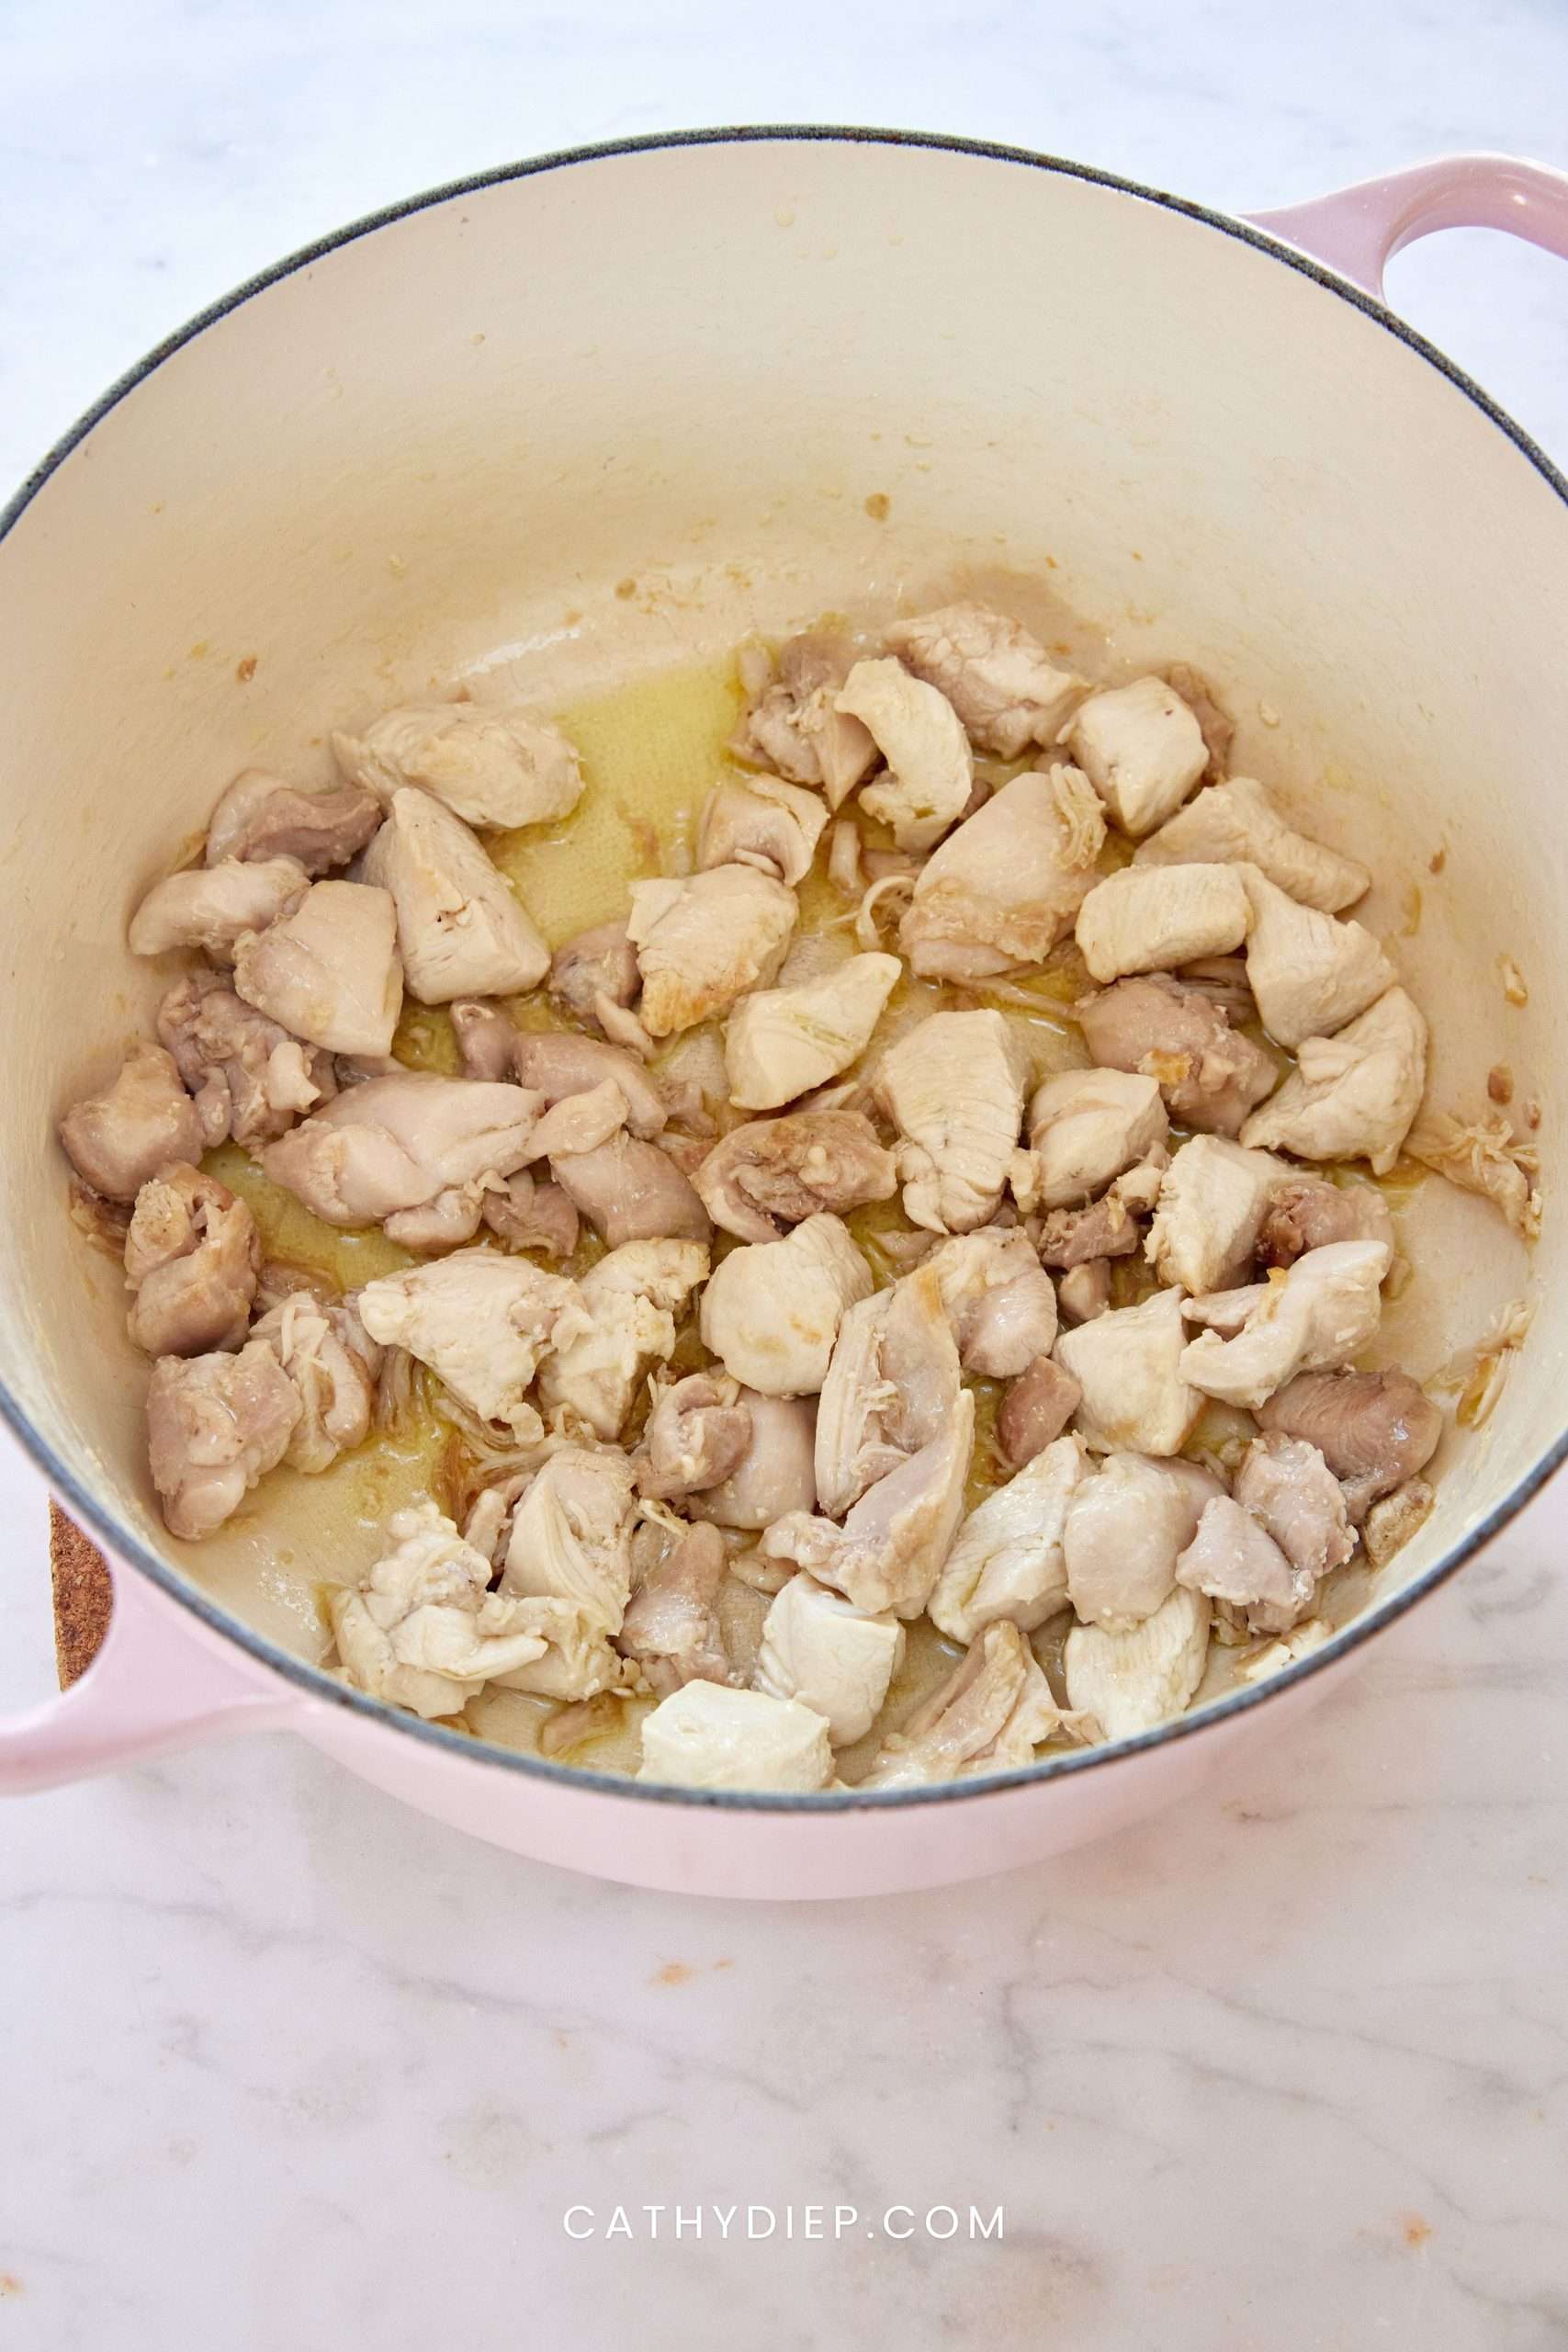
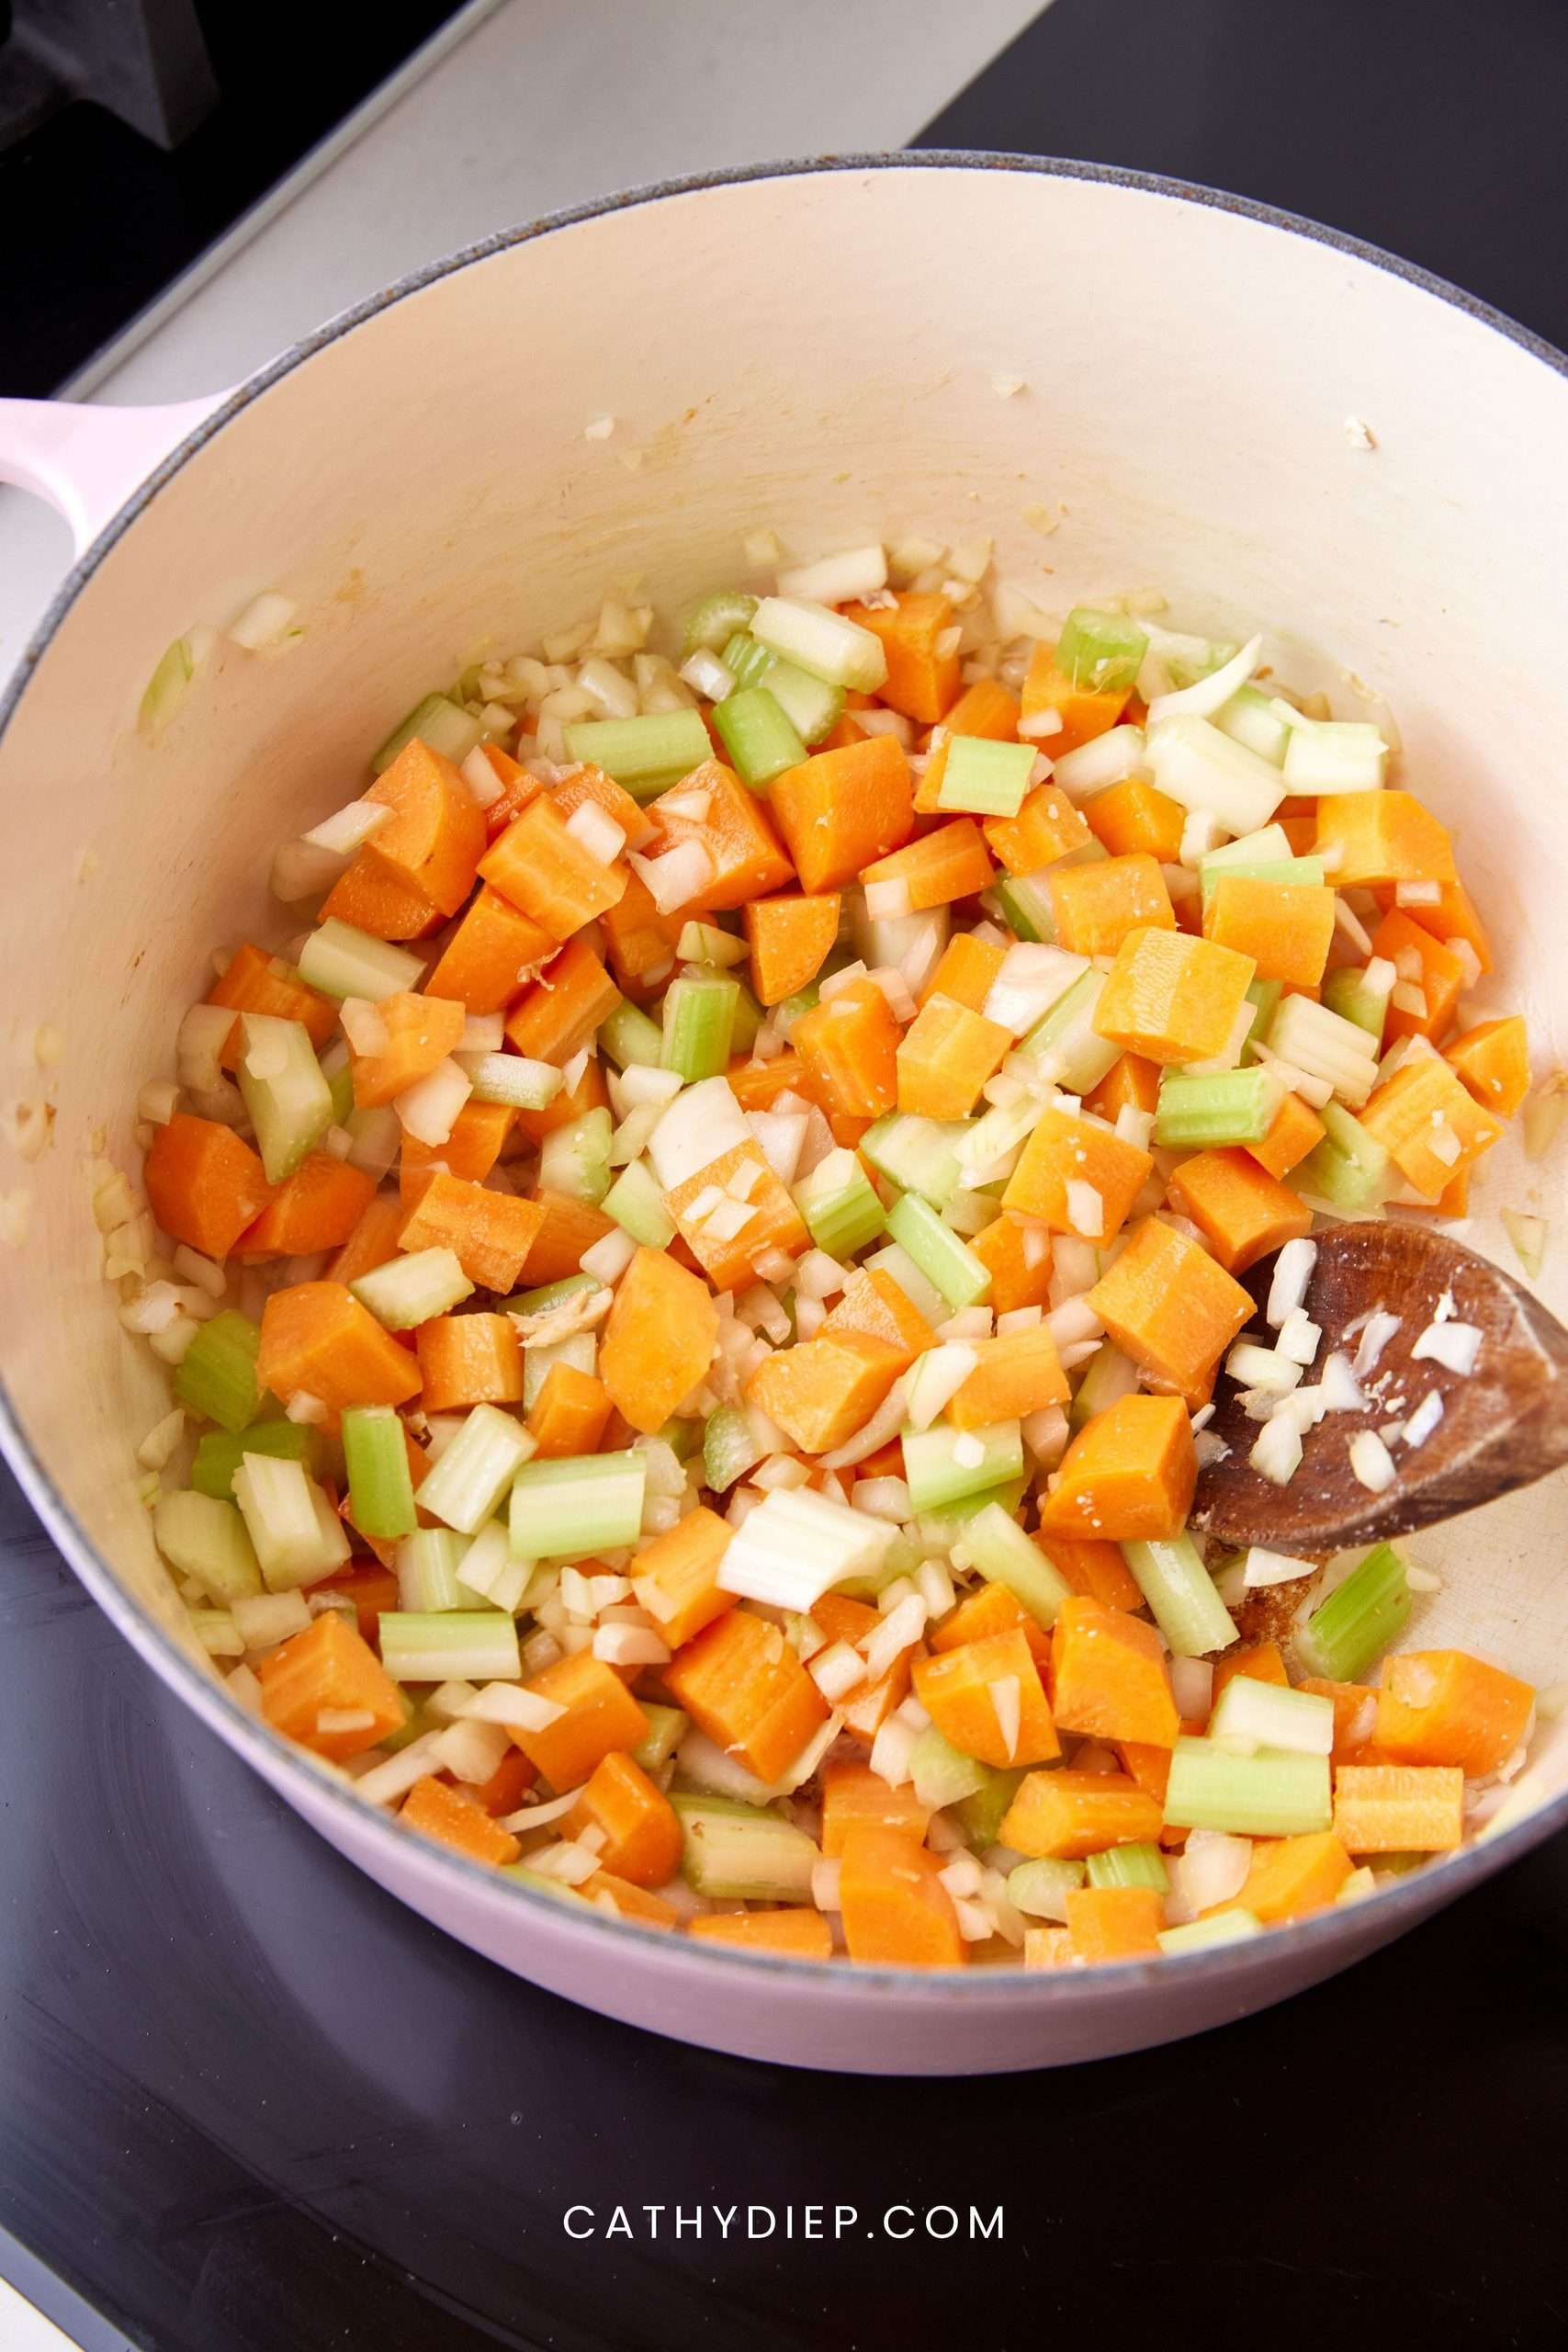
Step 6: Add the remaining olive oil, celery, carrots, onion, and a splash of water to the same pot. Cook for 5 to 8 minutes, stirring often, until the vegetables begin to soften.
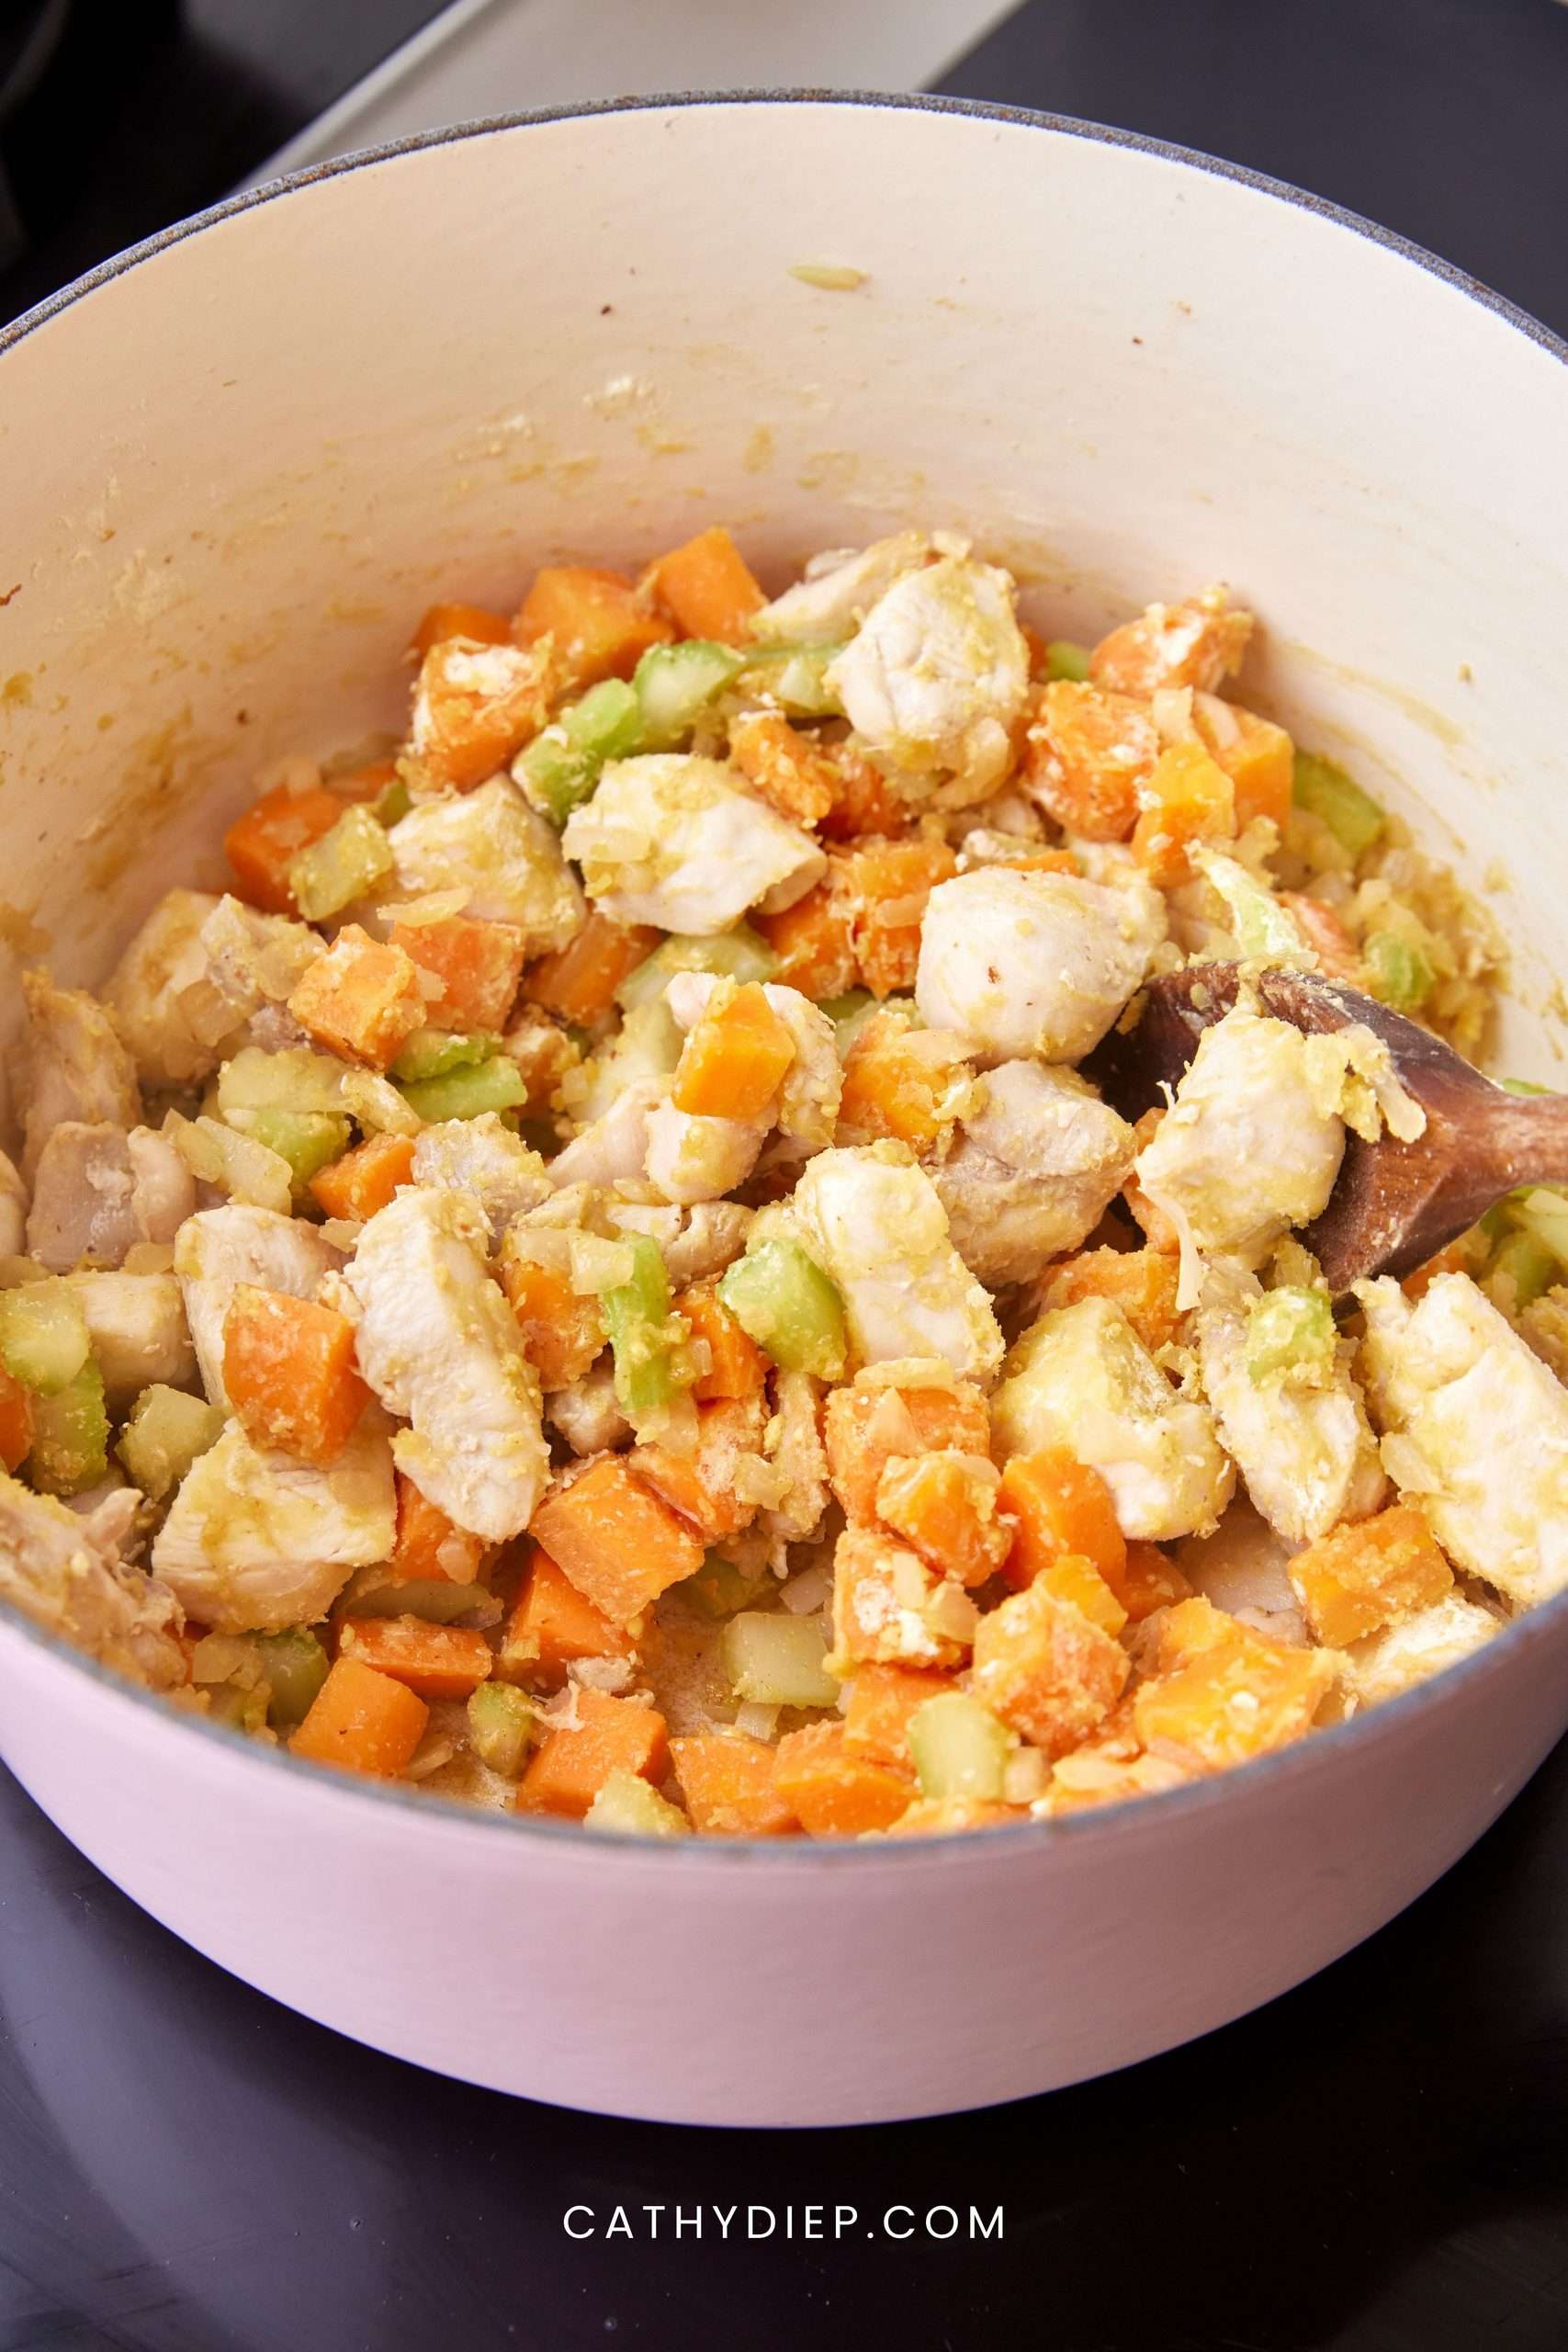
Step 7: Return the chicken to the pot and sprinkle the chickpea flour over everything. Stir well so the chicken and vegetables are evenly coated.
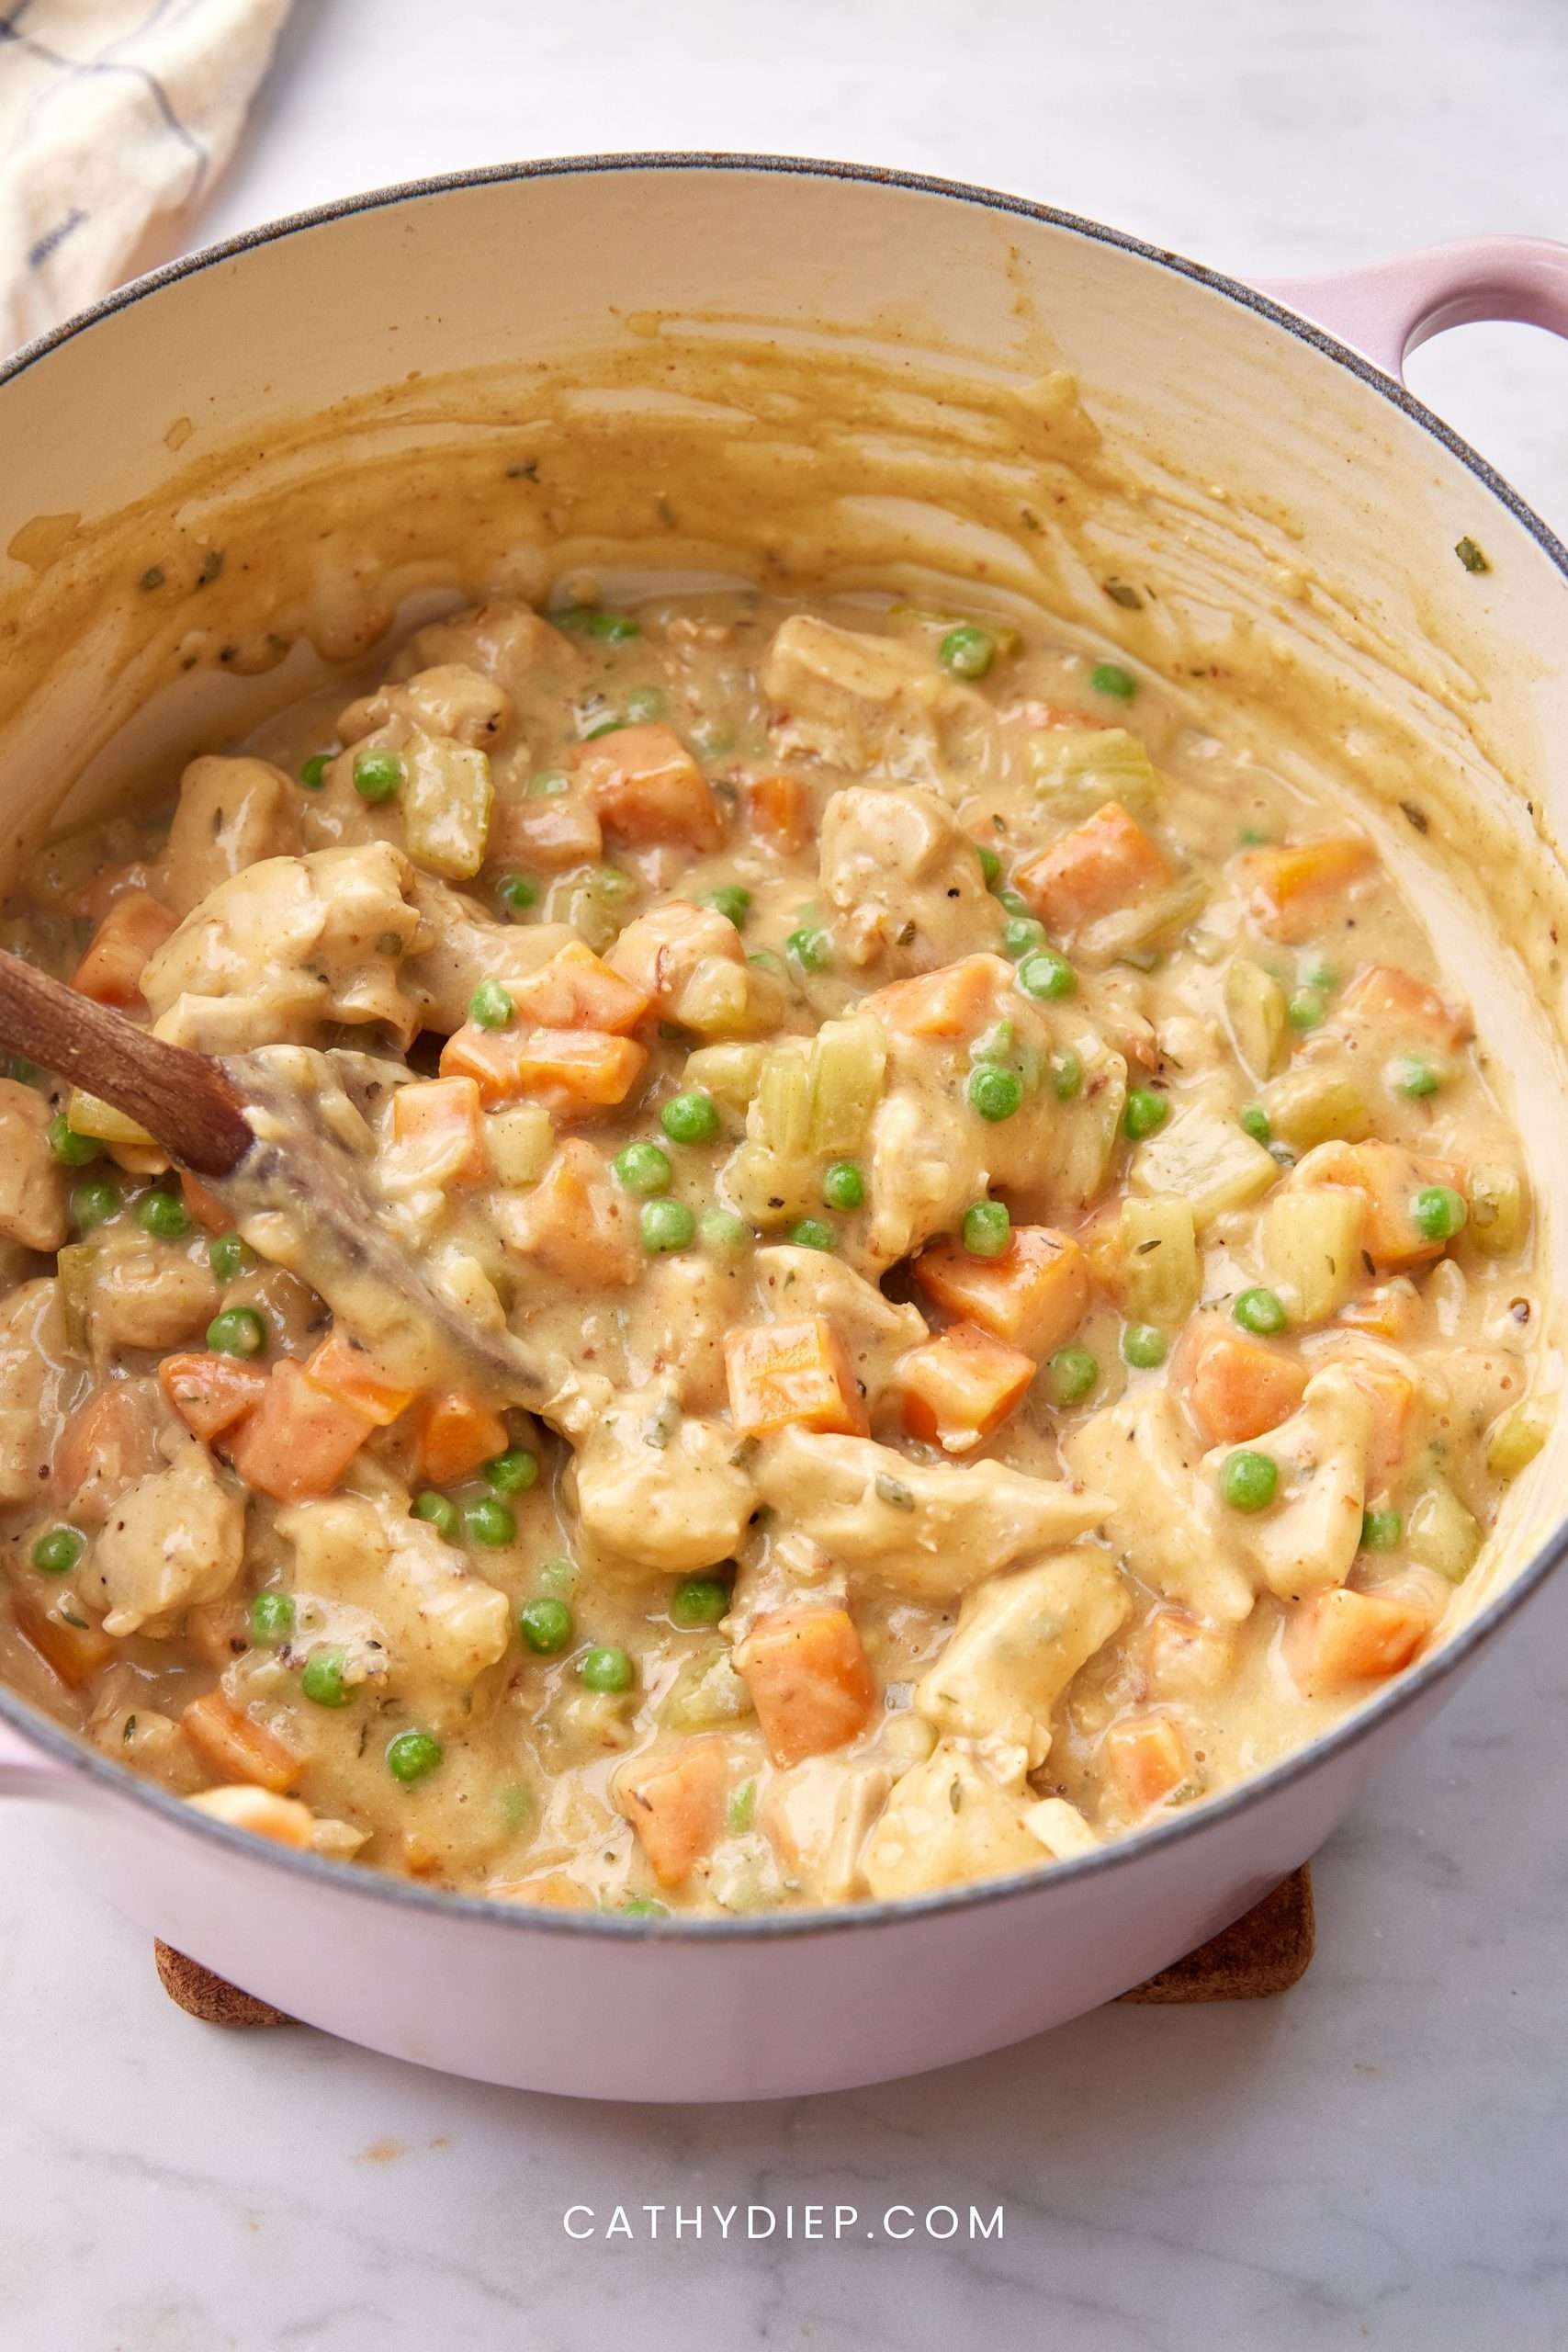
Step 8: Pour in the chicken broth and cashew milk, then add the thyme and sage. Bring to a simmer and cook for 5 to 10 minutes, stirring occasionally, until the sauce has thickened.
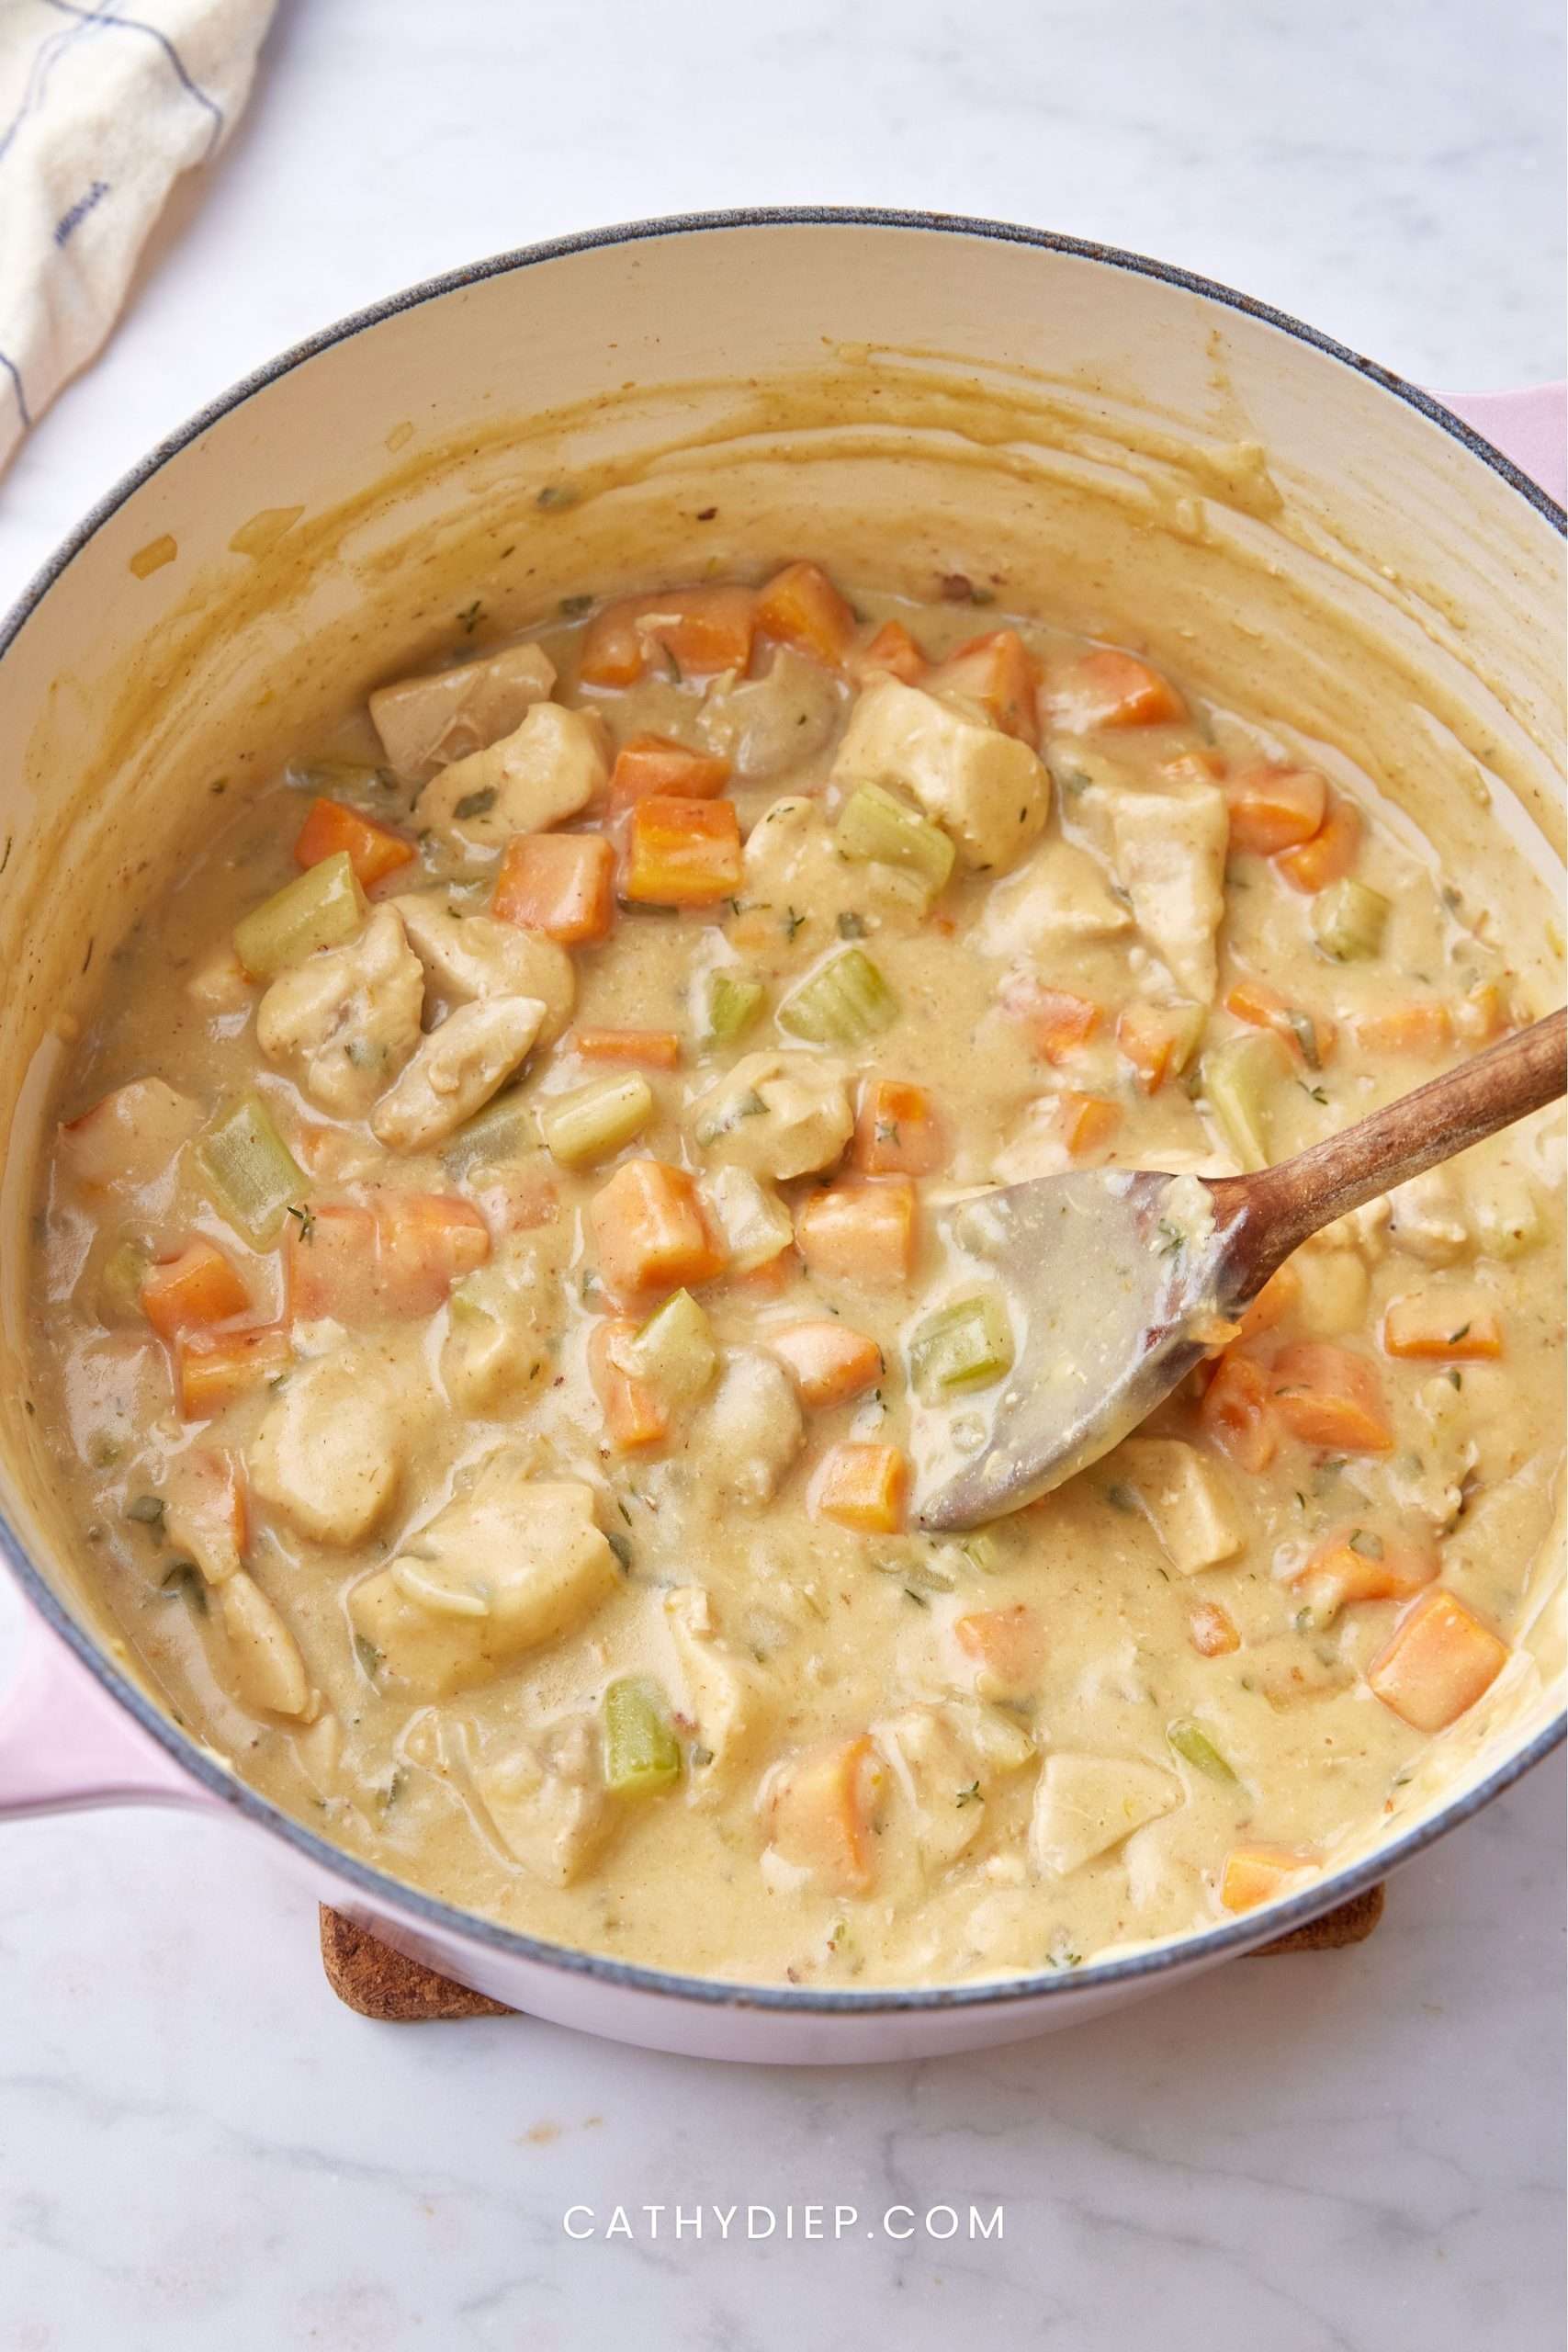
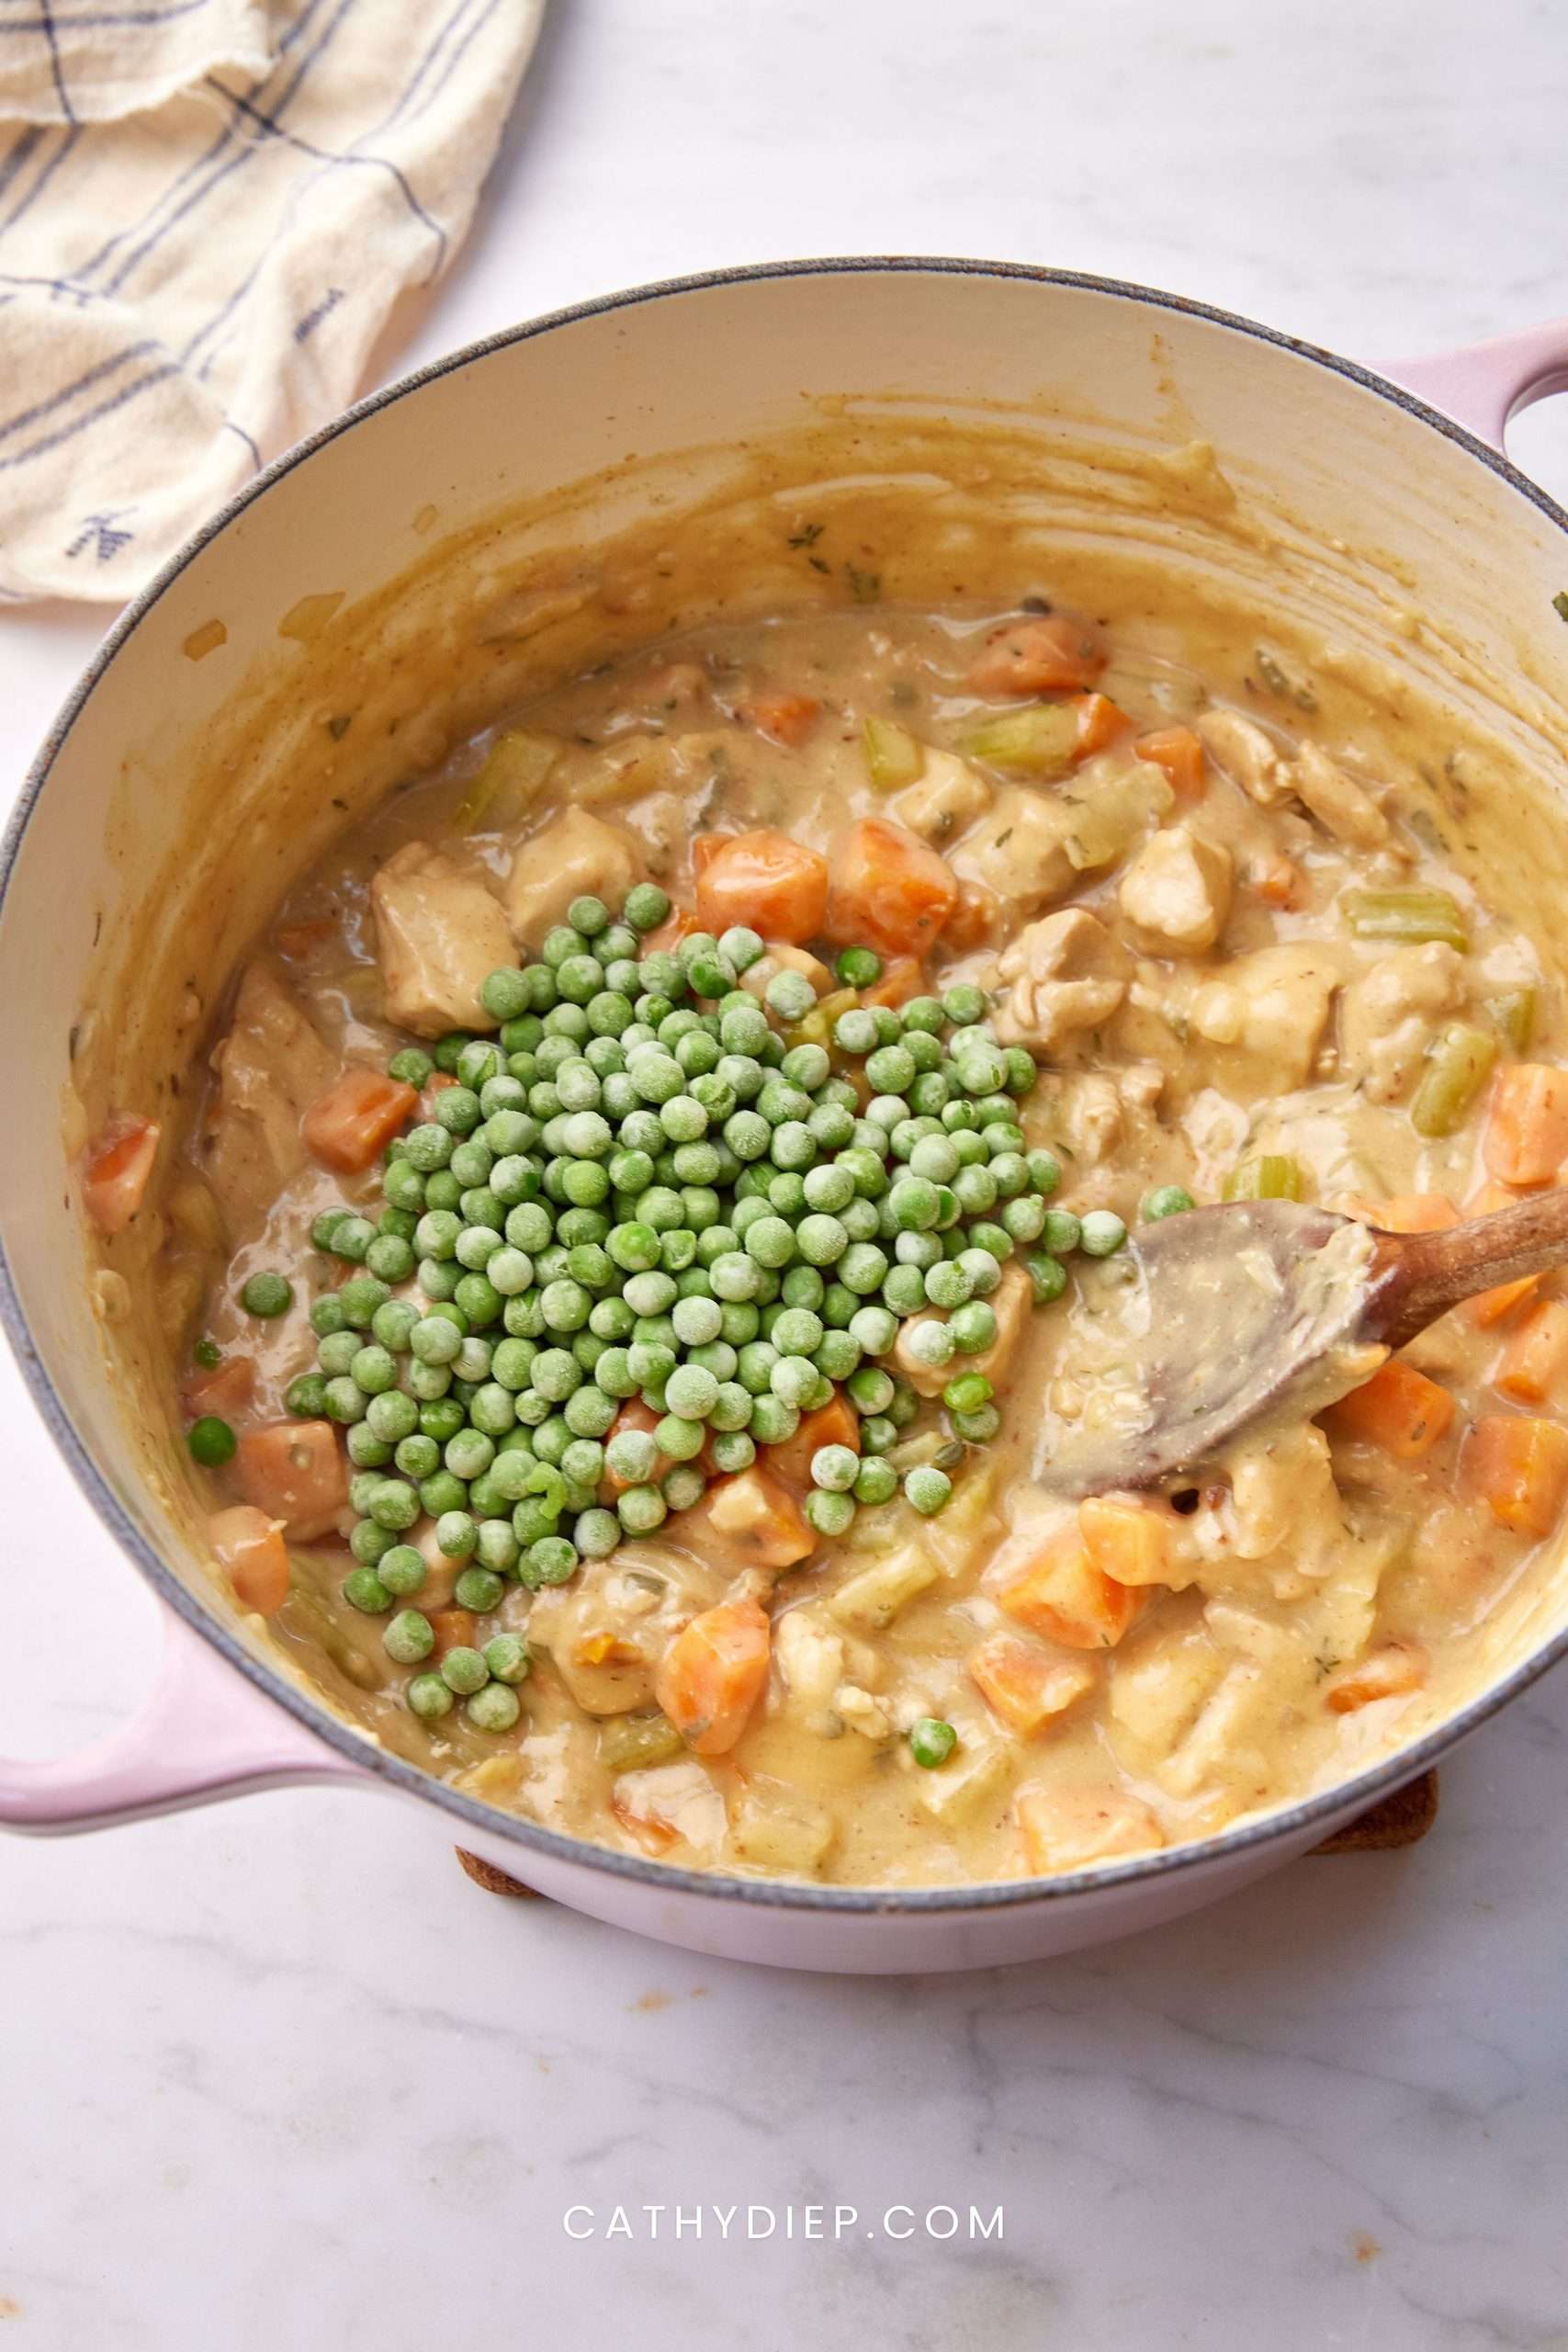
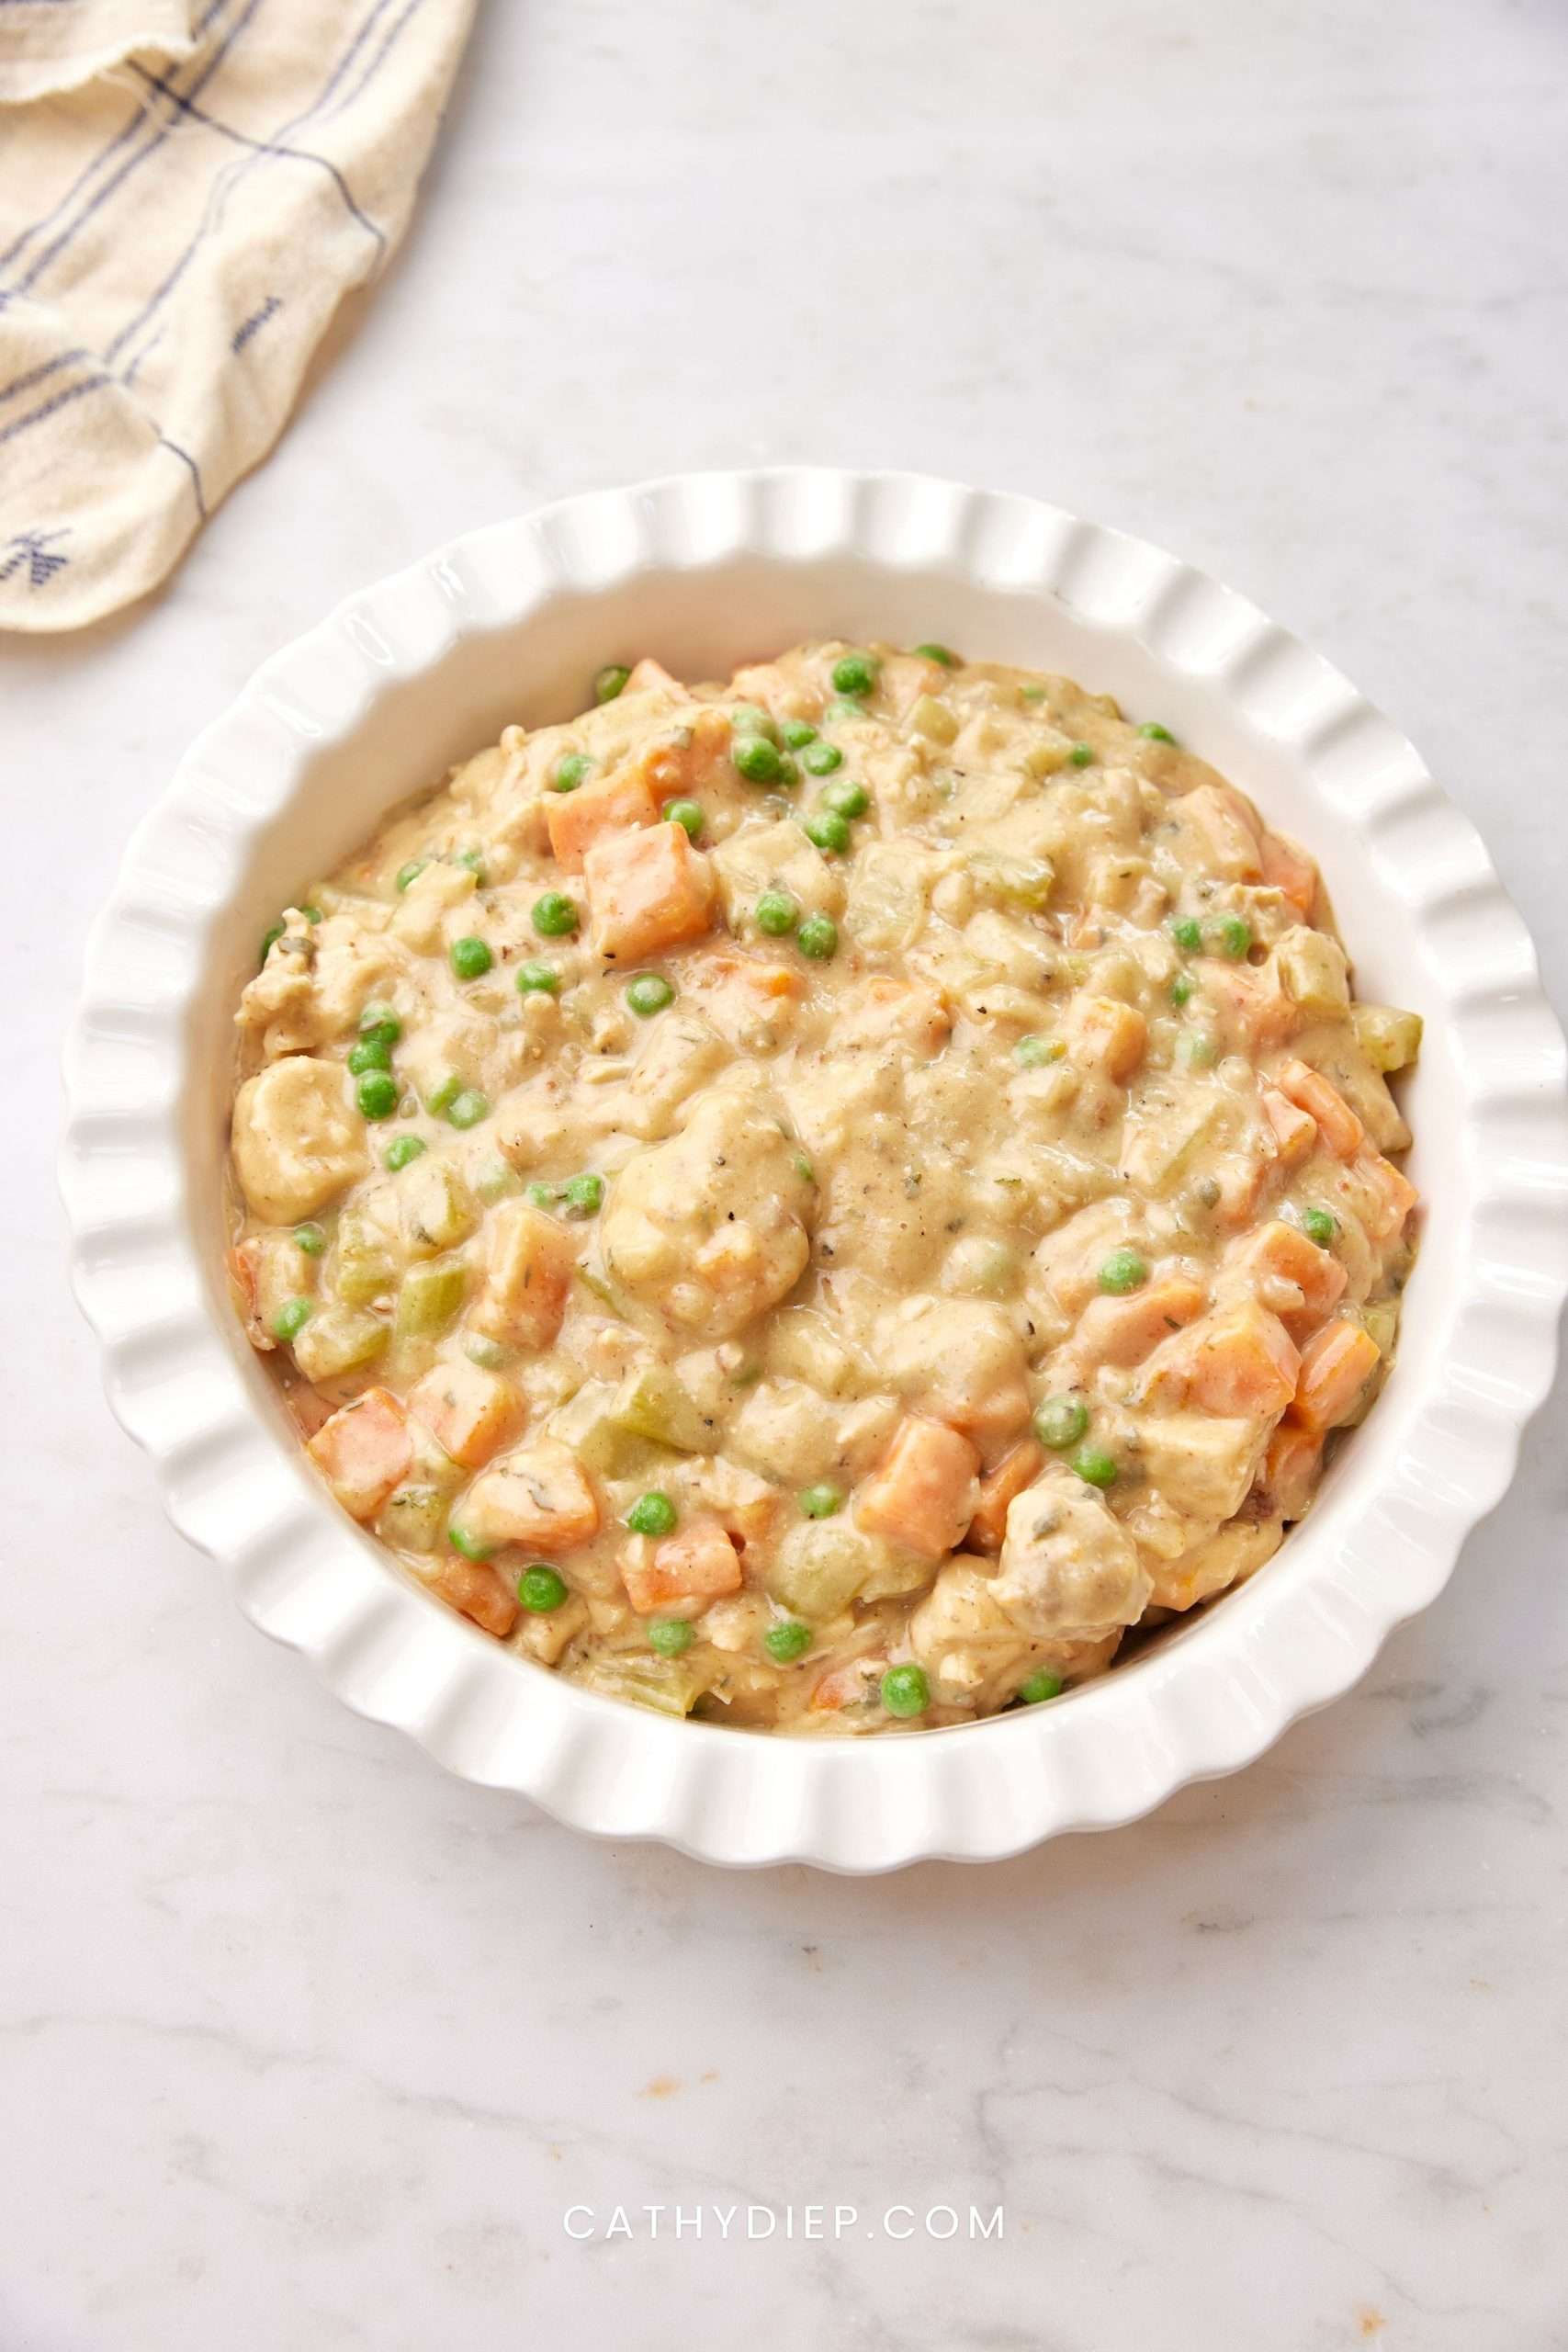
Step 9: Remove the filling from the heat and stir in the frozen peas. Season with salt and black pepper, then pour the filling into a deep pie dish and let it cool for 30 minutes.
Step 10: Preheat the oven to 420°F. Remove the dough from the refrigerator and let it sit for 5 to 10 minutes if it feels too firm to roll.
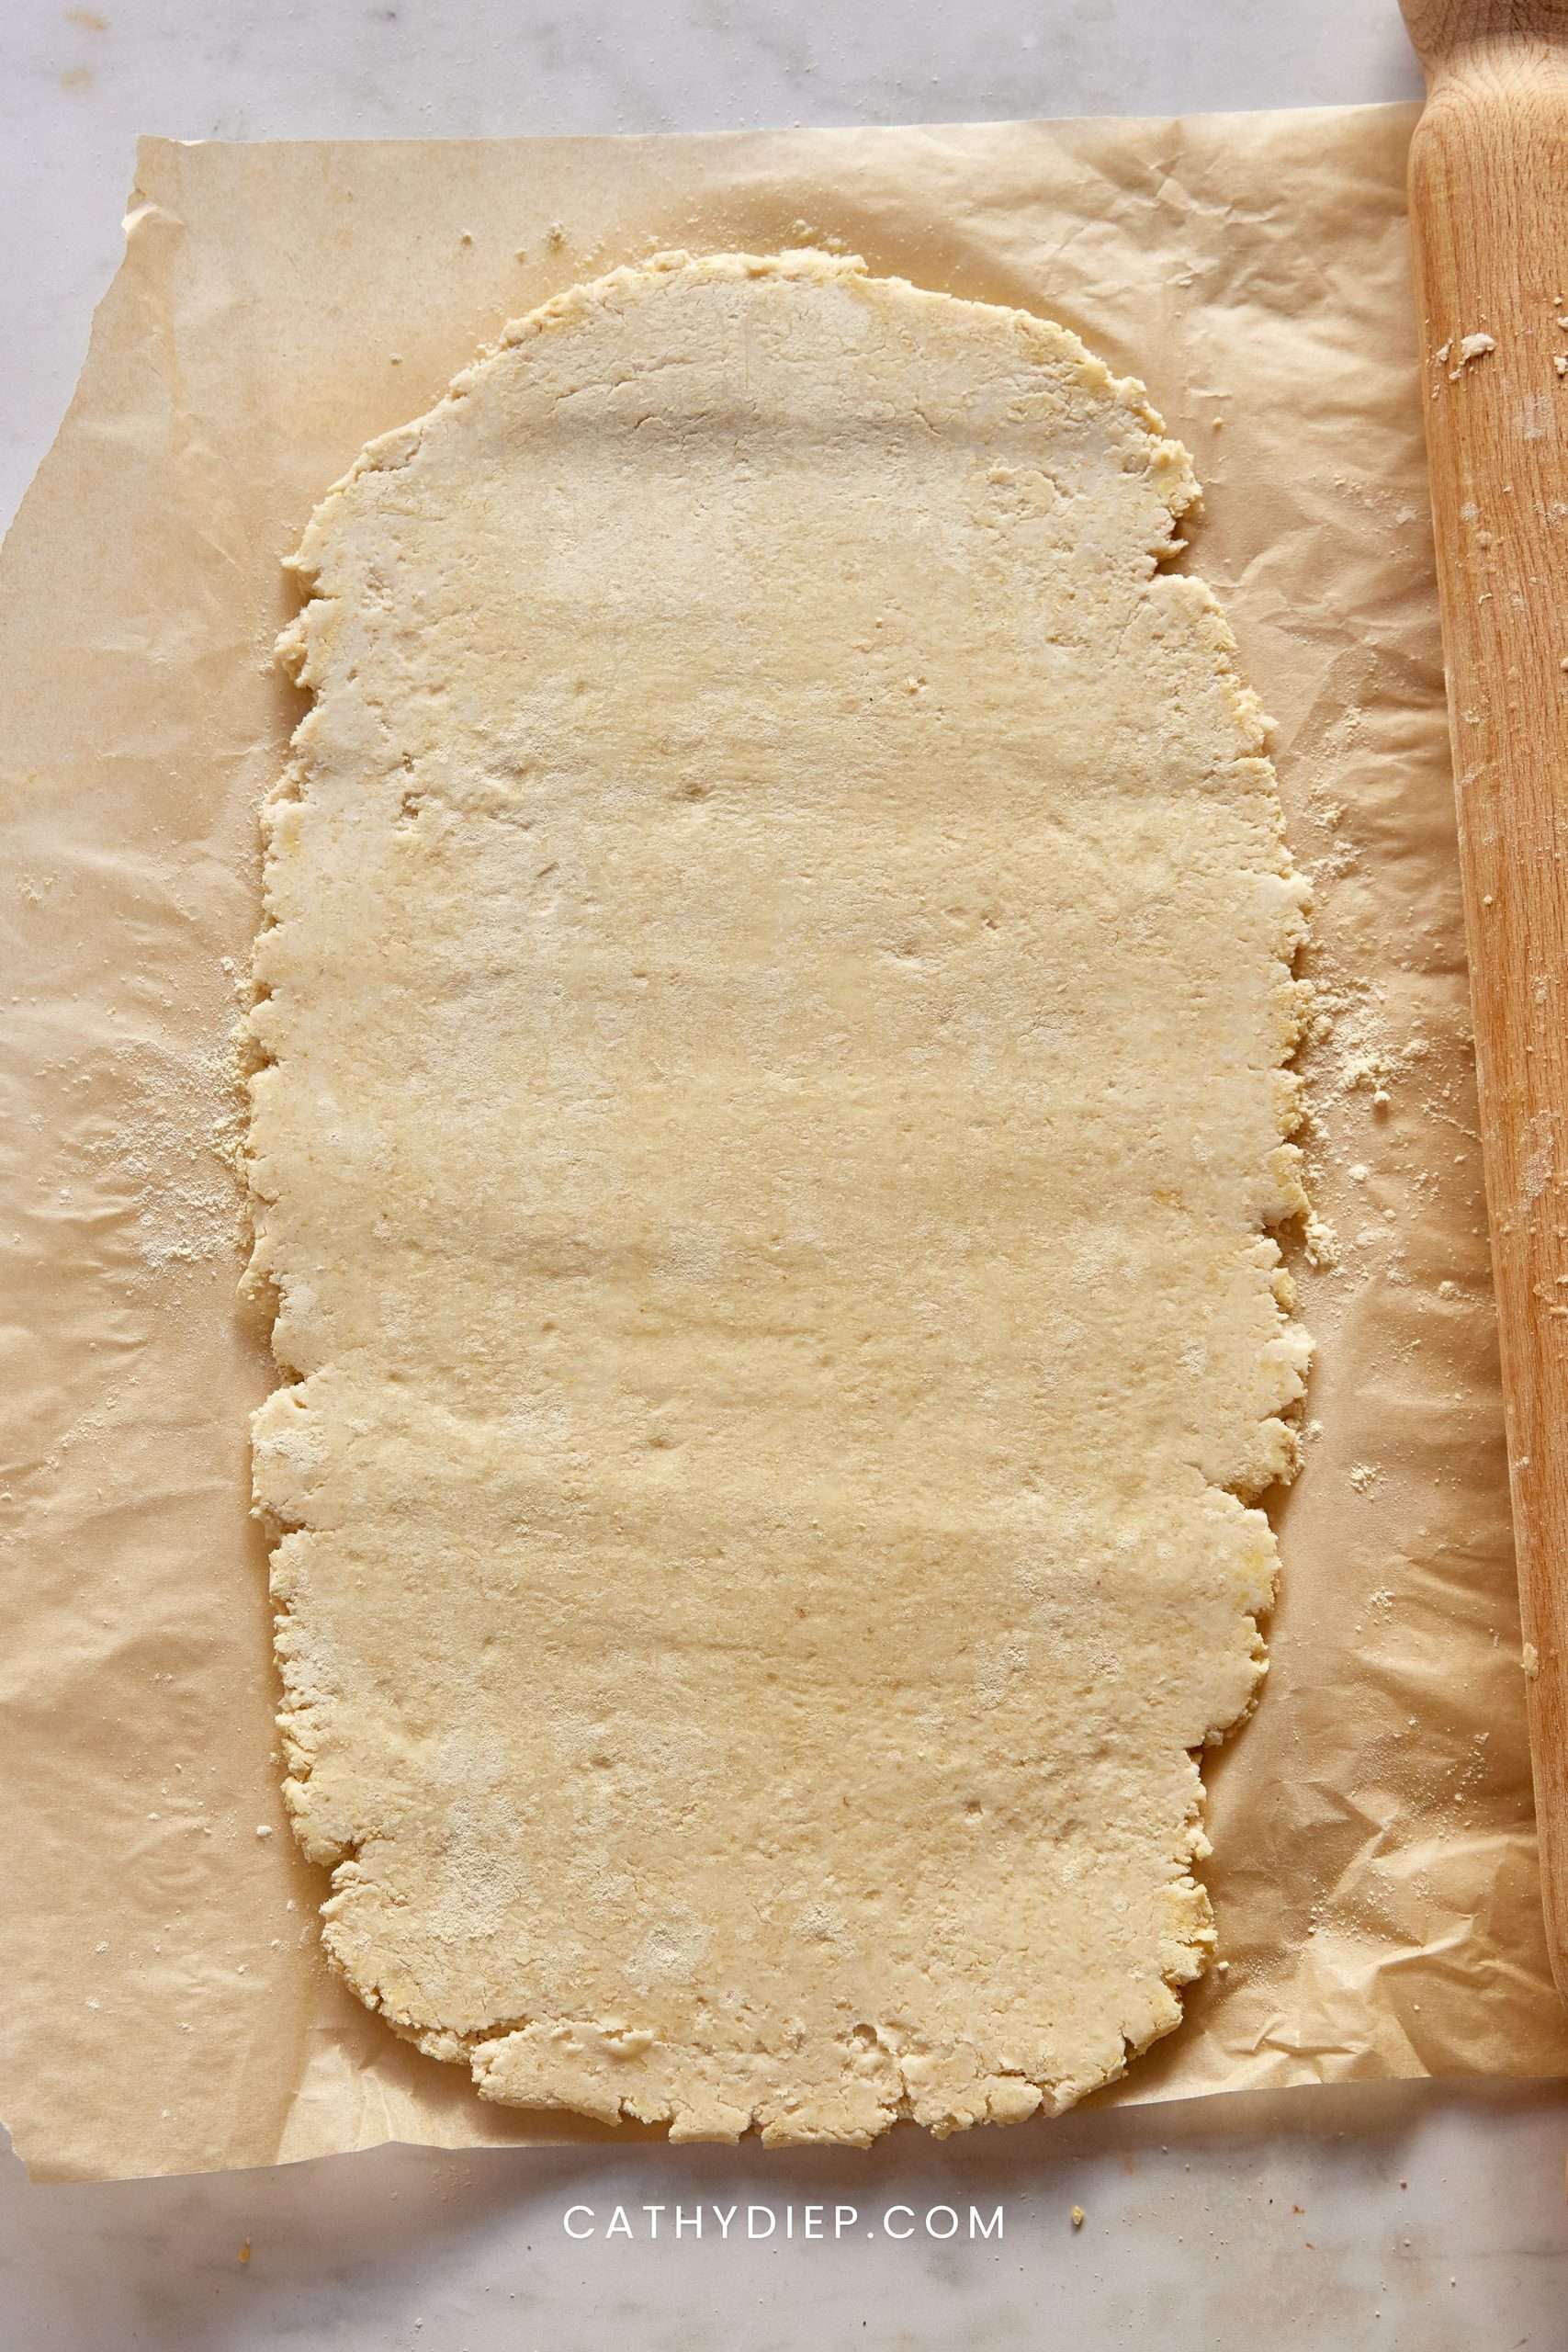
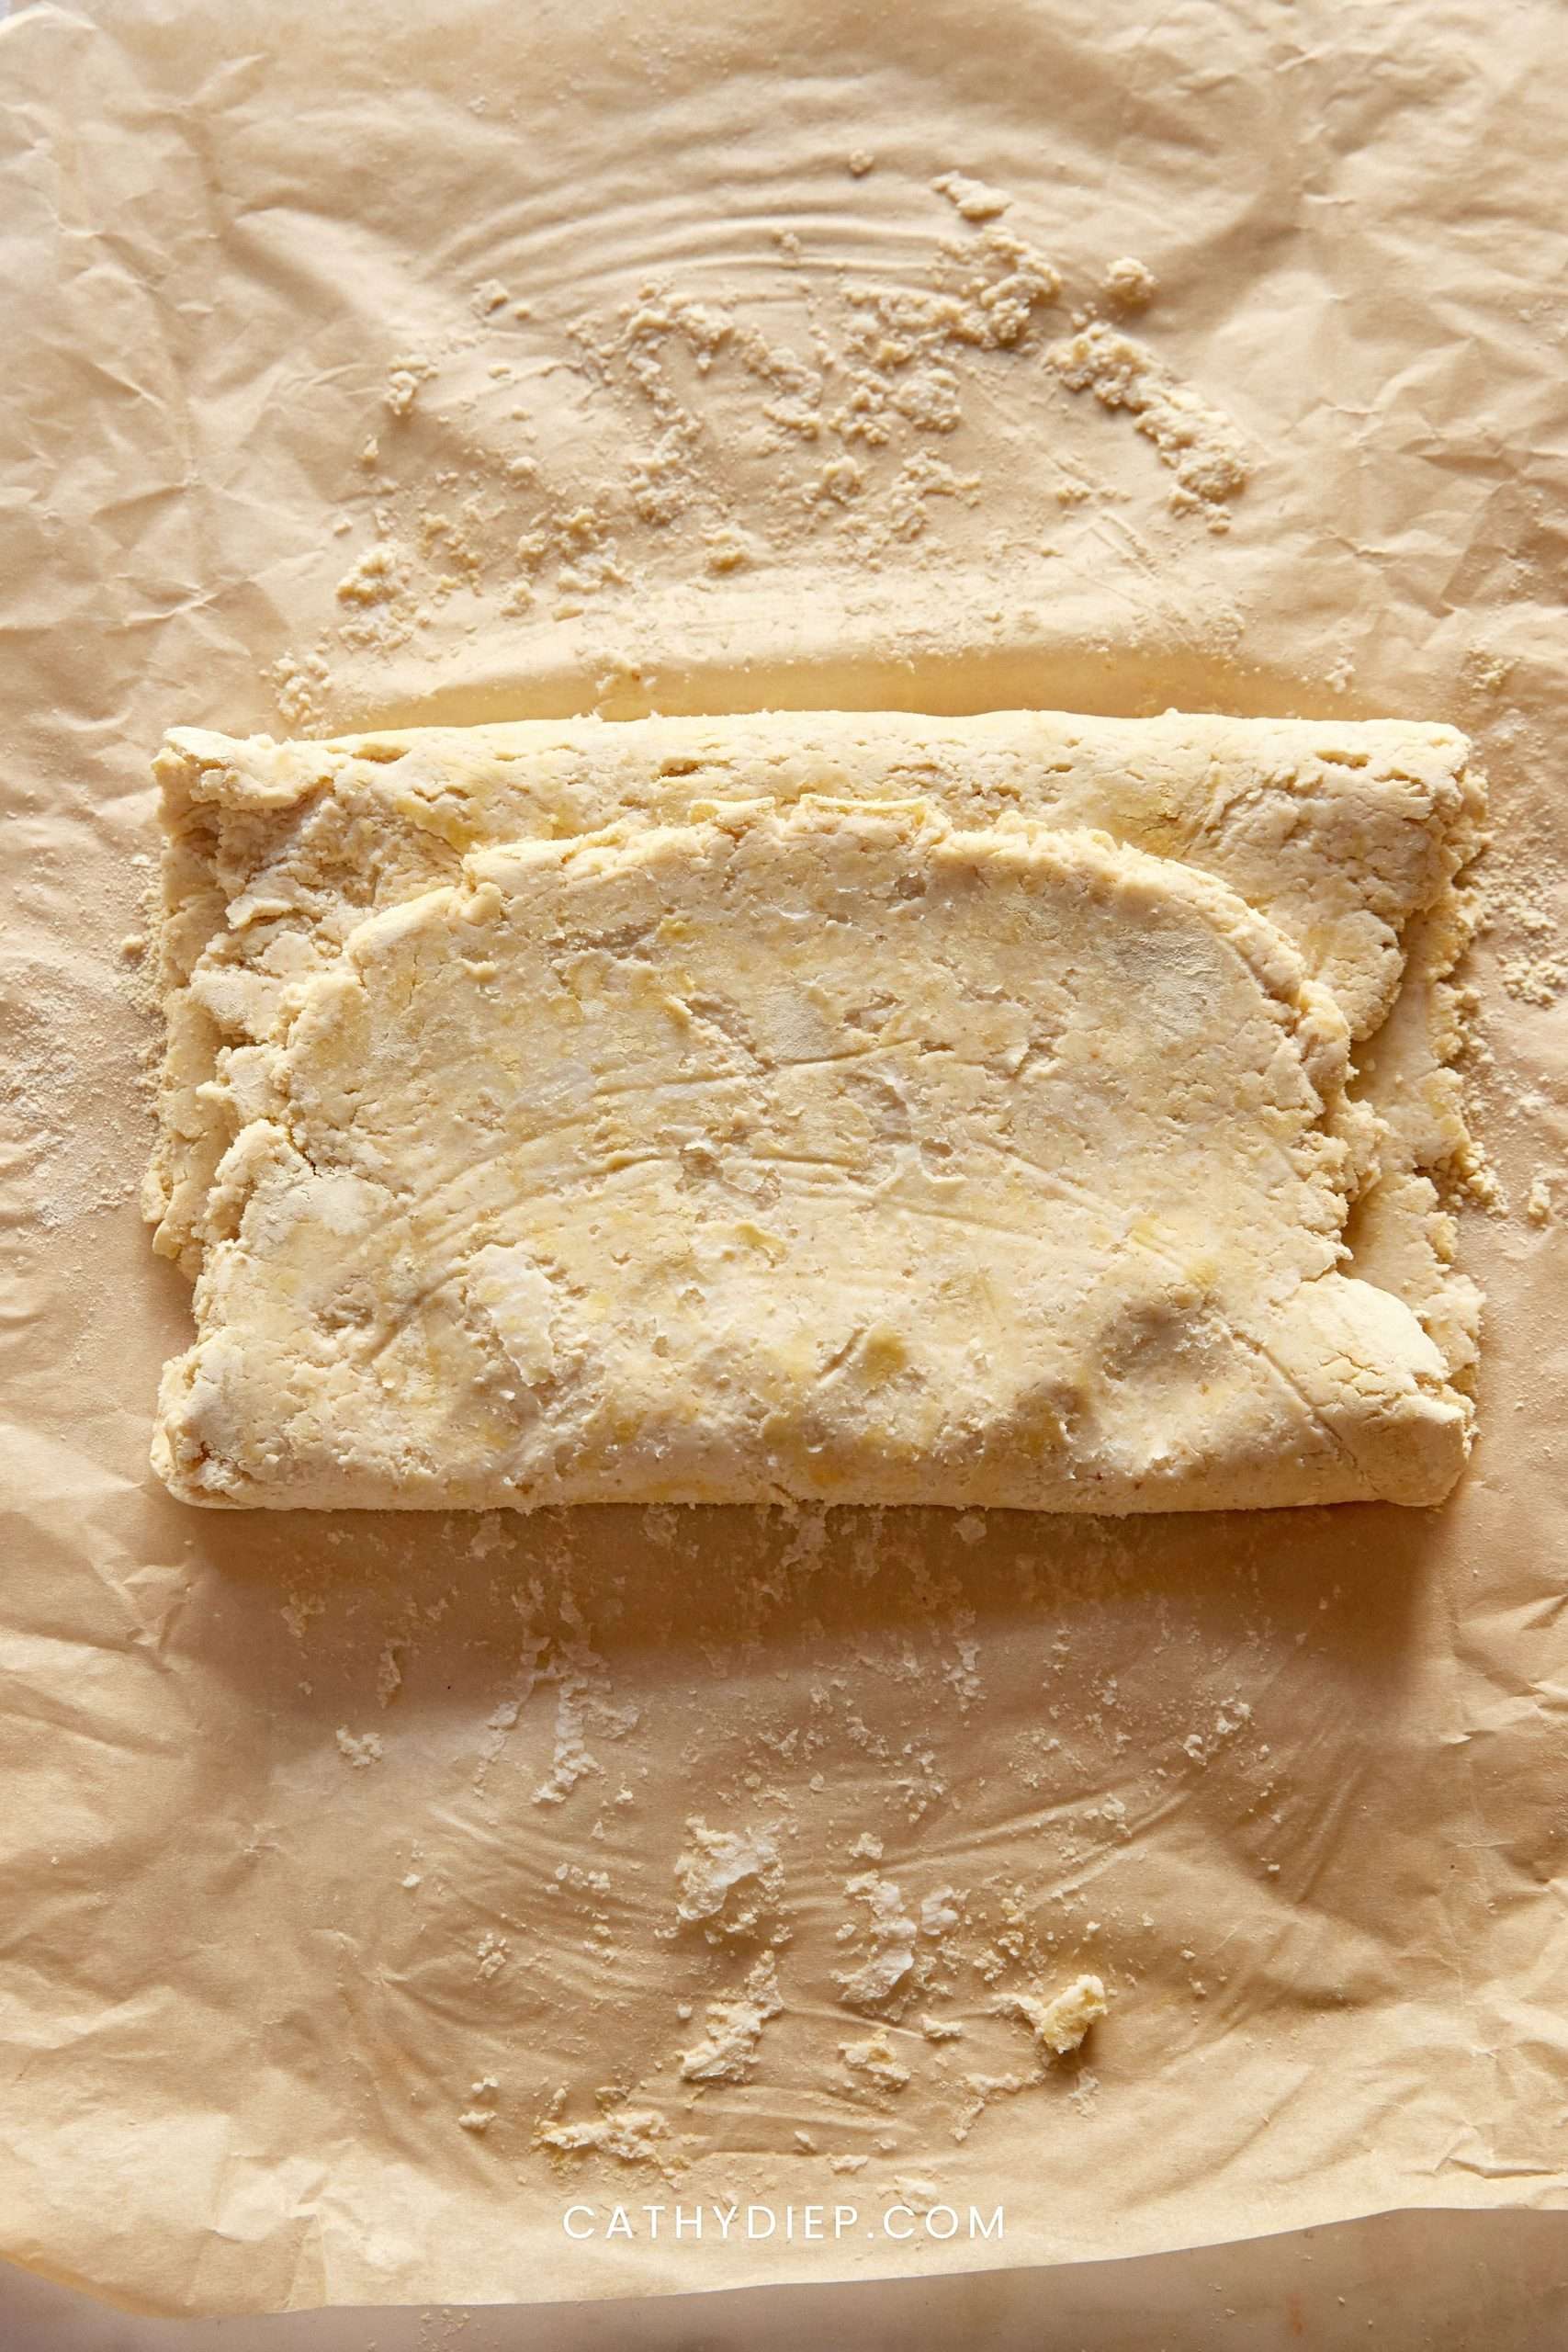
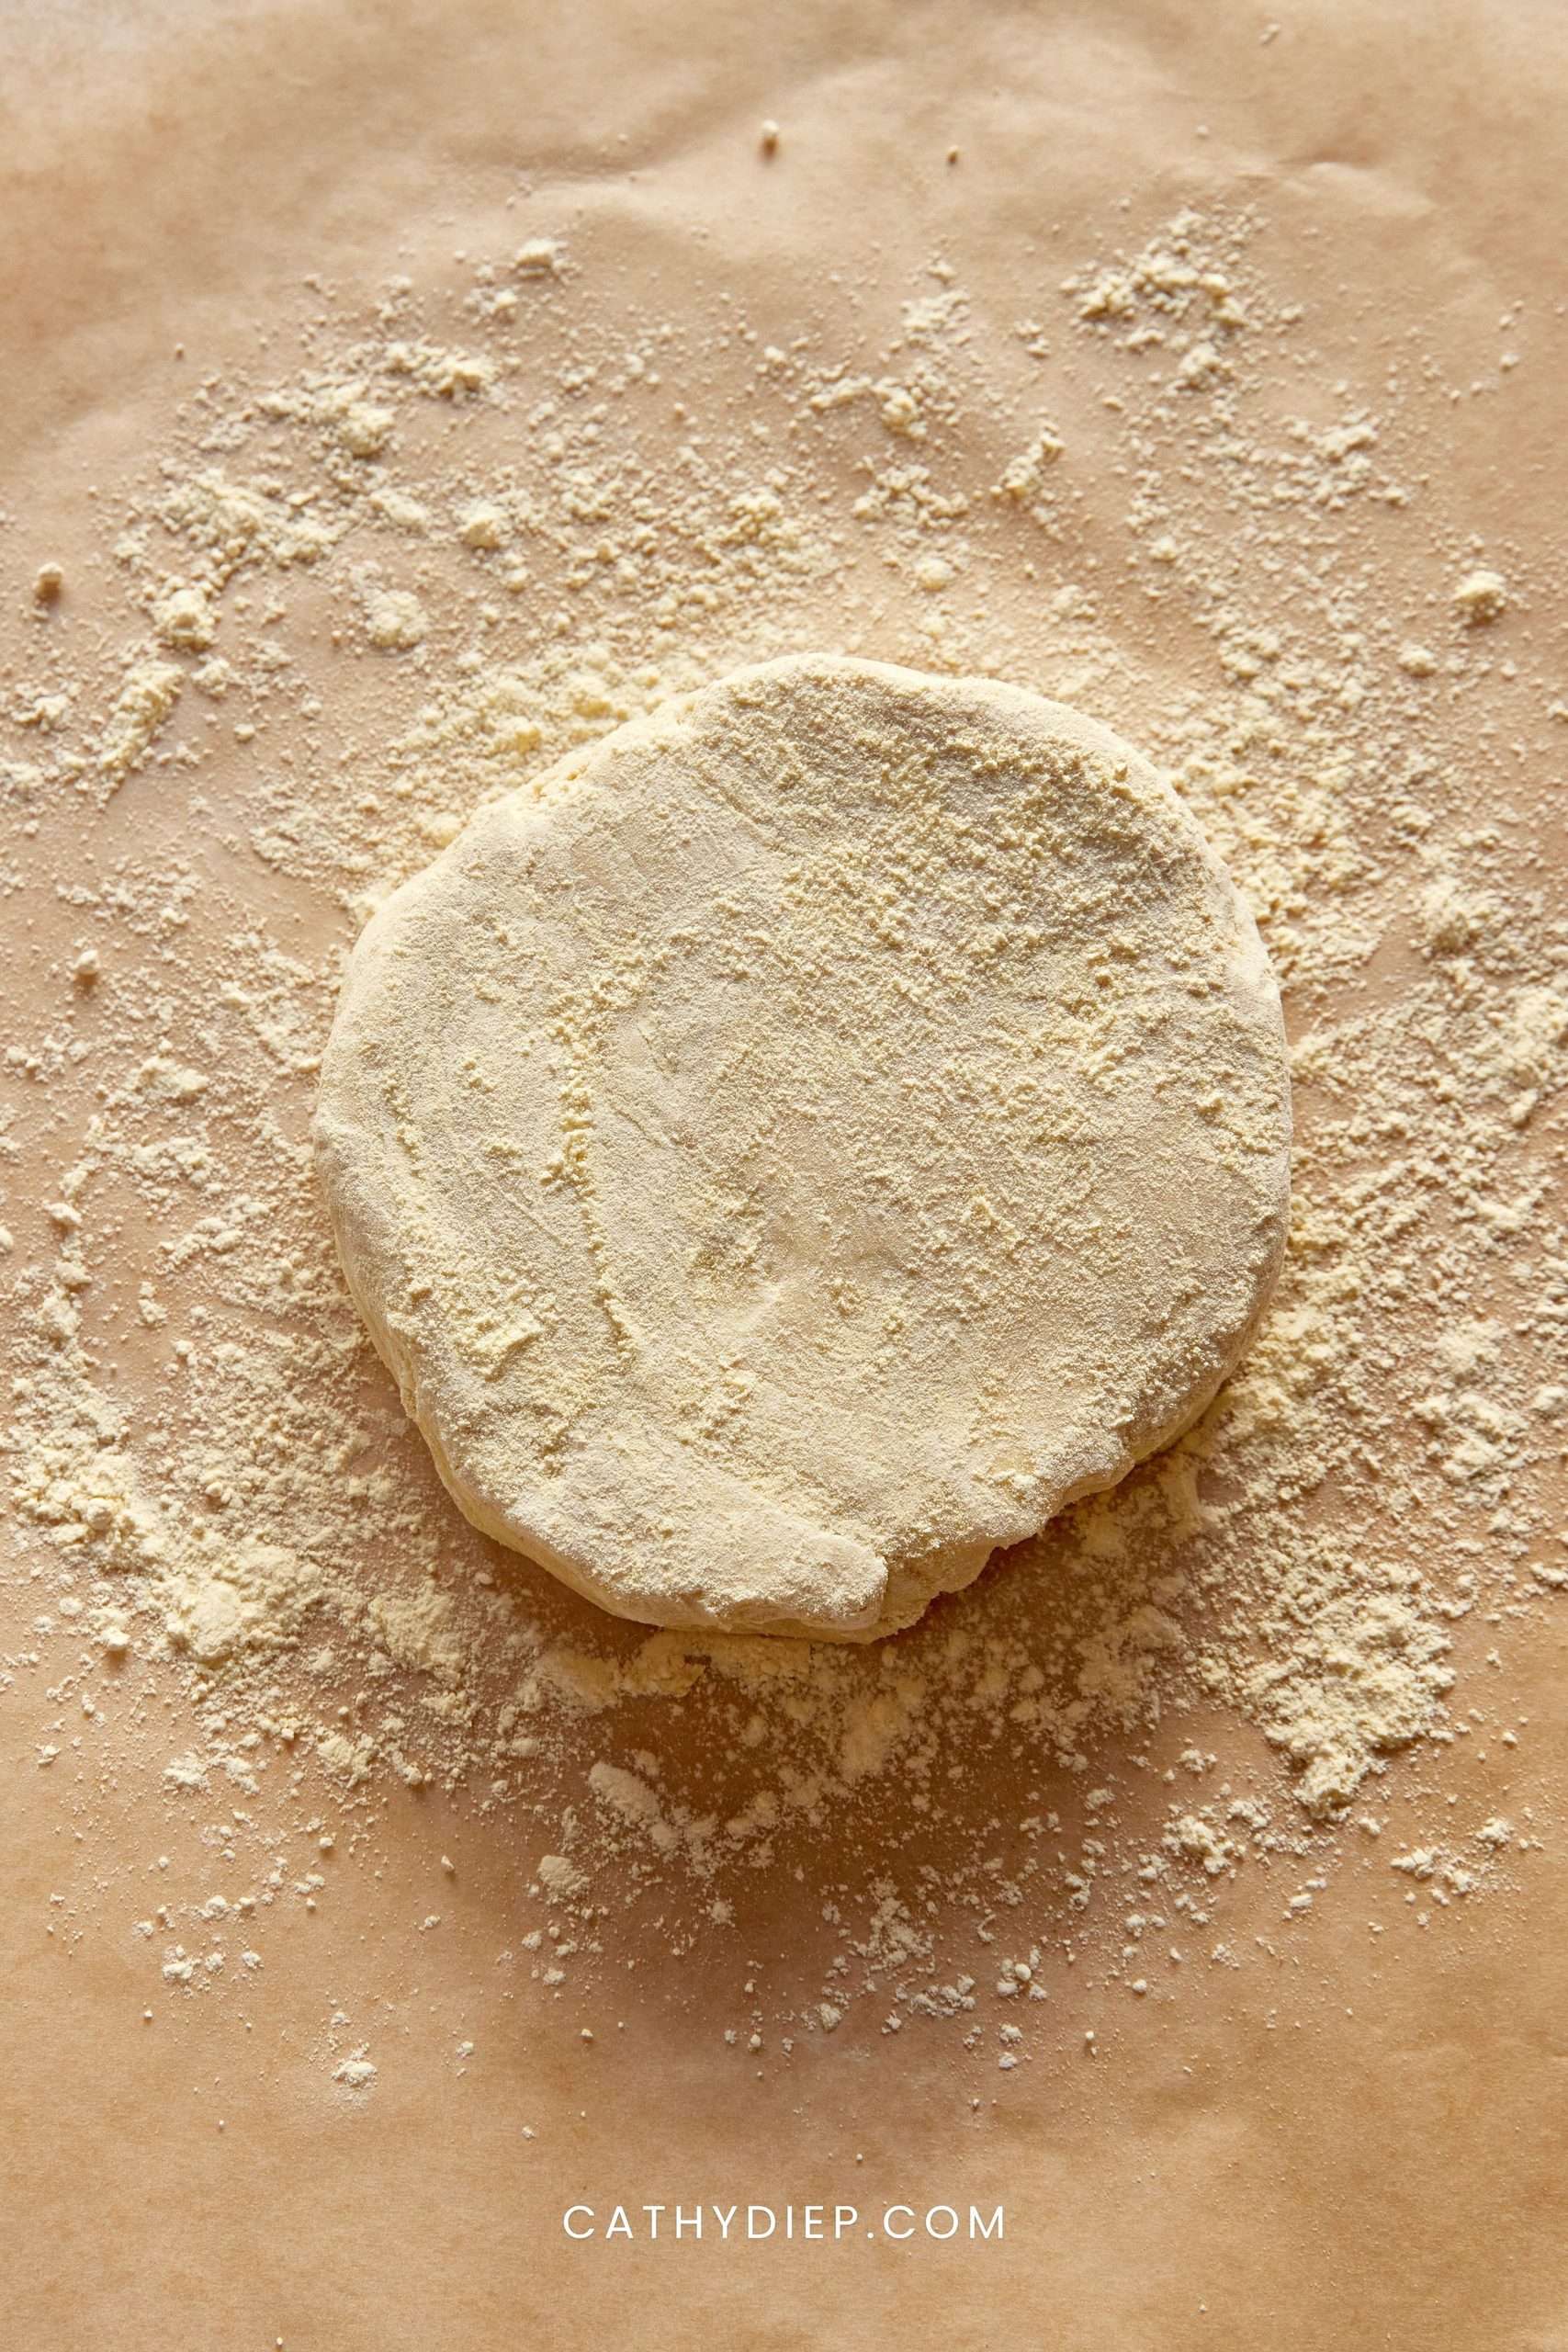
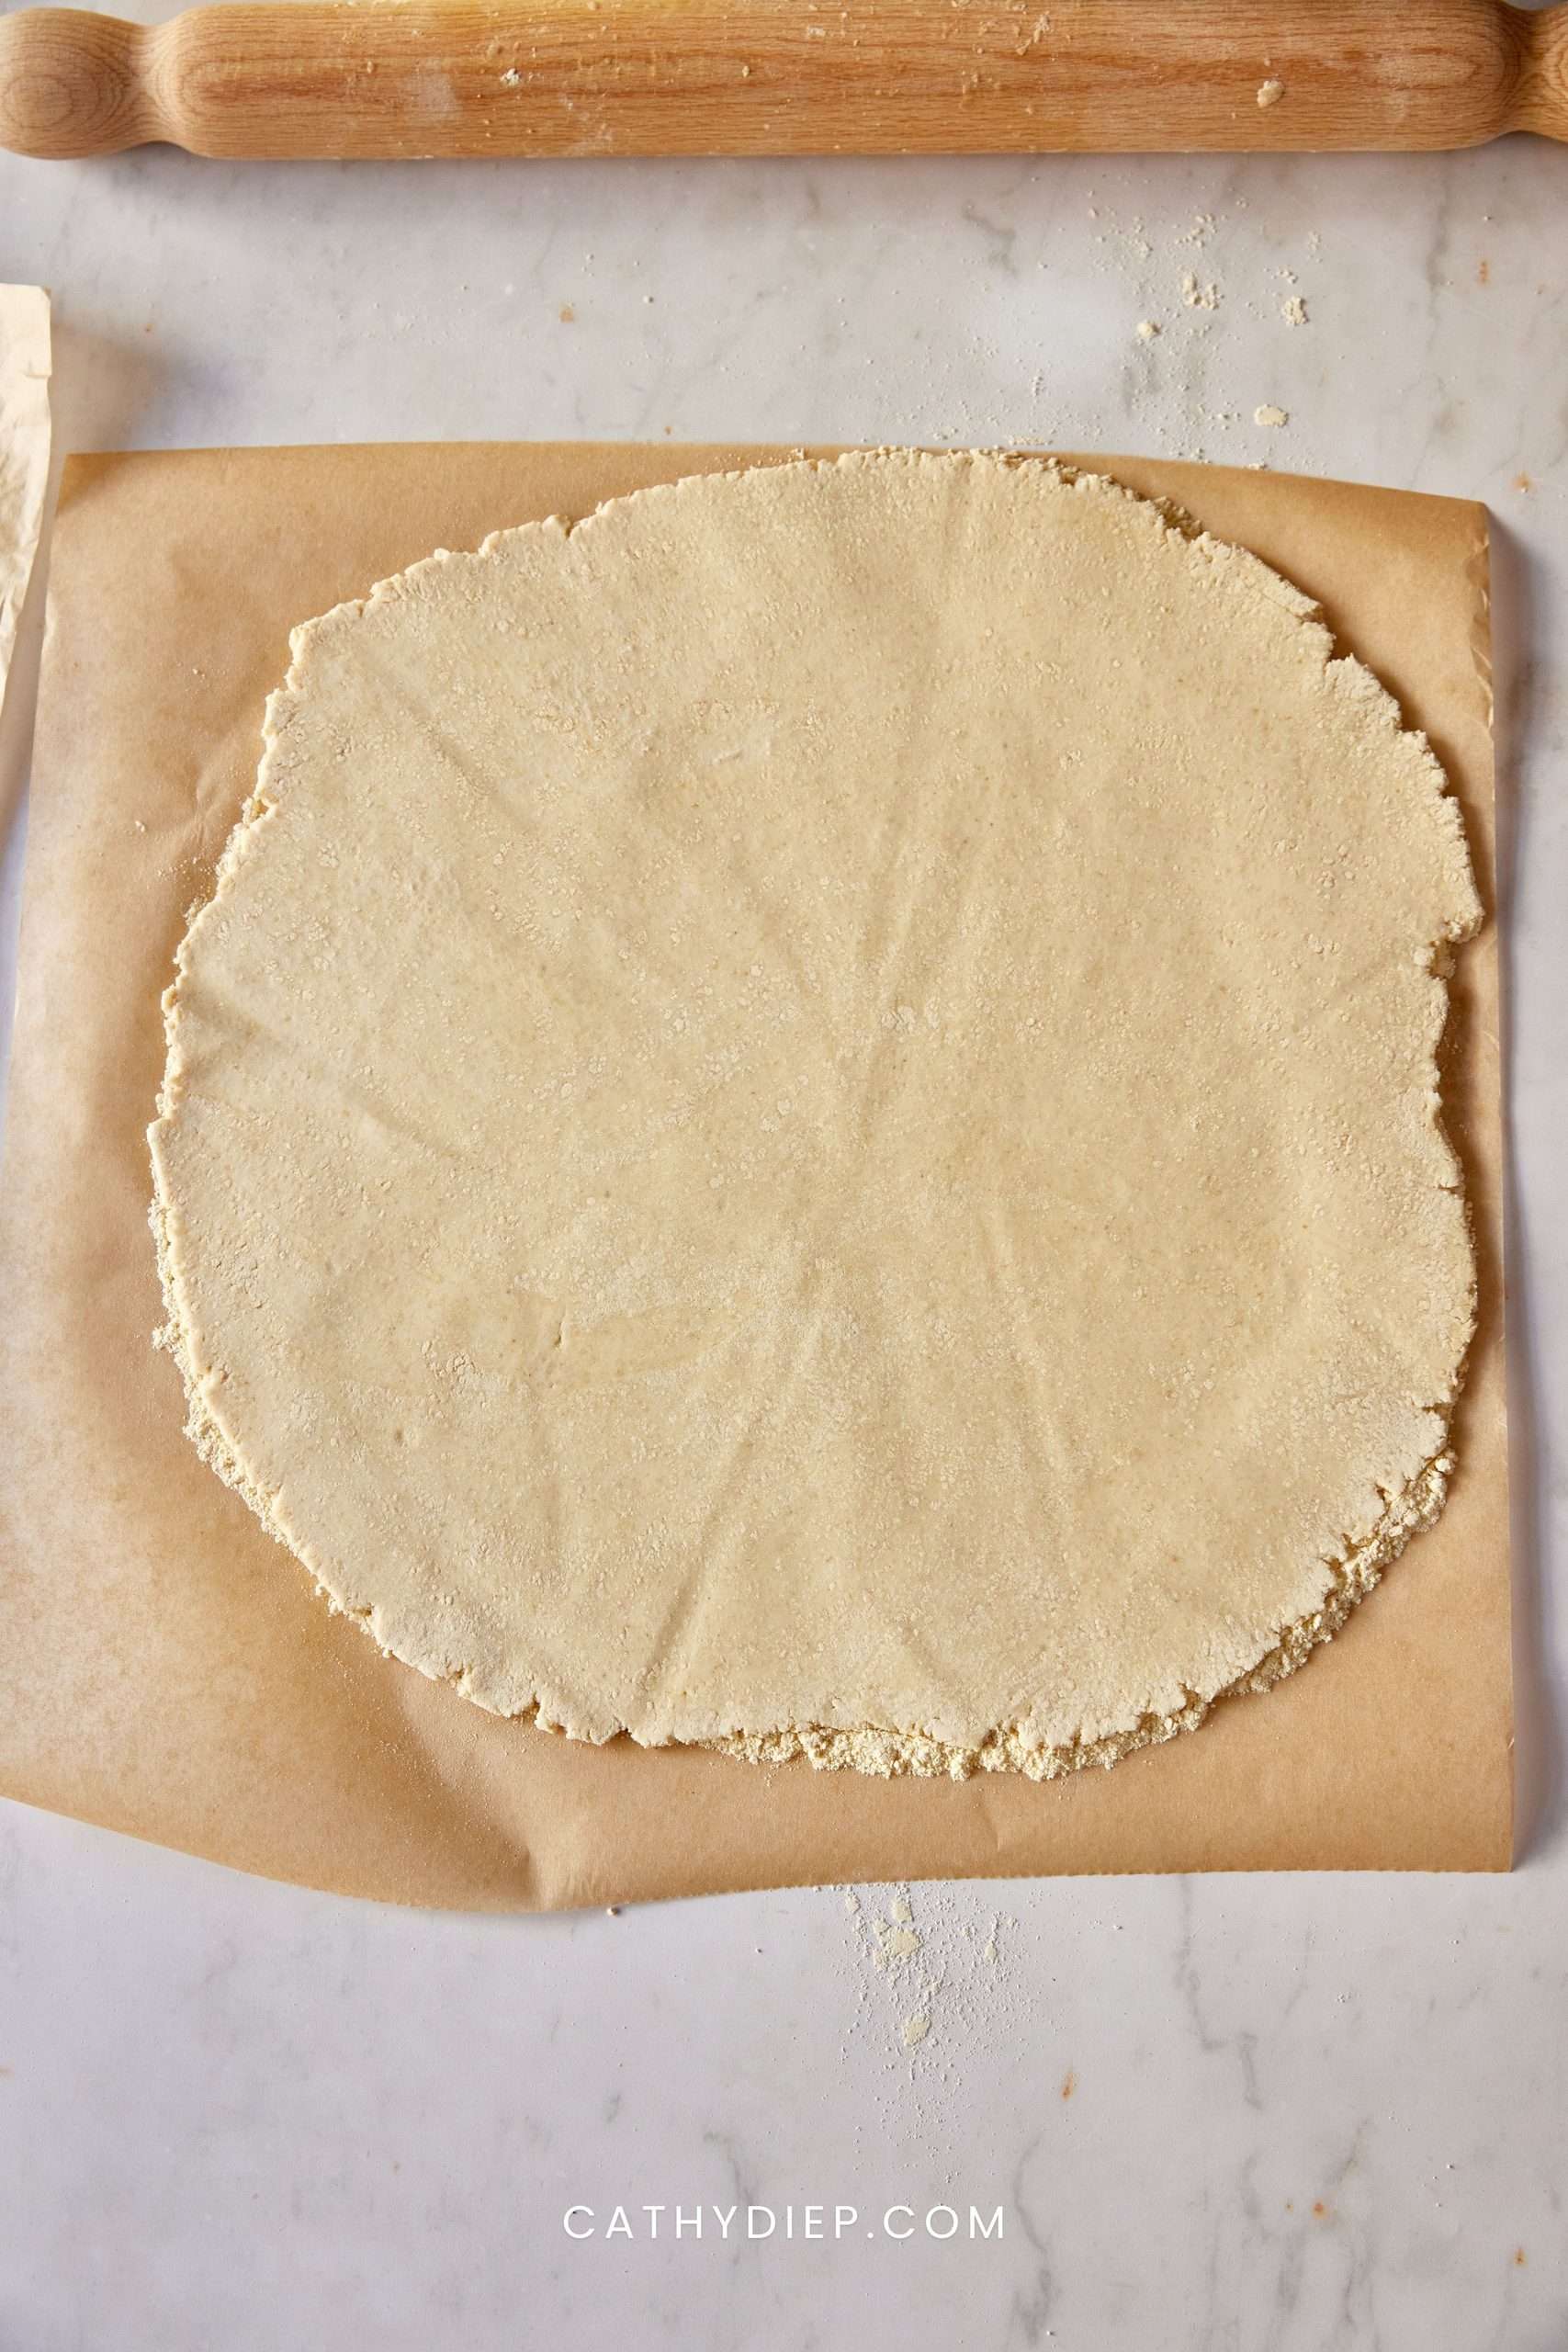
Step 11: Roll the dough into roughly a 12 x 8-inch rectangle, fold it into thirds like a letter, then repeat the rolling and folding once more. Shape it into a disk and roll it into a circle a few inches wider than your pie dish.
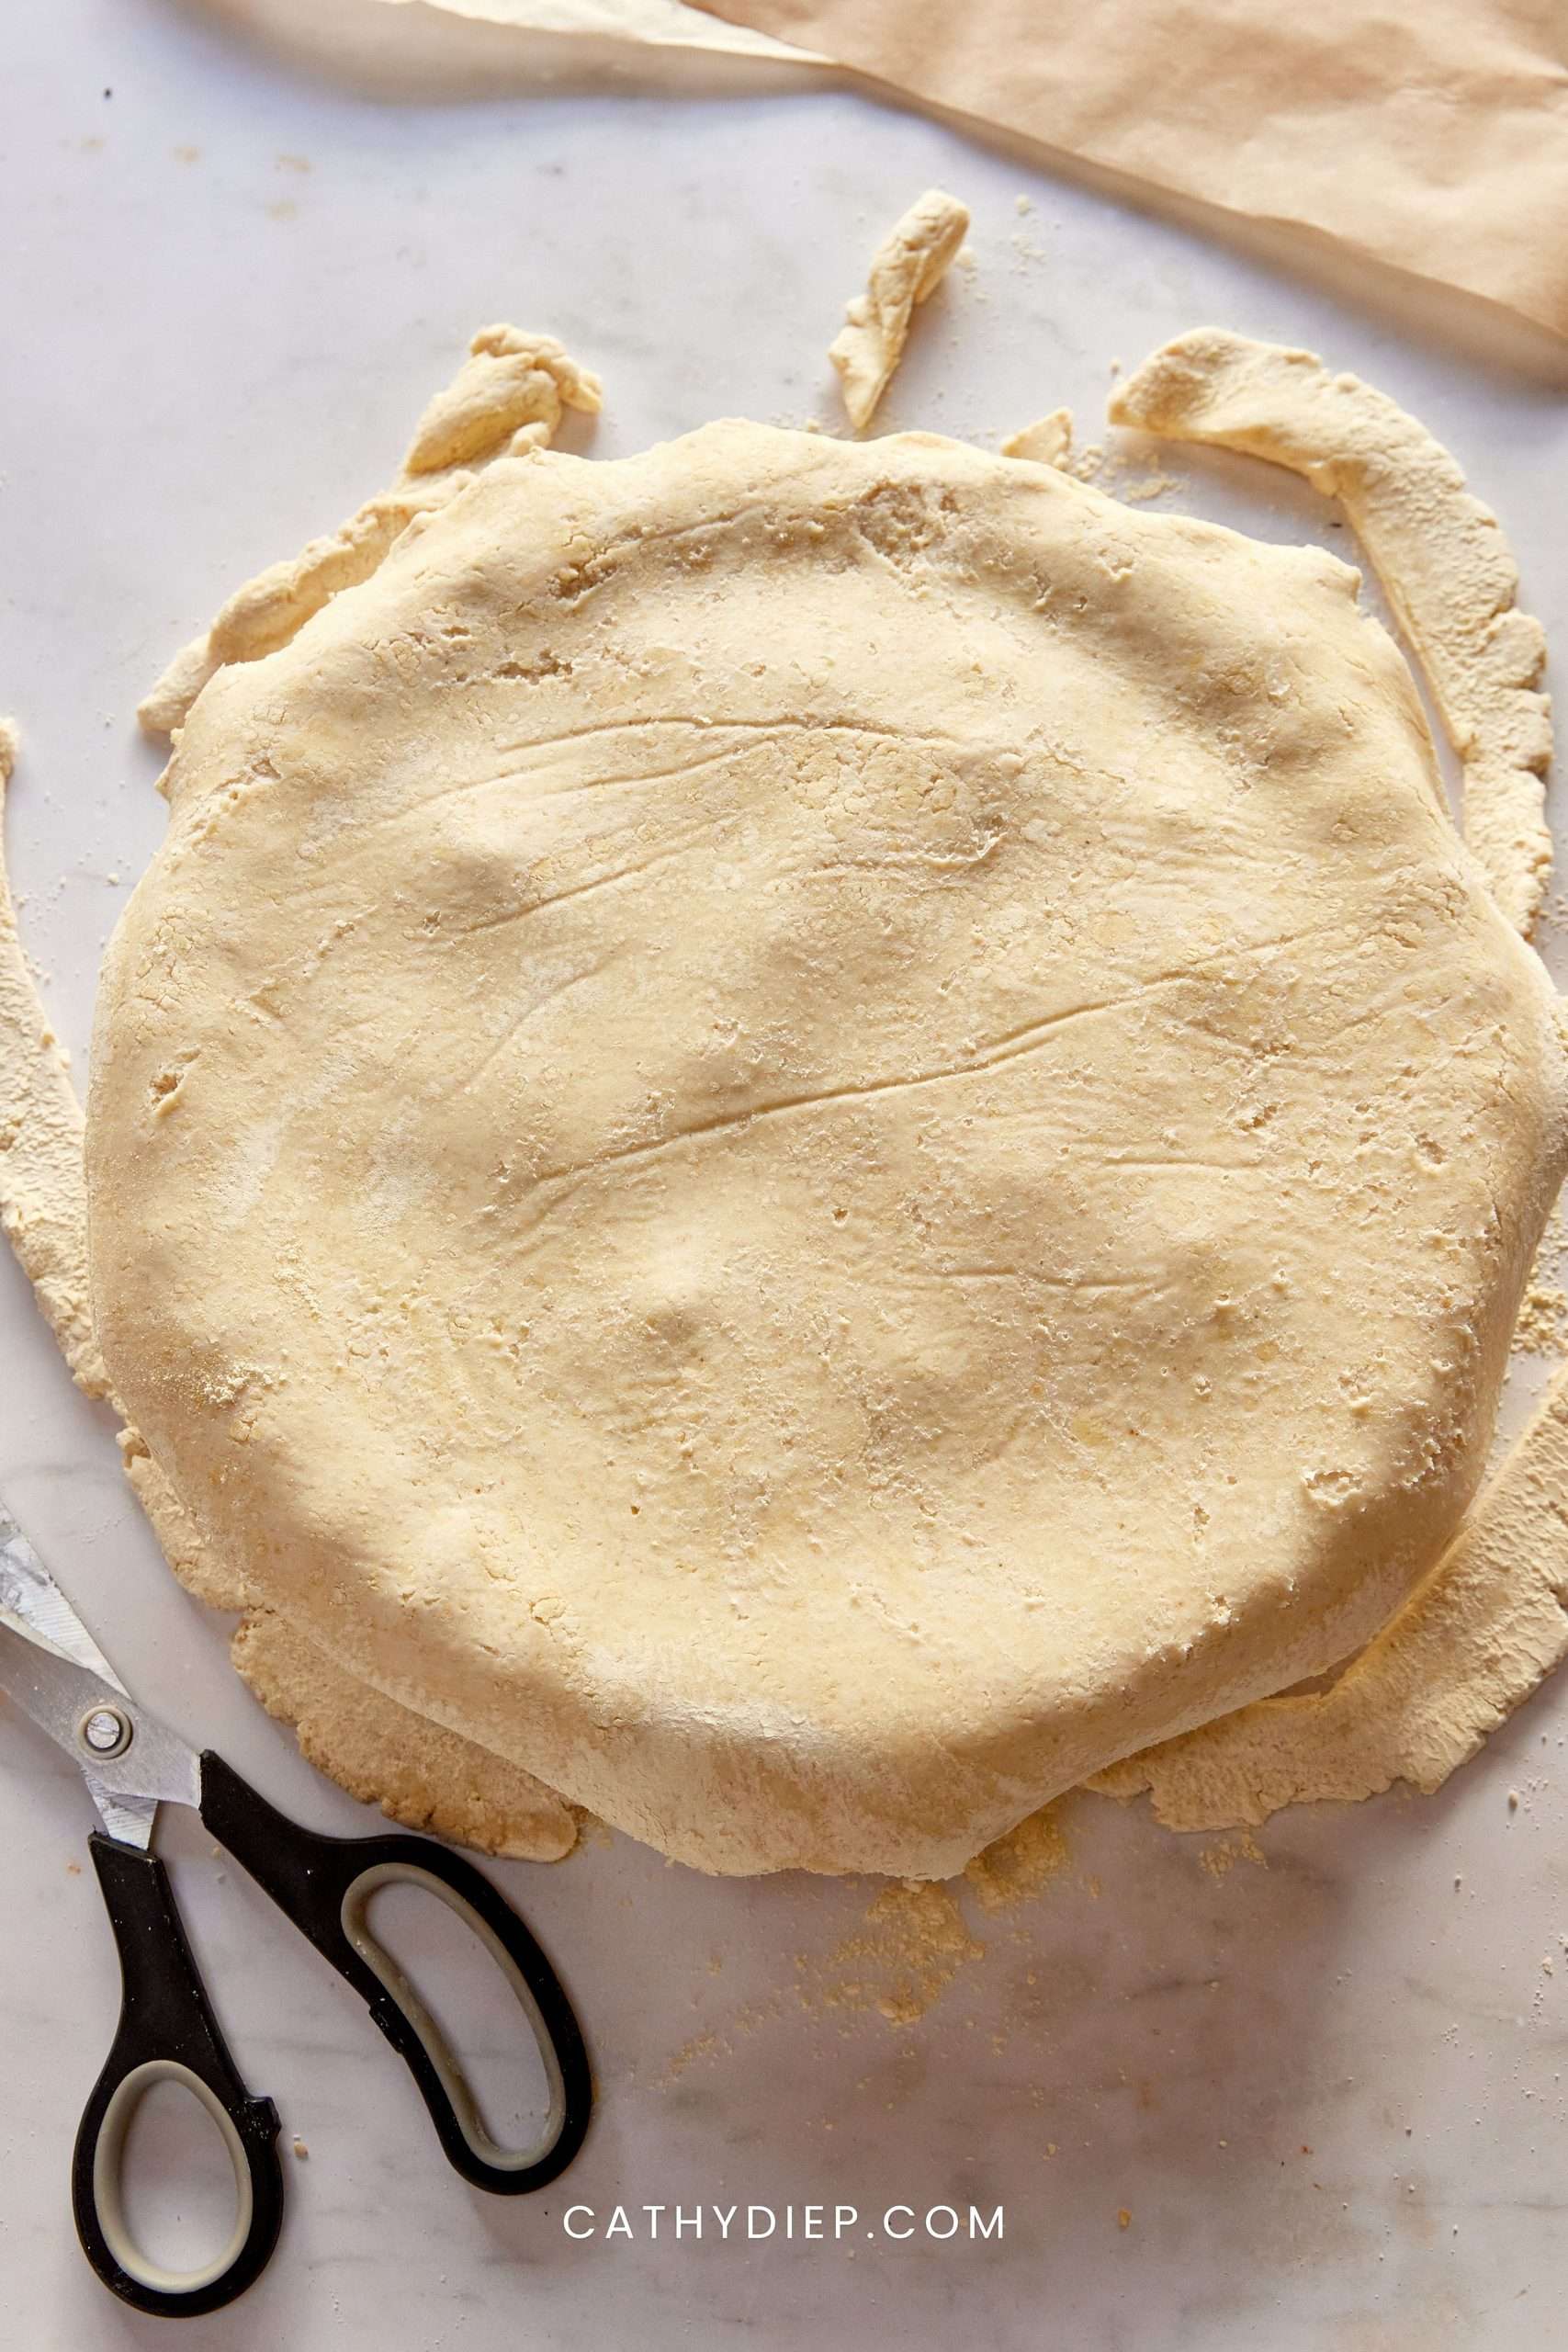
Step 12: Flip the crust over the cooled filling, trim the edges to leave about a 1-inch overhang, then fold and crimp the edges. Brush with the egg yolk mixture and cut a few small slits in the center to allow steam to escape.
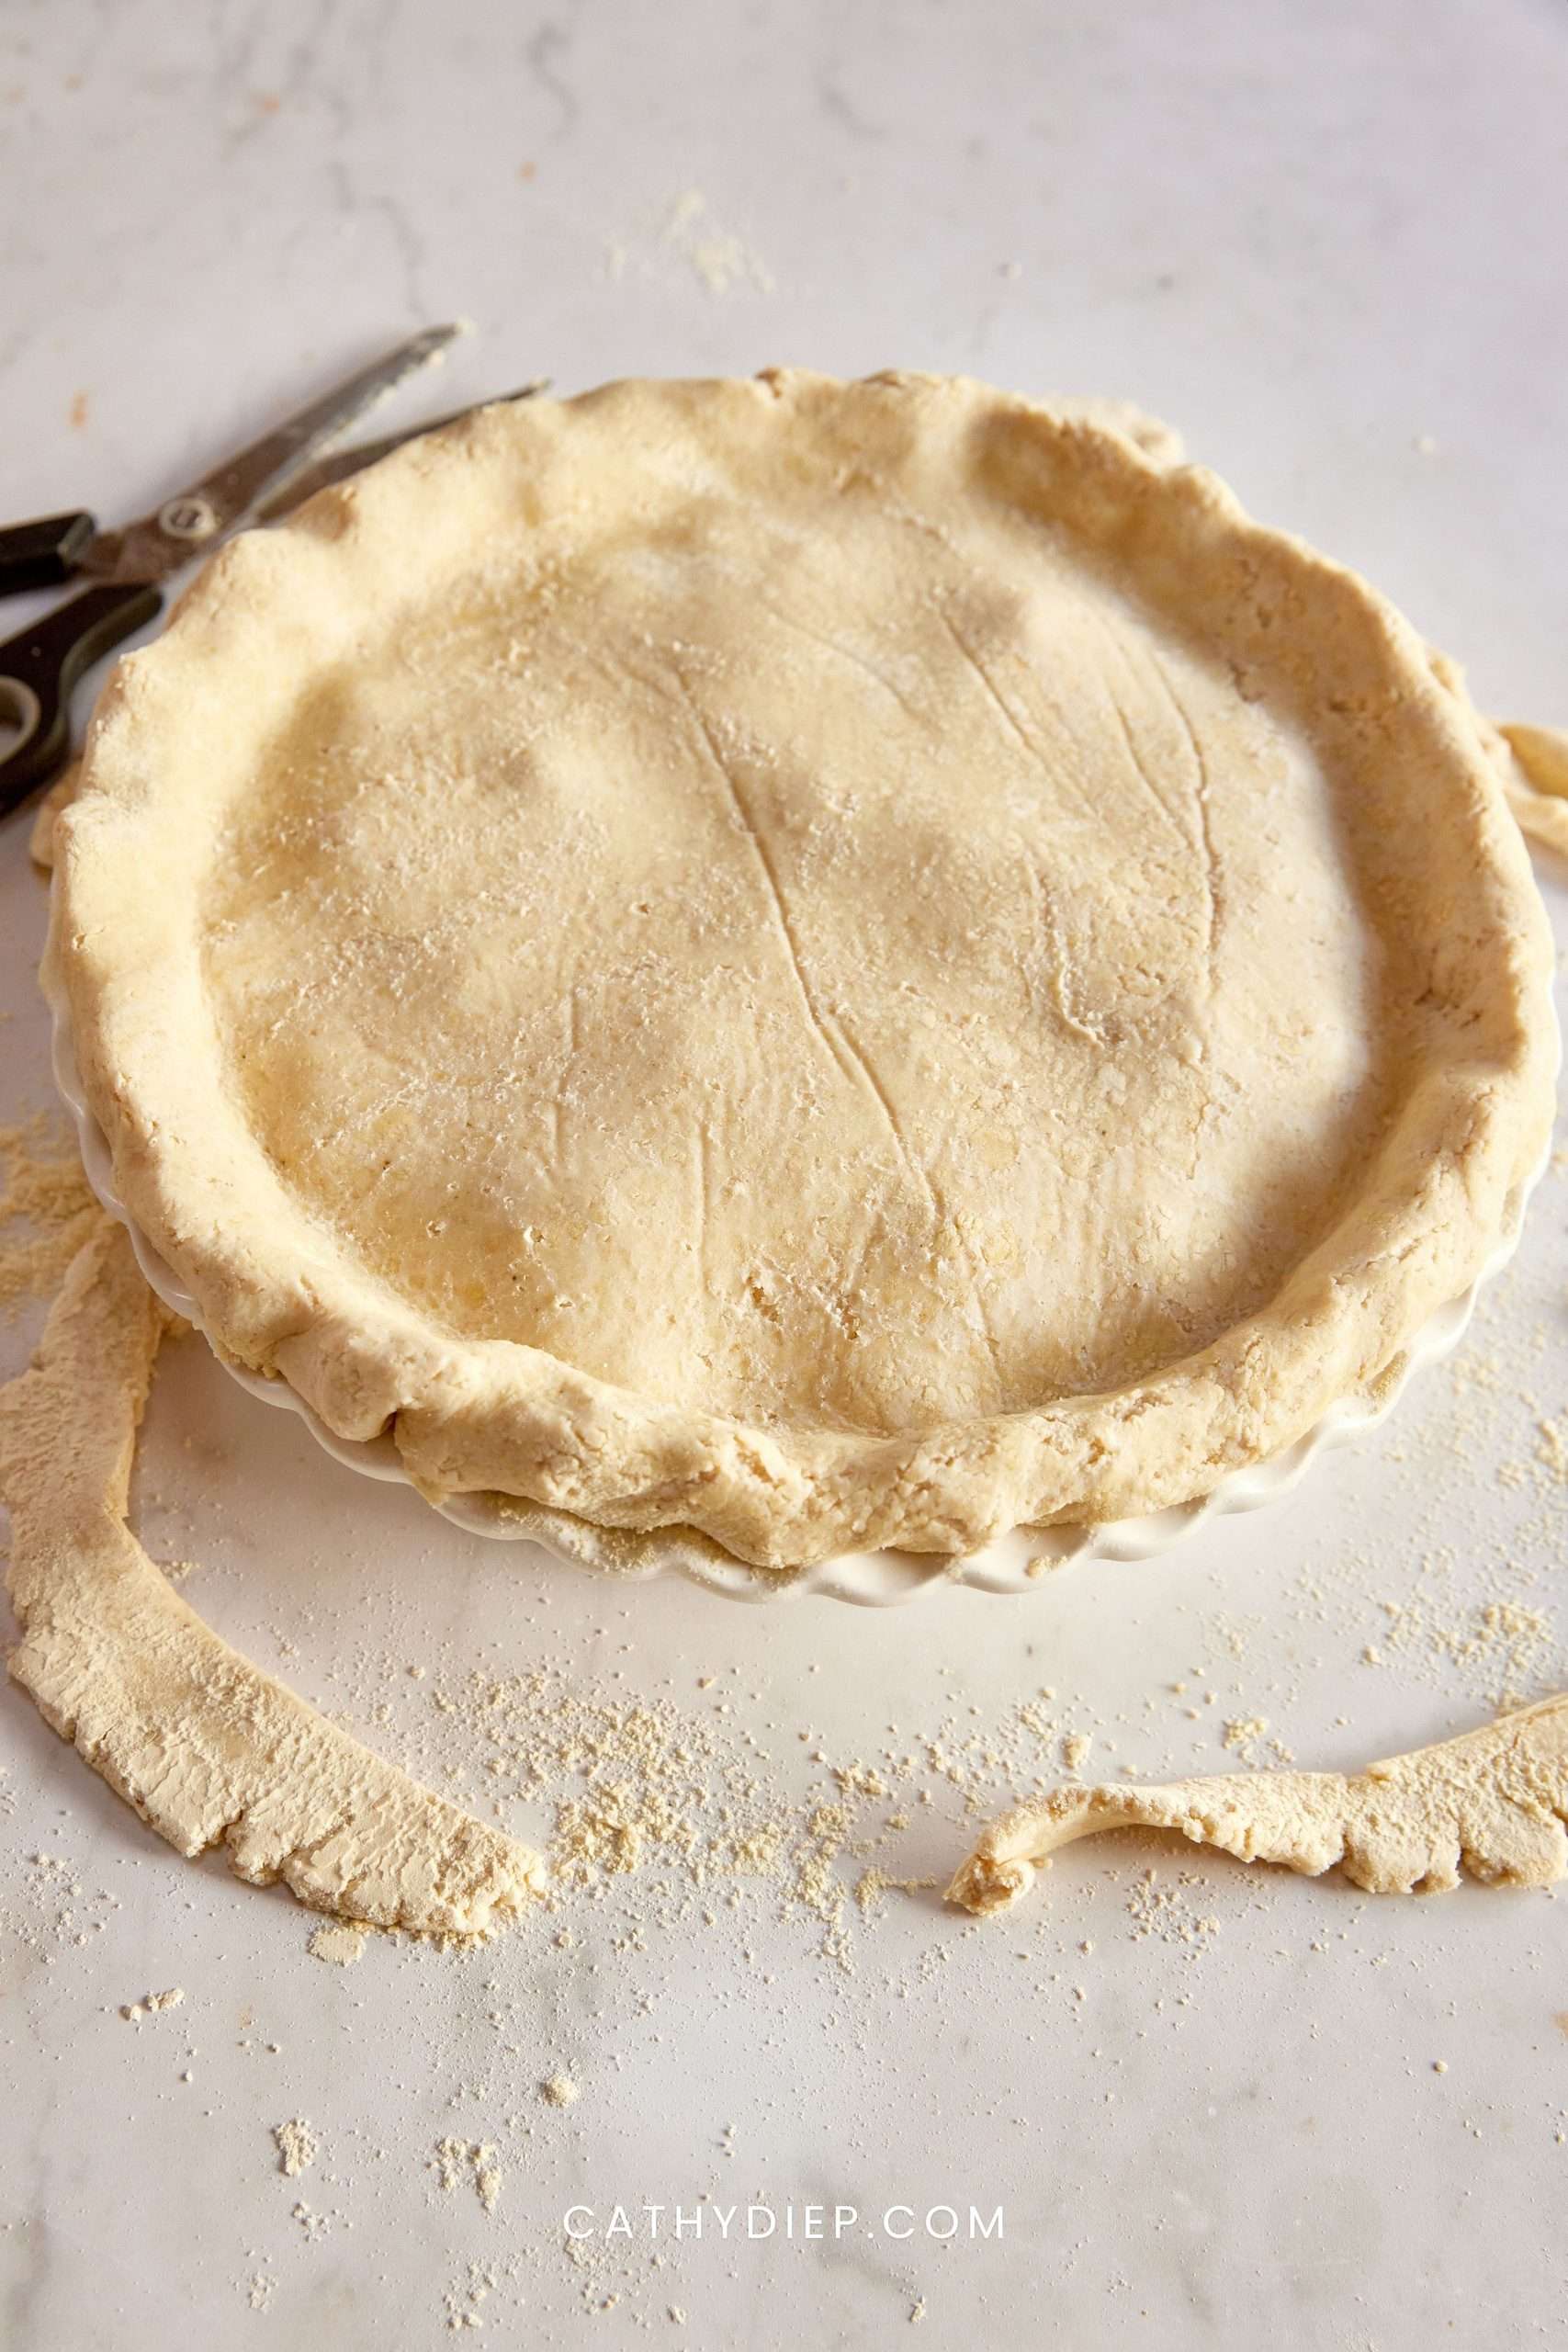
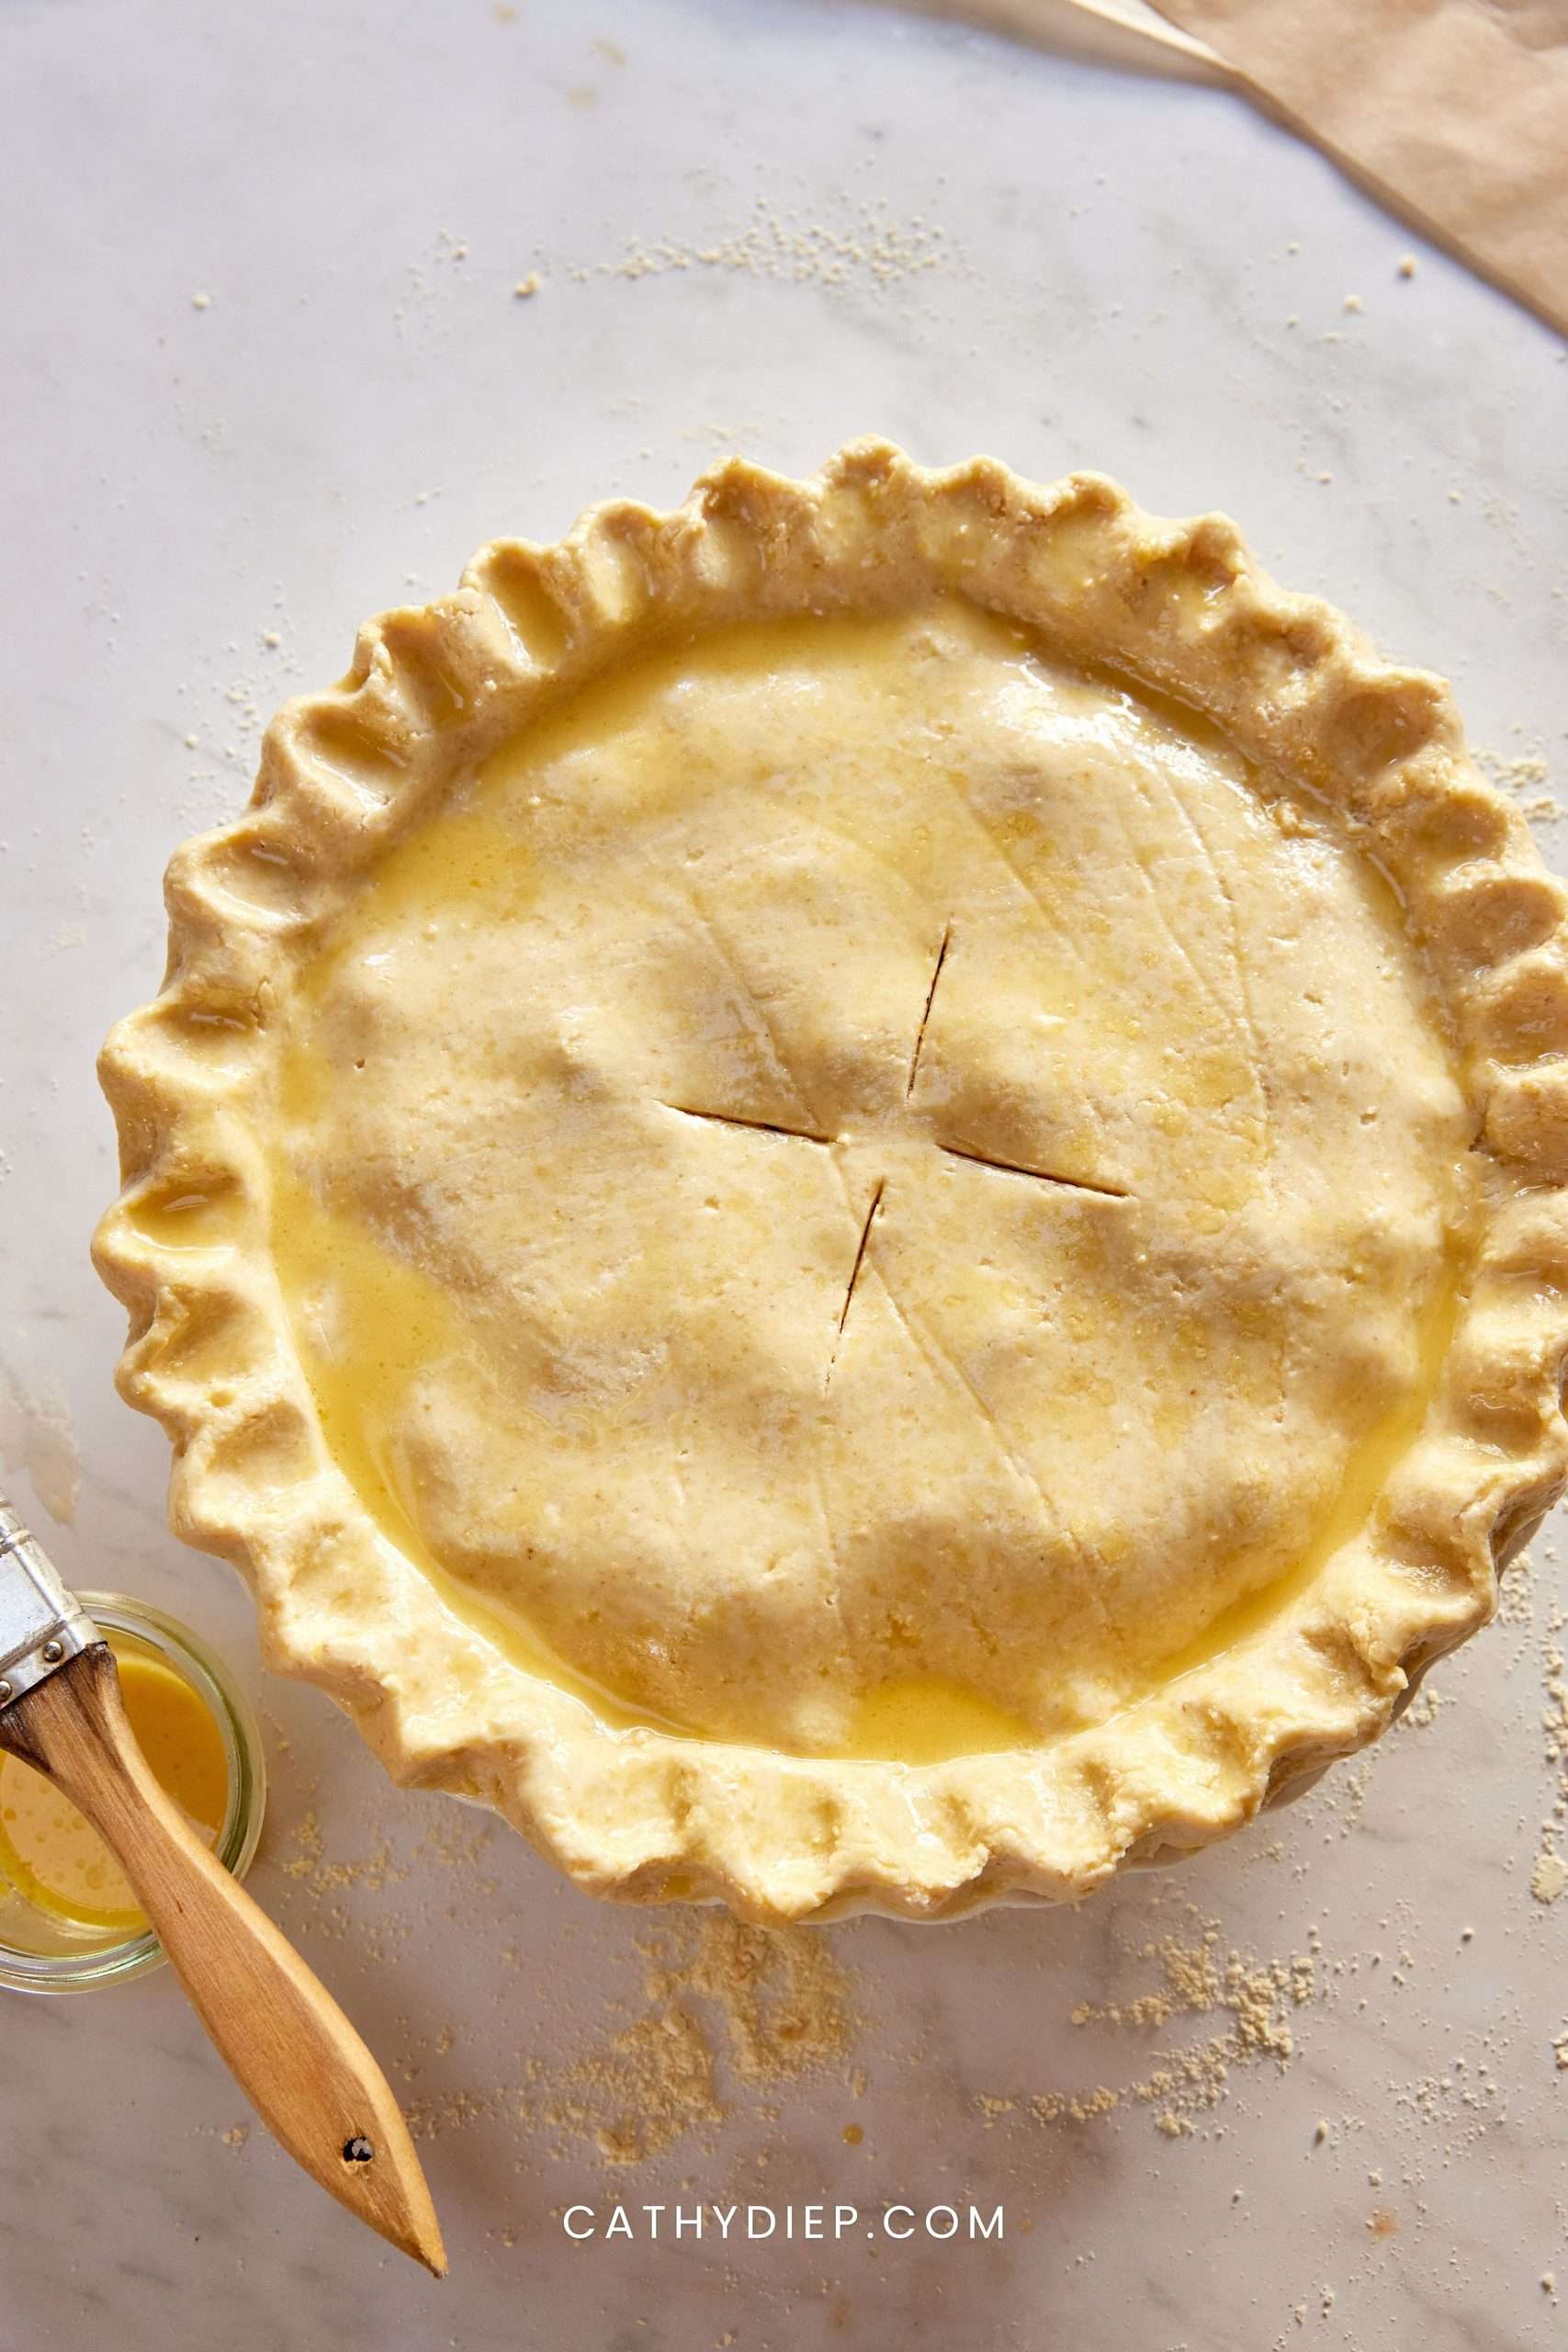
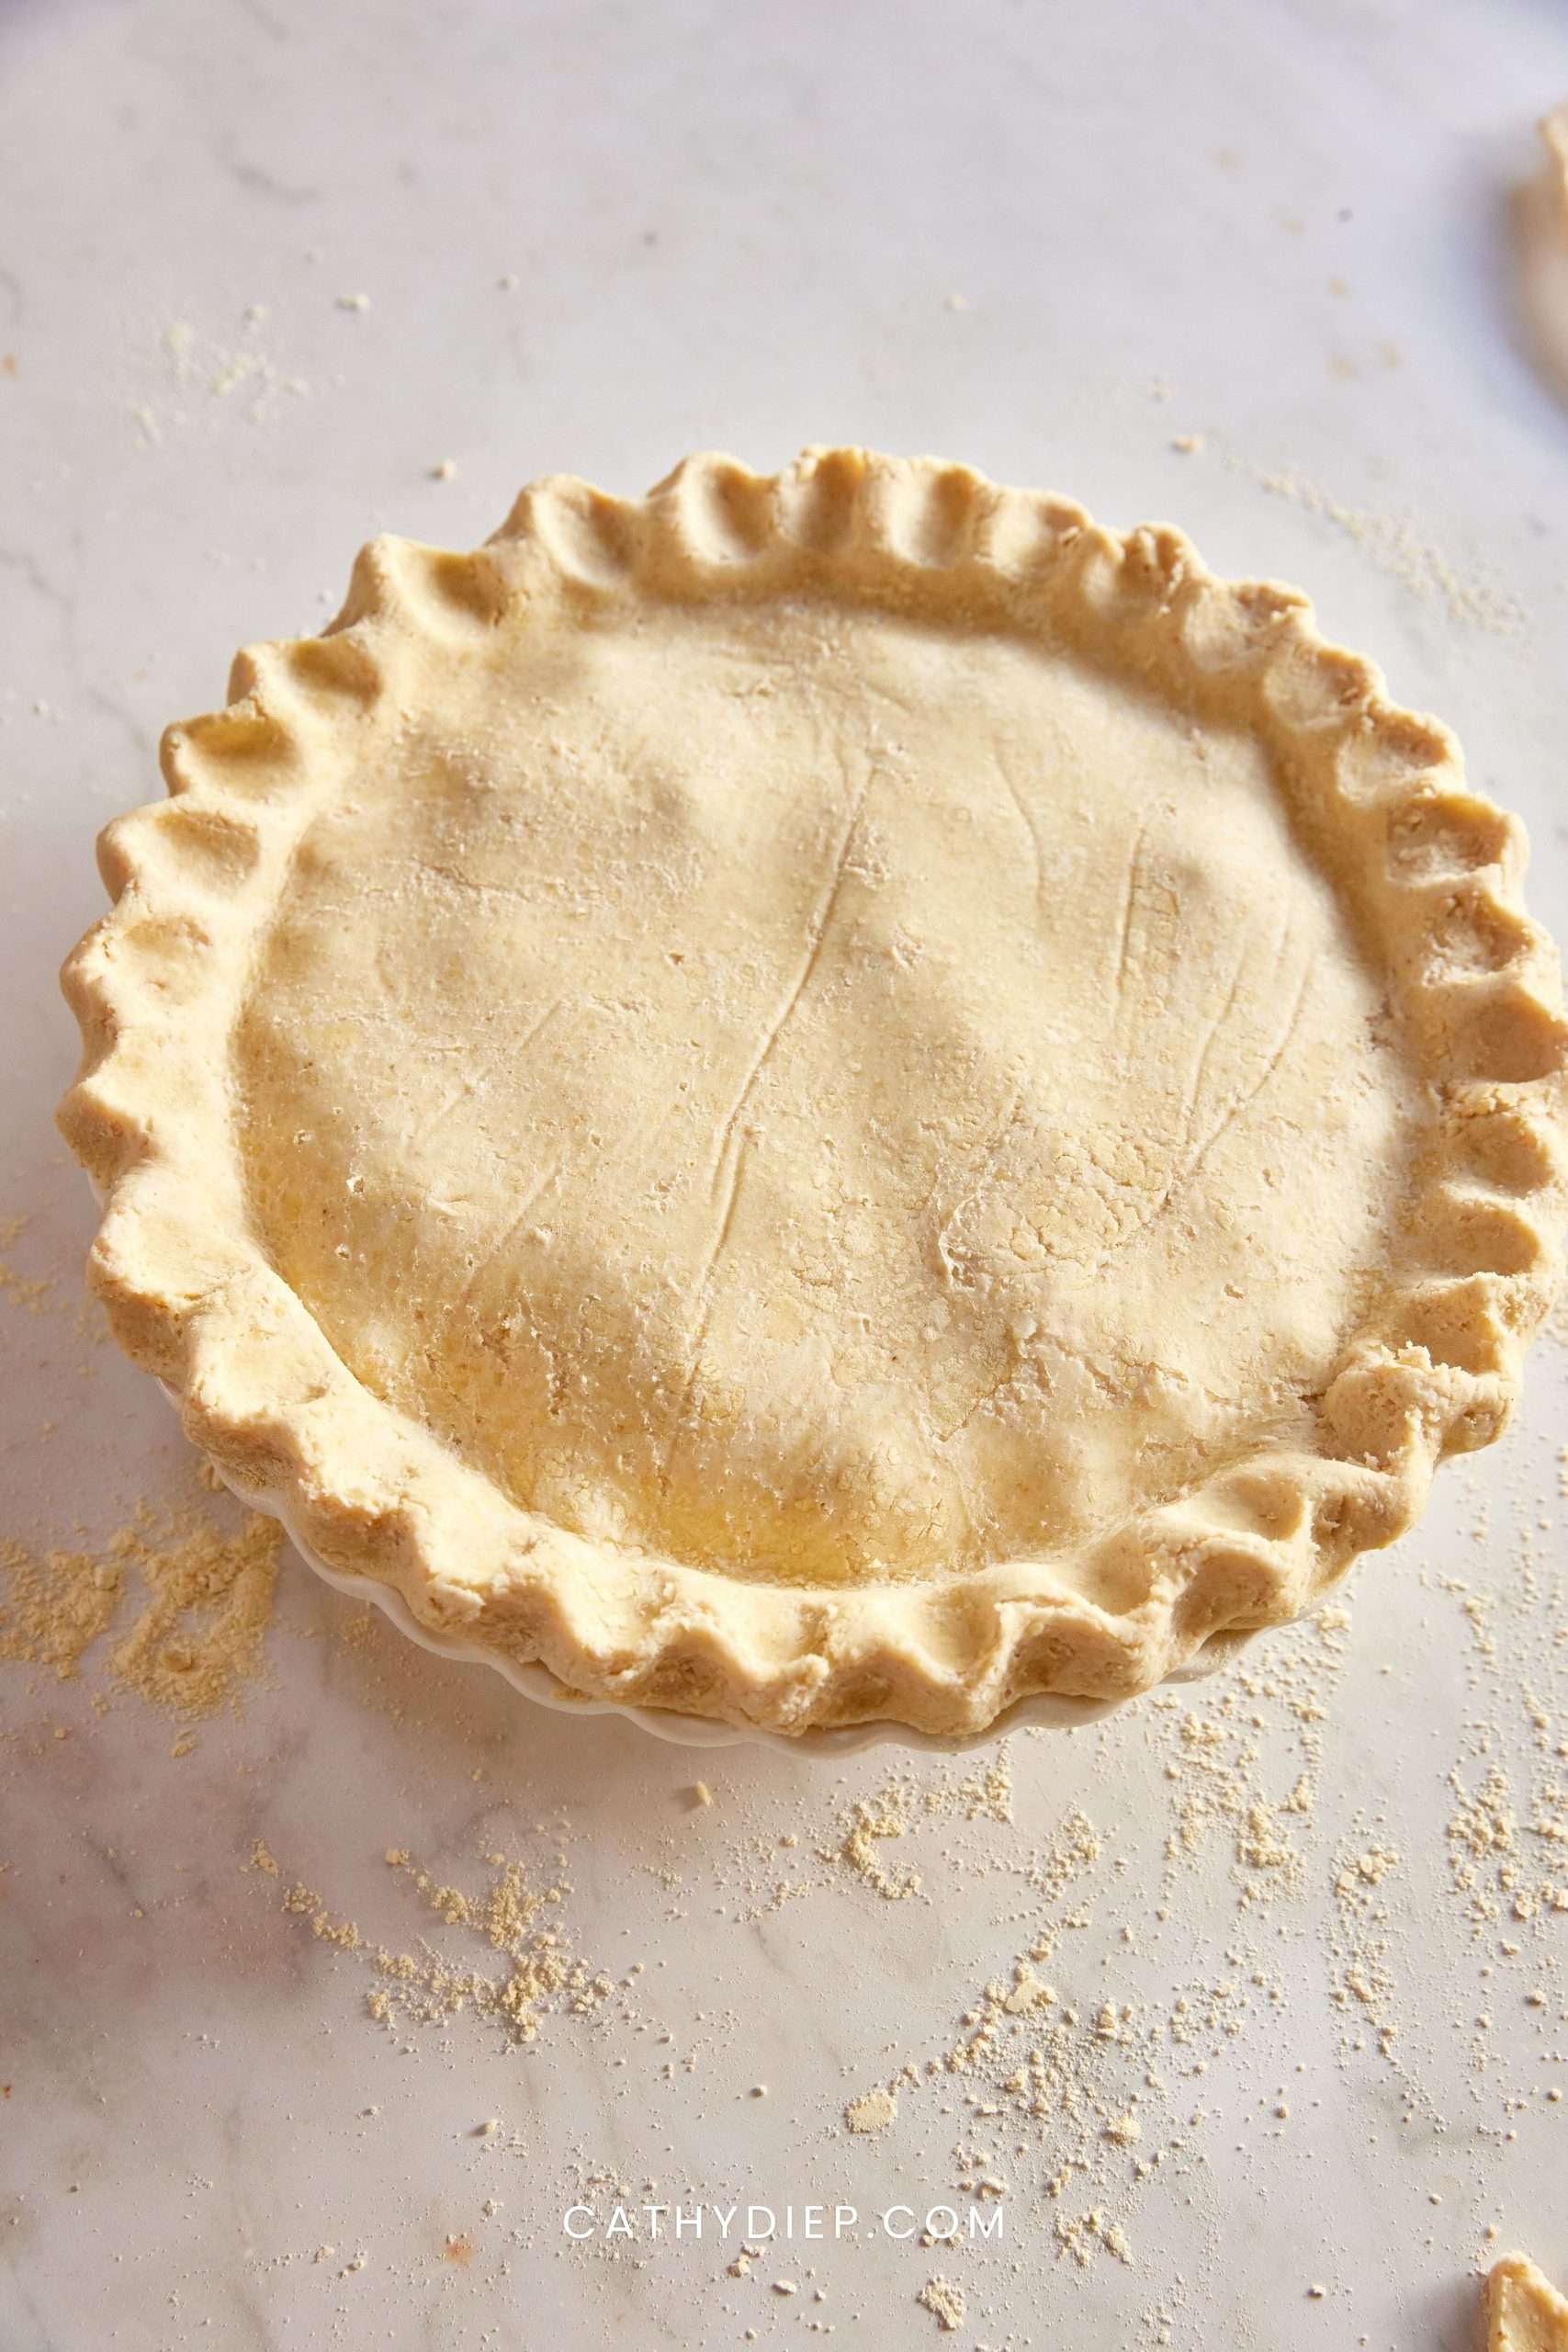
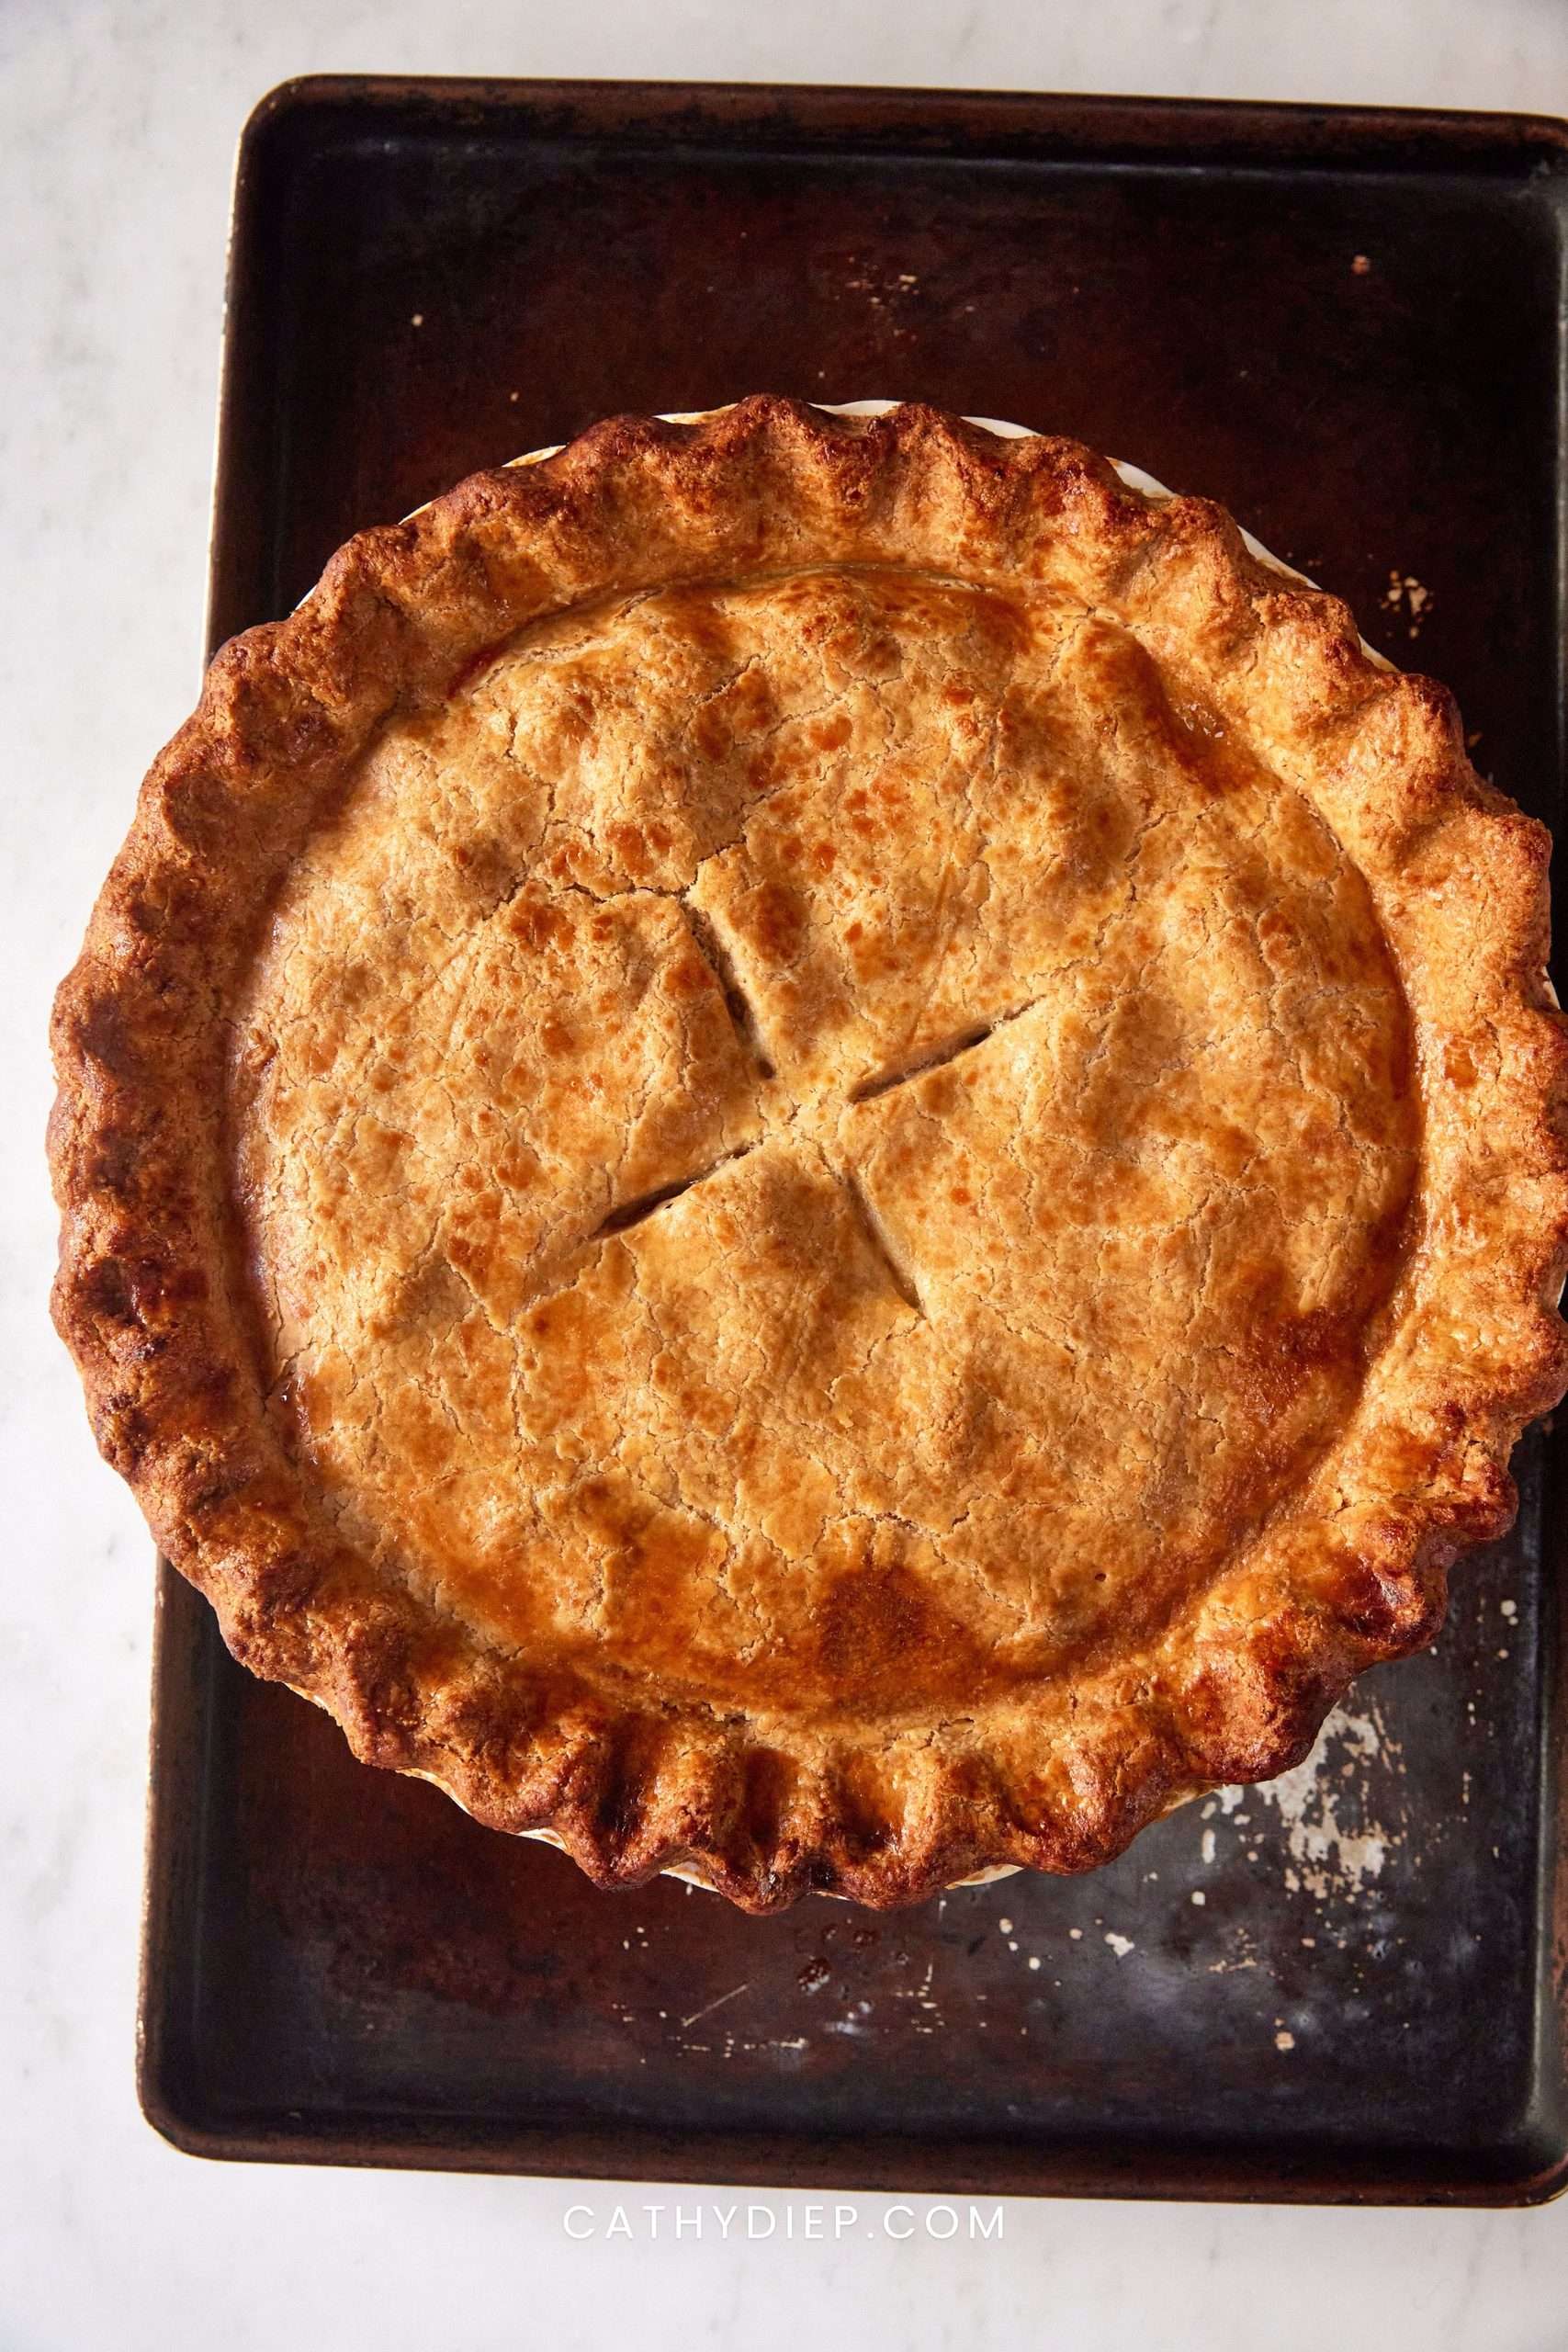
Step 13: Bake at 420°F for 30 to 40 minutes, until the crust is deeply golden and crisp. Let the gluten free chicken pot pie rest for 10 minutes before slicing so the filling has time to settle.
Recipe Tips & Tricks
- Keep everything cold: Cold lard is one of the keys to a flaky crust. If the dough or fat starts to feel soft at any point, pop it into the freezer for about 10 minutes before continuing.
- Chill after cutting in the fat: I like to place the flour and lard mixture in the freezer for 10 minutes before adding the liquids. It gives the fat an extra chance to firm up and helps create better layers in the pastry.
- Do not make the dough too dry: Gluten-free pastry generally needs more moisture than traditional wheat-based dough. The dough should feel soft and hold together easily rather than dry and crumbly.
- Cool the filling before adding the crust: A hot filling can start melting the fat in the pastry before the pie reaches the oven. Giving it at least 30 minutes to cool helps keep the crust crisp and flaky.
- Adjust the filling to your preference: If you prefer a looser, creamier chicken pot pie filling, stir in a splash of additional chicken broth before transferring it to the pie dish.
- Use baking paper for easier rolling: Rolling the gluten-free dough on lightly floured baking paper makes it much easier to move and flip over the pie without tearing.
⭐ Confidence Tip: If you want to make dinner day much easier, prepare both the filling and dough the day before and refrigerate them separately. When you are ready to bake, all you have to do is roll the crust, assemble the pie, and pop it into the oven.
Storage & Reheating
- Storage: Let the chicken pot pie cool completely, then cover the pie dish tightly with foil or transfer leftovers to an airtight container. Store in the refrigerator for up to 3 days.
- Reheating: Reheat in a 350°F oven, covered with foil for the first 20 minutes to keep the crust from over-browning. Remove the foil and bake for another 5 to 10 minutes, until the filling is piping hot and the crust is crisp again.
- Freezing: You can freeze cooled leftovers for up to 2 months in a freezer-safe container or tightly wrapped portion. Thaw overnight in the refrigerator before reheating, and for the best texture, I recommend using the oven rather than the microwave so the crust stays crisp.
Additions & Substitutions
This gluten-free chicken pot pie is easy to customize depending on what you have on hand or the flavors you enjoy most.
Additions
- Garlic: Add 2 to 3 minced garlic cloves during the last minute of cooking the vegetables for an extra savory layer.
- Mushrooms: Sauté sliced cremini or button mushrooms with the onion, carrots, and celery for more earthy flavor and texture.
- Fresh rosemary: Add a small amount of finely chopped rosemary alongside the sage and thyme for an even cozier herb flavor.
- Extra vegetables: Stir in chopped green beans, corn, or diced parsnips to make the filling even more vegetable-packed.
- Fresh parsley: Sprinkle chopped parsley over each serving for a fresh finish that balances the rich, creamy filling.
Substitutions
- Chicken breast or thighs: You can use all chicken breast or all chicken thighs instead of a combination. Cook the chicken just until no longer pink since it will continue cooking in the oven.
- Turkey: Swap the chicken for bite-sized pieces of turkey, or use cooked leftover turkey and stir it in with the broth so it does not overcook.
- Cashew milk: Unsweetened almond milk works well in place of cashew milk. Choose a plain, unsweetened variety so it does not change the savory flavor.
- Lard: Cold refined coconut oil can be used in the gluten-free pie crust if you prefer. Keep it very cold and expect the finished pastry to have a slightly different texture.
- Fresh herbs: Substitute dried thyme and sage when fresh herbs are unavailable. Use about one-third as much dried herb since the flavor is more concentrated.
Frequently Asked Questions
How long do you bake gluten free chicken pot pie, and at what temperature?
Bake this gluten free chicken pot pie at 420°F for 30 to 40 minutes. The crust should be deeply golden and crisp, then let the pie rest for 10 minutes before slicing.
Do I need to pre-bake the crust for chicken pot pie?
No, you do not need to pre-bake the crust for this recipe. Since this chicken pot pie uses only a top crust, you can place the rolled dough directly over the cooled filling and bake everything together.
What type of chicken is best for chicken pot pie?
A combination of chicken breast and chicken thighs works especially well. I like the breast for lean protein and the thighs for extra tenderness and flavor, but you can use all breast or all thighs if you prefer.
Can I make gluten-free chicken pot pie ahead of time?
Yes, this recipe is great for making ahead. Prepare the dough up to 24 hours in advance, and the filling can be refrigerated in an airtight container for up to 3 days before assembling and baking the pie.
Is it better to use cooked or raw chicken in chicken pot pie?
Either can work, but this recipe starts with raw chicken so you can build flavor right in the same pot. If using leftover or rotisserie chicken, add it later with the broth and seasonings so it heats through without becoming dry.
Try These Next



Final Thoughts
This gluten free chicken pot pie is everything I want in a cozy dinner: a creamy, savory filling, tender chicken and vegetables, and a flaky golden crust that makes the whole dish feel extra special.
Now I’d love to hear from you. Would you keep the filling classic, or add something like mushrooms, rosemary, or extra vegetables?
If you try it, I’d love to hear how it turned out. Leave a comment below, rate the recipe, and let me know what you think.
Gluten Free Chicken Pot Pie with Flaky Crust
Ingredients
Flaky Gluten-Free Pie Dough
- ⅔ cup 100g tapioca starch
- ½ cup 60g oat flour
- ½ cup 70g millet flour
- ½ teaspoon fine salt
- ½ teaspoon ground psyllium husk
- ½ teaspoon aluminum-free baking powder
- ½ cup 115g cold lard, cubed
- 4 to 6 tablespoons ice-cold water
- 2 teaspoons apple cider vinegar
- 1 large egg separated, yolk reserved for brushing
- Extra oat flour millet flour, or white rice flour, for dusting
Filling
- 2 tablespoons olive oil
- ½ pound boneless skinless chicken breasts, cut into bite-sized pieces
- ½ pound boneless skinless chicken thighs, cut into bite-sized pieces
- 2 ribs celery cut into ½-inch dice
- 2 large carrots peeled and cut into ½-inch dice
- 1 yellow onion finely diced
- ⅓ cup 42g chickpea flour
- 1¼ cups low-sodium chicken broth
- 1 cup unsweetened cashew milk
- 1 tablespoon chopped fresh sage or 1 teaspoon dried
- 1 tablespoon fresh thyme leaves or 1 teaspoon dried
- ⅔ cup frozen peas
- Salt and black pepper to taste
Instructions
- Mix the oat flour, millet flour, tapioca starch, salt, psyllium husk, and baking powder in a medium bowl.
- Add the cold lard and cut it into the flour until mostly pea-sized pieces remain.
- Stir the apple cider vinegar into the ice water. Add the egg white and about 3 tablespoons of the water mixture to the flour, adding more water as needed until the dough holds together.
- Gently knead the dough into a ball, pat it into a rectangle on lightly floured baking paper, wrap tightly, and refrigerate for at least 30 minutes.
- Mix the reserved egg yolk with a splash of water and refrigerate until needed.
- Heat 1 tablespoon olive oil in a large pot over medium-high heat. Cook the chicken for 3 to 5 minutes, until no longer pink, then remove from the pot.
- Add the remaining olive oil, celery, carrots, onion, and a splash of water. Cook for 5 to 8 minutes, stirring often, until slightly softened.
- Return the chicken to the pot, sprinkle with chickpea flour, and stir to coat.
- Add the chicken broth, cashew milk, thyme, and sage. Bring to a simmer and cook for 5 to 10 minutes, stirring occasionally, until thickened.
- Remove from the heat, stir in the peas, and season with salt and pepper. Pour into a deep pie dish and cool for 30 minutes.
- Preheat the oven to 420°F. Roll the chilled dough into a 12 x 8-inch rectangle, fold into thirds, and repeat the rolling and folding once more.
- Shape the dough into a disk and roll into a circle a few inches wider than the pie dish. Place over the filling, trim to a 1-inch overhang, fold and crimp the edges, then brush with the egg yolk mixture and cut a few slits in the center.
- Bake at 420°F for 30 to 40 minutes, until deeply golden and crisp. Cool for 10 minutes before slicing and serving.
Video
Notes
- Storage: Store cooled leftovers in the fridge for up to 3 days in the pie dish, covered with foil.
- Reheating: Reheat the pie in an oven preheated to 350°F. Have it covered with foil for the first 20 minutes (to prevent the crust burning), then remove the foil and heat for a further 5-10 minutes until the filling is piping hot and the pastry is crisp.
- Gluten-free pie doughs need a bit more liquid than wheat-based doughs to get the best result. So, if you’re used to working with conventional pie dough, this dough may seem a bit softer than what you’re used to.
- If at any point when you’re making or working with the pie dough and it starts to feel warm (or the fat feels soft), place it into the freezer for 10 minutes to chill.
- After cutting the lard into the dry mixture, I like to place the bowl into the freezer for 10 minutes so everything can chill down before adding the liquids. This will help the fat stay solid, giving you flakier pastry.
- It’s important to let the filling cool slightly so that once the pie dough is placed on top of it, the fat in the pastry doesn’t immediately start to melt. This will ensure a flaky pastry. You can also let the filling cool fully then store in an airtight container in the refrigerator for up to 3 days before using it.
- If you like a wetter pie filling, you can add an extra chicken broth to adjust the texture to your liking.
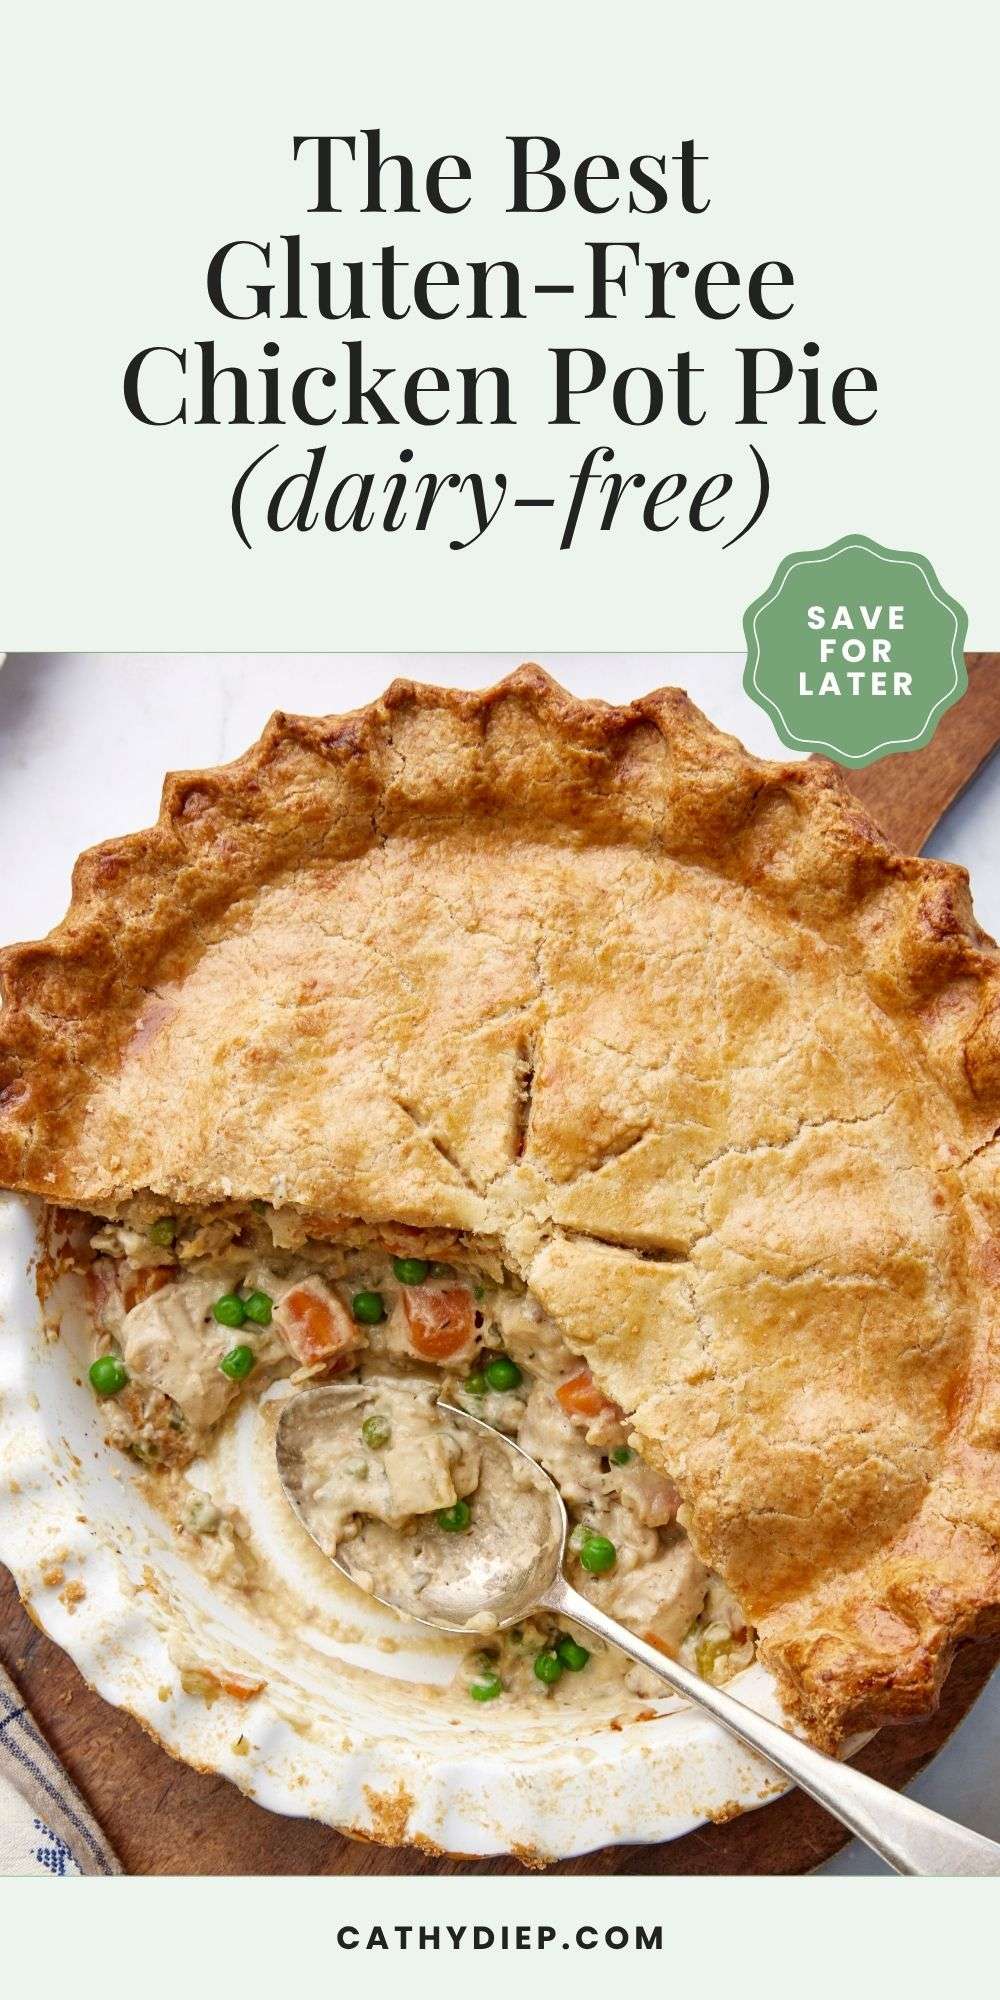

👉 Like this and want to save it for later? Tap the Pinterest Pin button below. It’s an easy way to keep it on hand when you need it.