Japanese salted salmon is a personal favorite in my home. Its simple flavor pairs well with nearly any side dish, making it a versatile recipe. Typically served in a traditional Japanese breakfast setting or bento box, this staple food item requires easy-to-find ingredients, so you can make it any time you wish.

This post may contain affiliate links. Please read my disclaimer.
What Is Japanese Salted Salmon?
Salted salmon is a traditional Japanese breakfast item. You’ll also find this delicious flakey salmon fillet in bento box lunches. Salted salmon, also known as shiozake, is typically made with fresh salmon and salt, hence its name.
Brining the salmon helps create delicious flakey, mouthwatering fish every time. My recipe will help you make a homemade Japanese salted salmon recipe in a snap, so you can start incorporating it into breakfast, lunch, dinner, and even snacks (like onigiri, aka rice balls)!
This type of salmon is typically served over a bowl of rice to help cut the salty taste. It’s also common to include various side dishes during breakfast or lunch with salted salmon.
Why You’ll Love This Recipe
You can make an authentic Japanese dish using only four ingredients. The prep time is minimal, and so is the clean-up time.
You can make this yummy salmon recipe the night before. Then, dry off the salmon fillets and pan-fry or bake for a few minutes. Then, serve with your favorite side dishes for a complete meal.
Japanese Salted Salmon Ingredient Notes
Here’s what you’ll need for salted salmon:
Salmon Fillets
Fresh is best, though you can use thawed salmon fillets in a pinch. An eight-ounce portion is perfect per person. My Japanese salted salmon recipe calls for two salmon fillets. However, you can double, triple, etc., the recipe for more people.
Mirin or Sake
Mirin, a Japanese cooking wine, is a typical ingredient in many Japanese recipes. It has a sweet flavor and low alcohol content. If you can’t use mirin, sake is a great alternative.
Like mirin, it’s a type of rice wine. The main difference is sake has a higher alcohol content and less sugar. As a result, it provides a delicious umami flavor to recipes.
Both mirin and sake will help tenderize and keep the salmon from drying out when it’s cooking. They also help remove some of the “fishy” flavors of the salmon fillets.
Unrefined Salt
The key to making salted salmon is to use unrefined or coarser salt, like Diamond Crystal Kosher salt. If you use regular table salt, you’ll end up with an overly salted fillet that will be unappetizing to eat.
3 Tips and Tricks
These easy tips and tricks will help turn your salted salmon from delicious to mouthwatering every time!
1. Keep the Skin On
You’ll want to keep the skin on when you cook salted salmon. Leaving the skin on the fillets helps create a barrier between the delicate fish meat and the pan or baking sheet. If you don’t enjoy eating the skin, you can remove it after cooking the fish.
2. Try Grilling or Poaching the Salmon Fillets
A common way to cook salted salmon is by grilling the fish. Try grilled salted salmon for a more authentic flavor. You can also poach salmon to avoid using oil in your cooking. Poaching is the only cooking method where you can remove the skin before cooking.
3. Adjust the Salt Level to Your Preference
Traditionally, salted salmon sits in brine with enough salt to equal 1-2% of the fillet weight. Since it’s usually eaten over rice, the salty flavor is balanced out. If you’re planning on enjoying salted salmon without rice, you may want to consider using less salt in the brine.
My recipe calls for about 0.05% of the salmon’s weight. Start with this amount of salt and adjust based on your needs (saltier for rice, etc.).
What to Serve with Japanese Salted Salmon
Alongside salted salmon, you can serve the following for breakfast:
- Miso soup
- Egg rolls
- Plain rice
- Tamagoyaki (a Japanese omelet)
- Soy sauce and lemon juice as a dipping sauce
If you plan to eat salted salmon as part of a bento box, you can include sides like:
- Asparagus rolls with pork
- Pickled daikon radish
- Eggs (either tamagoyaki or another form like scrambled, etc.)
Japanese Salted Salmon Recipe
Ingredients
Servings: 2
- 2 salmon fillets
- 2 cups of water
- 2 tbsp mirin (or sake)
- 12 grams of unrefined salt
Cookware and Tools
- Food storage container
- Measuring cups and spoons
- Frying pan (if you choose to pan-fry)
- Baking sheet and parchment paper (if you choose to bake)
Japanese Salted Salmon (Step-by-Step)
Step 1. Brine the Salmon
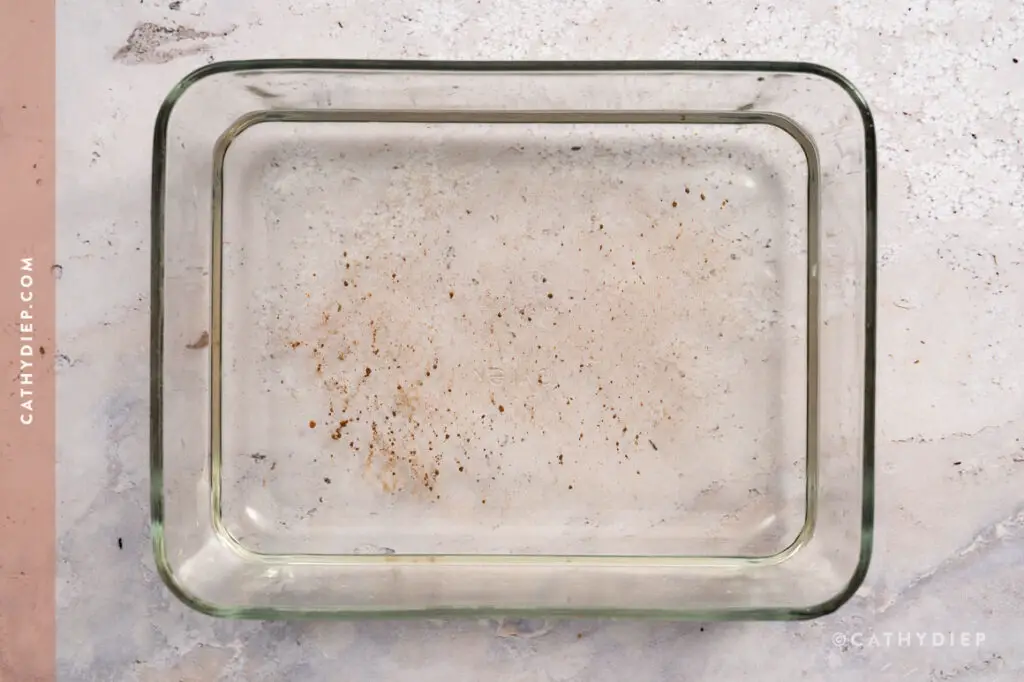
In a small food storage container, combine the water, mirin, and salt. Lightly whisk the ingredients together until the salt is fully dissolved.

Then, place the salmon fillets in the brine and ensure they’re fully covered. Close the container with a lid and place it in the refrigerator to cure overnight for at least 12 hours.
Step 2. Prep the Salmon for Cooking
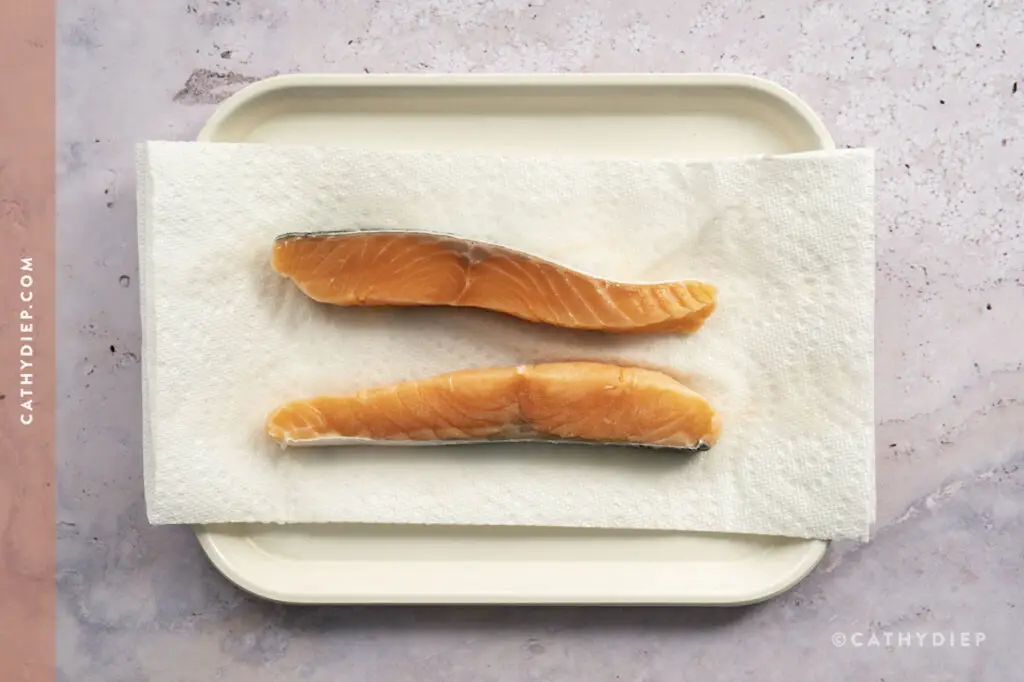
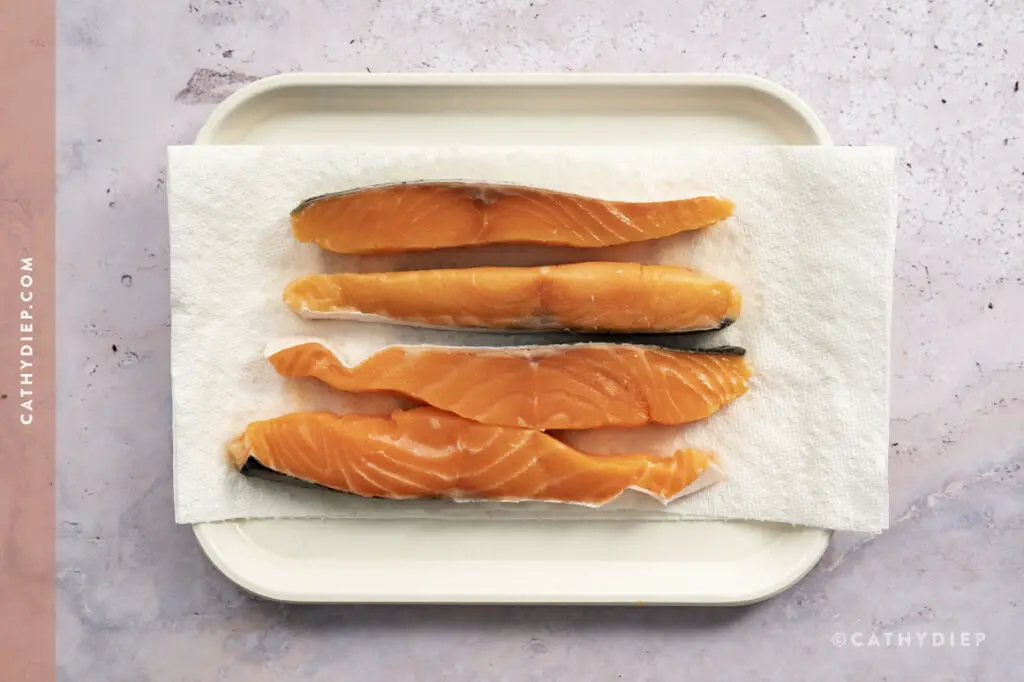
Remove the salmon fillets from the brine after 12 hours of curing. Use a paper towel to pat them dry.
Step 3. Cook the Salmon
Option 1. Pan-Frying
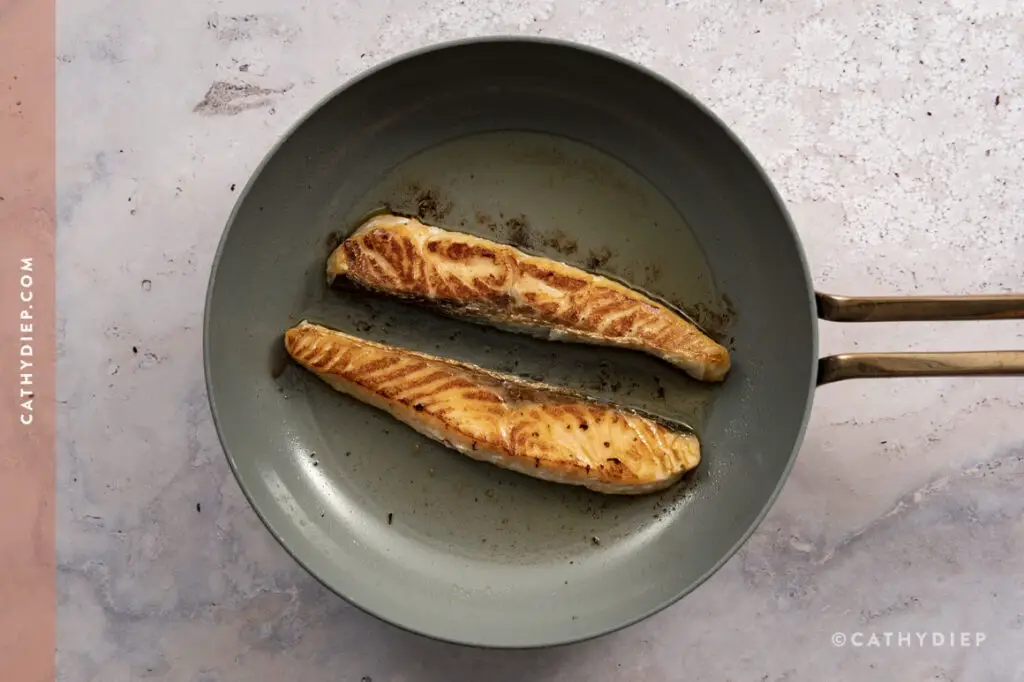
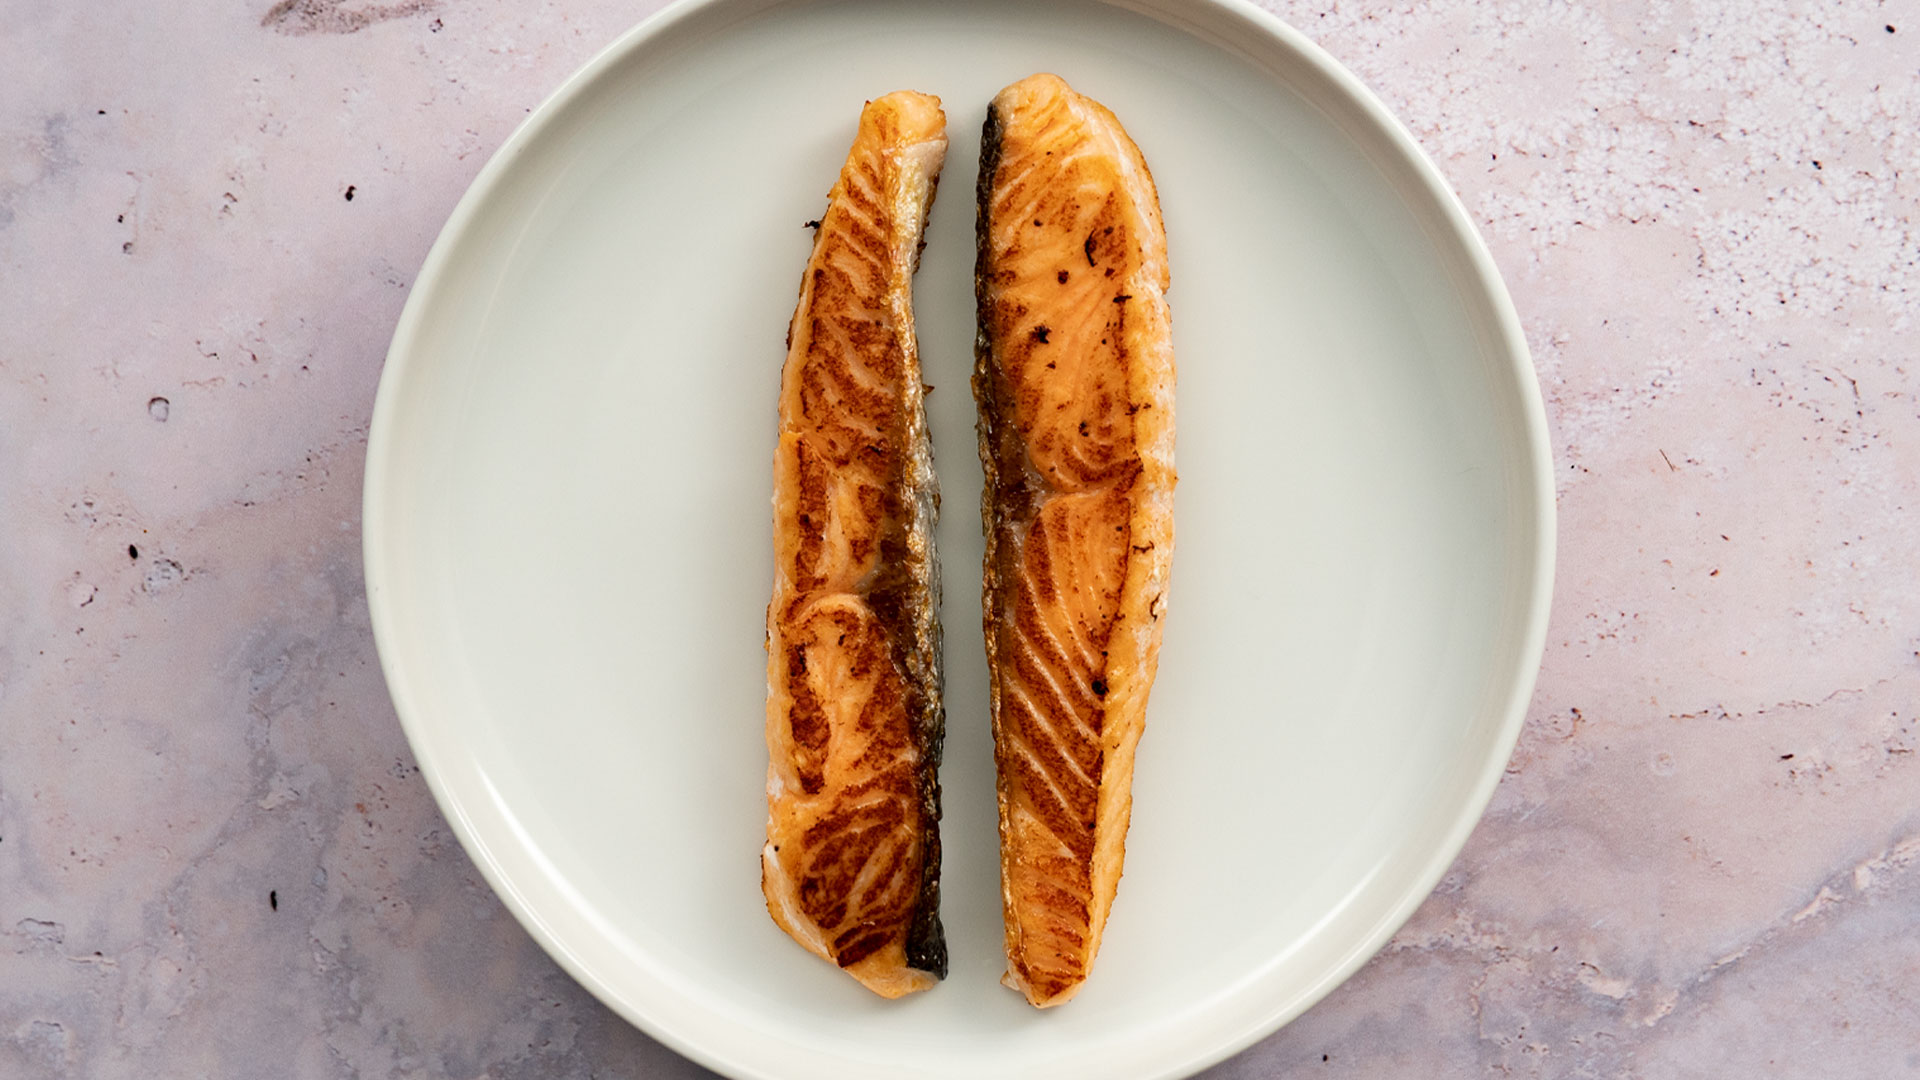
In a frying pan over medium heat, add oil until it’s hot but not smoking. Place the salmon fillets skin-side down and cook for about 2 minutes, or until the salmon appears about 1/3 cooked from the side.
Then carefully flip them over and cook the other side for another 2 minutes.
Option 2. Baking

Preheat your oven to 425°F and place the rack in the center. Bake the salmon on a baking sheet lined with parchment paper for about 10 minutes.
Storage and Reheating
If you’re prepping salted salmon to cook it later in the week, you can keep it in the fridge for a few days. Then, wrap it in paper towels, cling wrap, and an airtight container before putting them into the refrigerator.
Using paper towels will help you keep the moisture off the fillets, which is what typically creates a fishy smell. Alternatively, you can wipe the fillets off before cooking them instead of wrapping them in paper towels.
The best way to reheat cooked salmon is by wrapping it in foil with some olive oil (to help prevent the fillet from drying out) and cooking it for 15-20 minutes on 350F.
Ensure you’re not overserving yourself, as the more you reheat salmon, the more likely it is to come out dry and unappetizing.
Frequently Asked Questions
Here are some frequently asked questions to help you create a yummy Japanese salted salmon recipe.
1. How Long Does Salted Salmon Last?
After you brine your salmon, you can keep it in the fridge for up to five days. If you know you can’t finish the fillets you’ve prepped within this timeframe, it’s best to freeze them. Freezing salmon fillets helps extend their life until you can eat them.
2. What Does Soaking Salmon in Salted Water Do?
There are a few reasons why you’ll want to soak your salmon in salted water. First, it helps prevent the white cast/”skin” typically appearing while cooking on fresh salmon.
Soaking salmon fillets in salt water also helps break down some of the fish’s exterior muscle fibers, so you’ll end up with a very tender fillet.
Finally, brining helps add flavor to your salmon and reduces the potential for salmon to get dried out during the cooking process.
3. Can You Freeze Japanese Salted Salmon (Shiozake)?
Yes, you can freeze the salted salmon fillets after the curing process. Drain the liquid, wrap the fillets in cling wrap, then place them in an airtight container or bag.
You can freeze these salmon fillets for 1-3 months. However, they taste the best if you consume them within one month.
Make sure to defrost them in the fridge overnight before cooking them. Also, avoid cooking the salmon fillets frozen, as frozen salmon fillets tend to dry out more quickly.
After making Japanese salted salmon once, you’ll want to whip up this easy dish weekly! Easy storage steps (for the fridge and freezer) allow you to make double batches for quick lunches or weeknight dinners.
Also, try serving it with different side dishes to keep the recipe exciting every time.
You May Also Like:
- Instant Pot Chicken Teriyaki
- How to Make Miso Soup from Miso Paste
- Easy Homemade Shabu Shabu
- How to Make Perfect Ramen Eggs (Ajitsuke Tamago or Ajitama)
Did you make this recipe? Please leave a comment and star rating below! I’d love to hear from you.

Easy Japanese Salted Salmon
Ingredients
- 2 salmon fillet
- 2 cups water
- 2 tbsp mirin (or sake)
- 12 grams unrefined salt
Instructions
- In a small food storage container, combine the water, mirin, and salt. Lightly whisk the ingredients together until the salt is fully dissolved.
- Then, place the salmon fillets in the brine and ensure they’re fully covered. Close the container with a lid and place it in the refrigerator to cure overnight for at least 12 hours.
- Remove the salmon fillets from the brine after 12 hours of curing. Use a paper towel to pat them dry.
- (Grilling Option) In a frying pan over medium heat, add oil until it’s hot but not smoking. Place the salmon fillets skin-side down and cook for about 2 minutes, or until the salmon appears about 1/3 cooked from the side. Then carefully flip them over and cook the other side for another 2 minutes.
- (Baking Option) Preheat your oven to 425°F and place the rack in the center. Bake the salmon on a baking sheet lined with parchment paper for about 10 minutes.
I have just brined my salmon and I can’t wait to cook it before I go to work tonight! Thank you so much for giving us this recipe and congratulations on your pregnancy! I hope adam is spoiling you as you deserve ❤