
Disclosure: This post may contain affiliate links, which means I may earn a small commission at no extra cost to you. I only share products I genuinely love and recommend. This content is also for educational purposes only and is not intended to diagnose, treat, cure, or prevent any illness or disease. Please consult your healthcare provider with any medical concerns or medication questions.
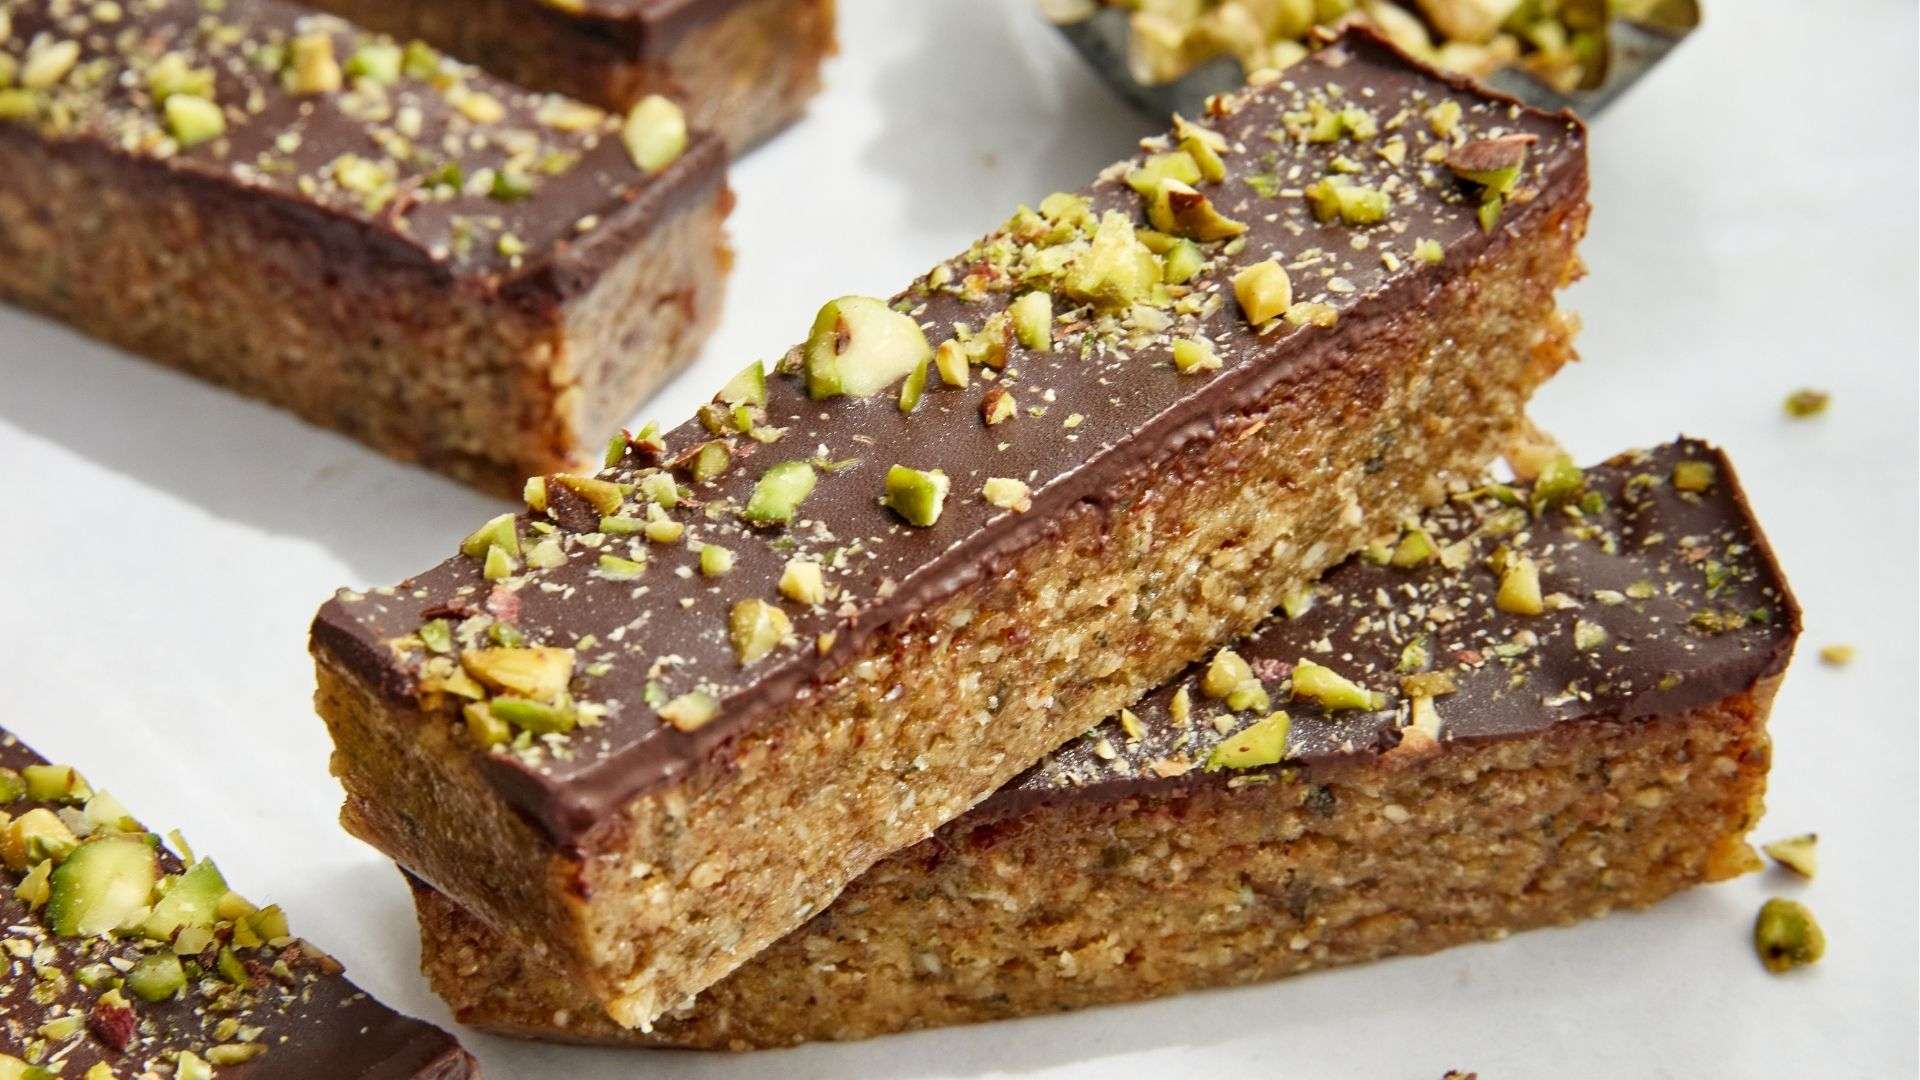
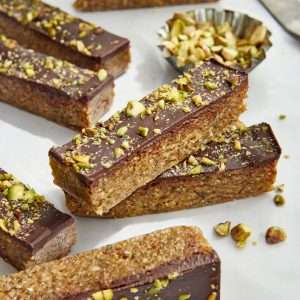
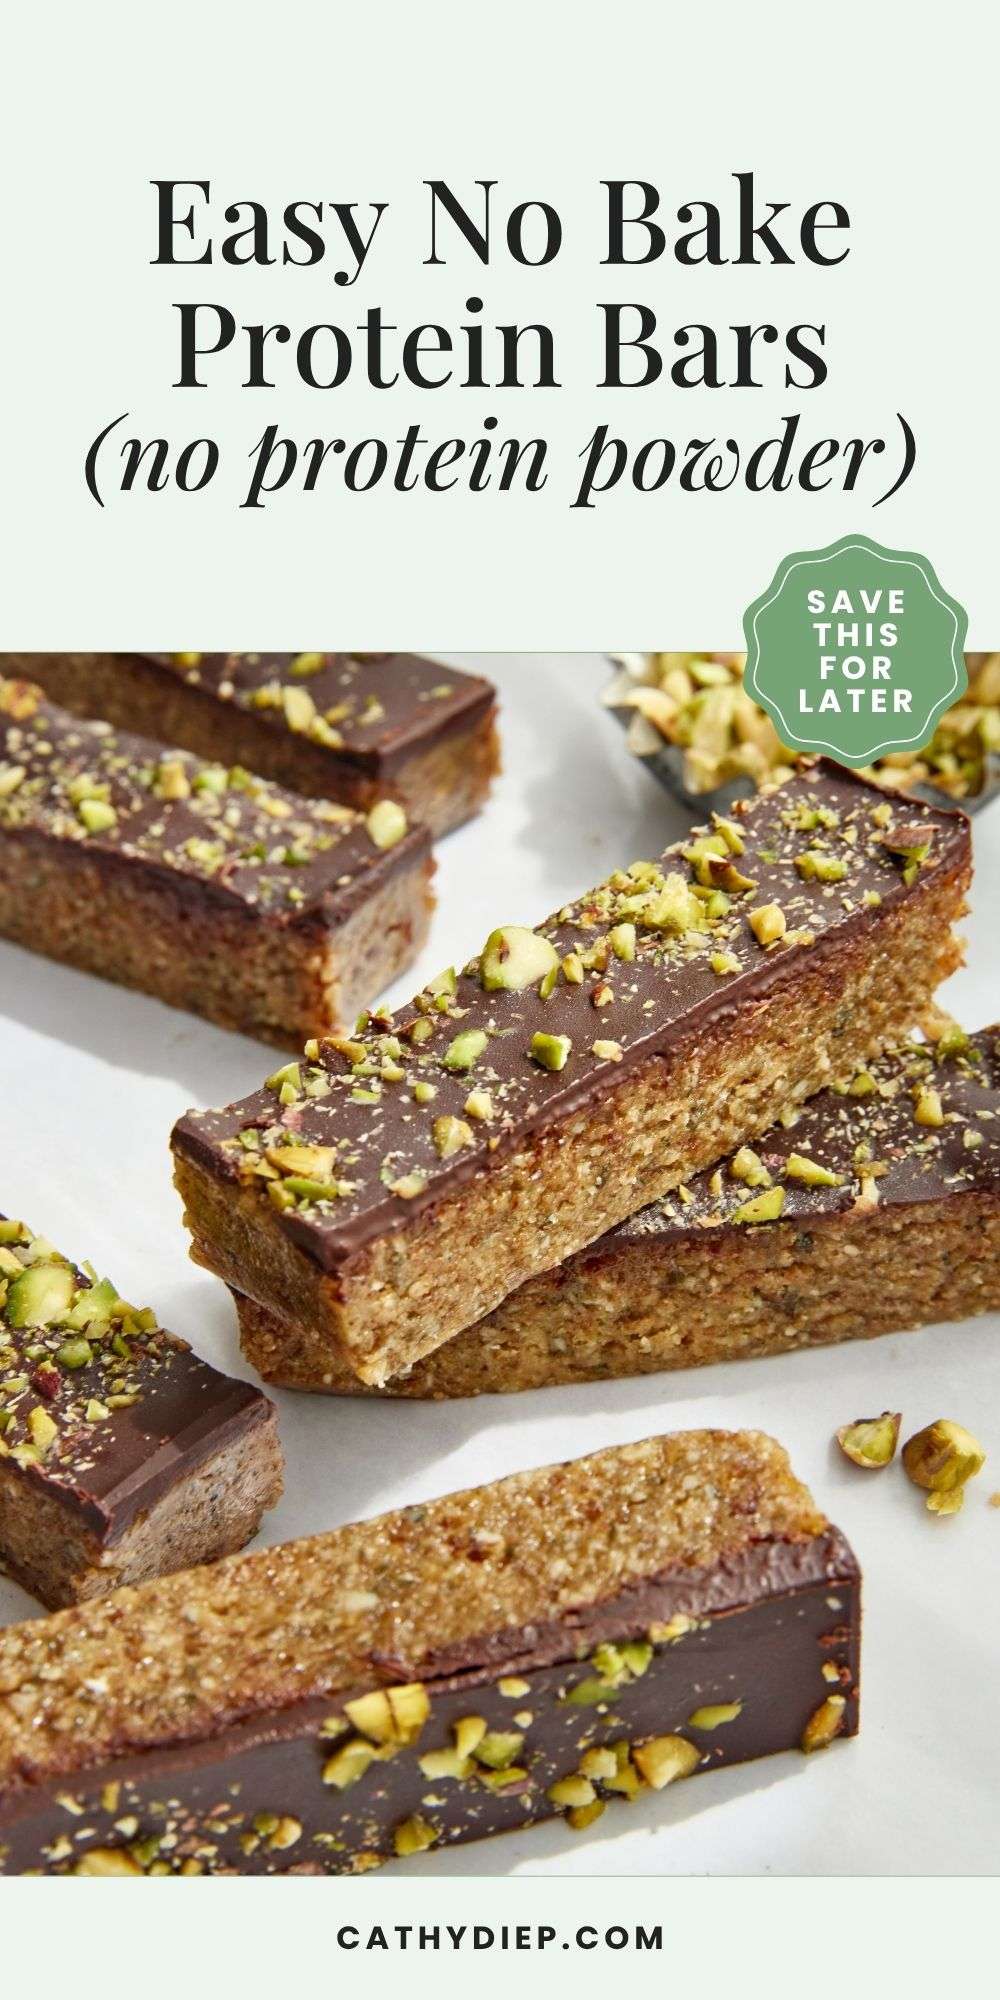
Ever feel like you need a quick snack, but everything store-bought is either too sweet, too processed, or doesn’t actually keep you full? These no bake protein bars are my easy homemade solution when I want something chewy, chocolatey, and satisfying without turning on the oven.
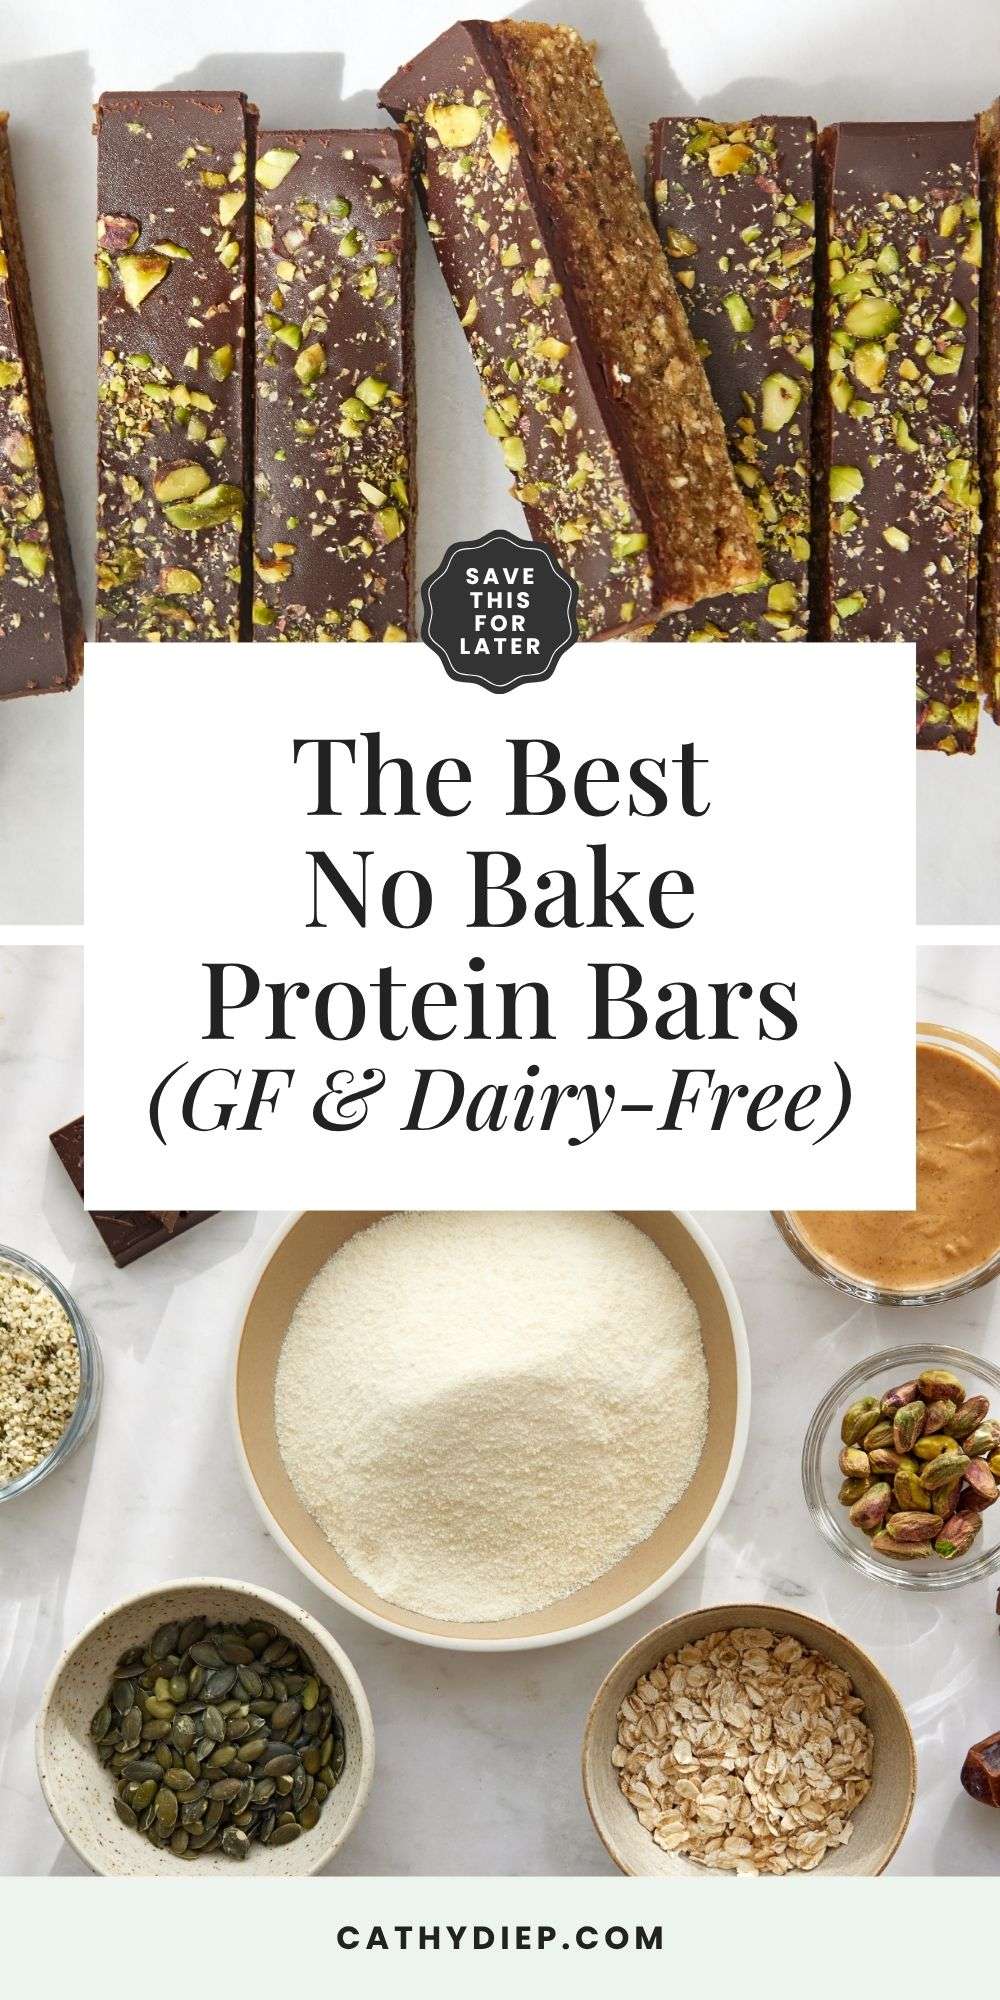
I love making these because they come together in about 10 minutes with simple ingredients like peanut butter, medjool dates, collagen peptides, pumpkin seeds, oats, hemp hearts, and dark chocolate.
Each bar has about 17 grams of protein, depending on the collagen peptides and peanut butter you use. I also love that these are no bake protein bars without protein powder, since unflavored collagen peptides blend in smoothly without adding a chalky texture or overly sweet flavor.
They’re easy to prep, easy to store, and perfect for busy mornings, post-workout snacks, or that afternoon moment when you want something that feels like a treat but still has protein.
These homemade protein bars are naturally sweetened, made with simple pantry ingredients, and store well in the fridge or freezer, which makes them one of my favorite high-protein snacks to meal prep for the week.
👉 Before we dive in, quick heads-up:
I created a Free Recipe & Meal Planner you can use to track your favorite recipes, jot down notes, and map out weekly meals. Grab it below!

⚡ Recipe at a Glance ⚡
These no bake protein bars take 10 minutes to prep, chill in 30 minutes, make 8 bars, 17g of protein each, and are gluten-free, dairy-free, and refined-sugar-free.
Watch How to Make These No Bake Protein Bars
If you want to see exactly how this comes together, I filmed the full step-by-step below.
👉 Turn on captions for instructions
🔔 If you enjoyed this, I’d love to have you over on YouTube, too! I share new recipes there every week.
Why You’ll Love This Recipe
- No protein powder required: I use unflavored collagen peptides because they blend in smoothly, keep the bars softer, and avoid the chalky texture or sweeteners found in many flavored protein powders.
- High-protein snack: These no bake protein bars are more filling than a regular granola bar, especially when you want something quick between meals.
- Cleaner than store-bought bars: They’re made with whole-food ingredients like dates, oats, pumpkin seeds, hemp hearts, peanut butter, and dark chocolate.
- Gut-friendly ingredients: As a Gut Health Coach, I love the mix of fiber-rich dates and oats, mineral-rich seeds, healthy fats, and simple ingredients.
- Easy meal prep: Make one batch, chill, slice, and keep them in the fridge or freezer for busy mornings, lunchboxes, or afternoon cravings.
Easy No Bake Protein Bars with Chocolate & Peanut Butter Ingredients
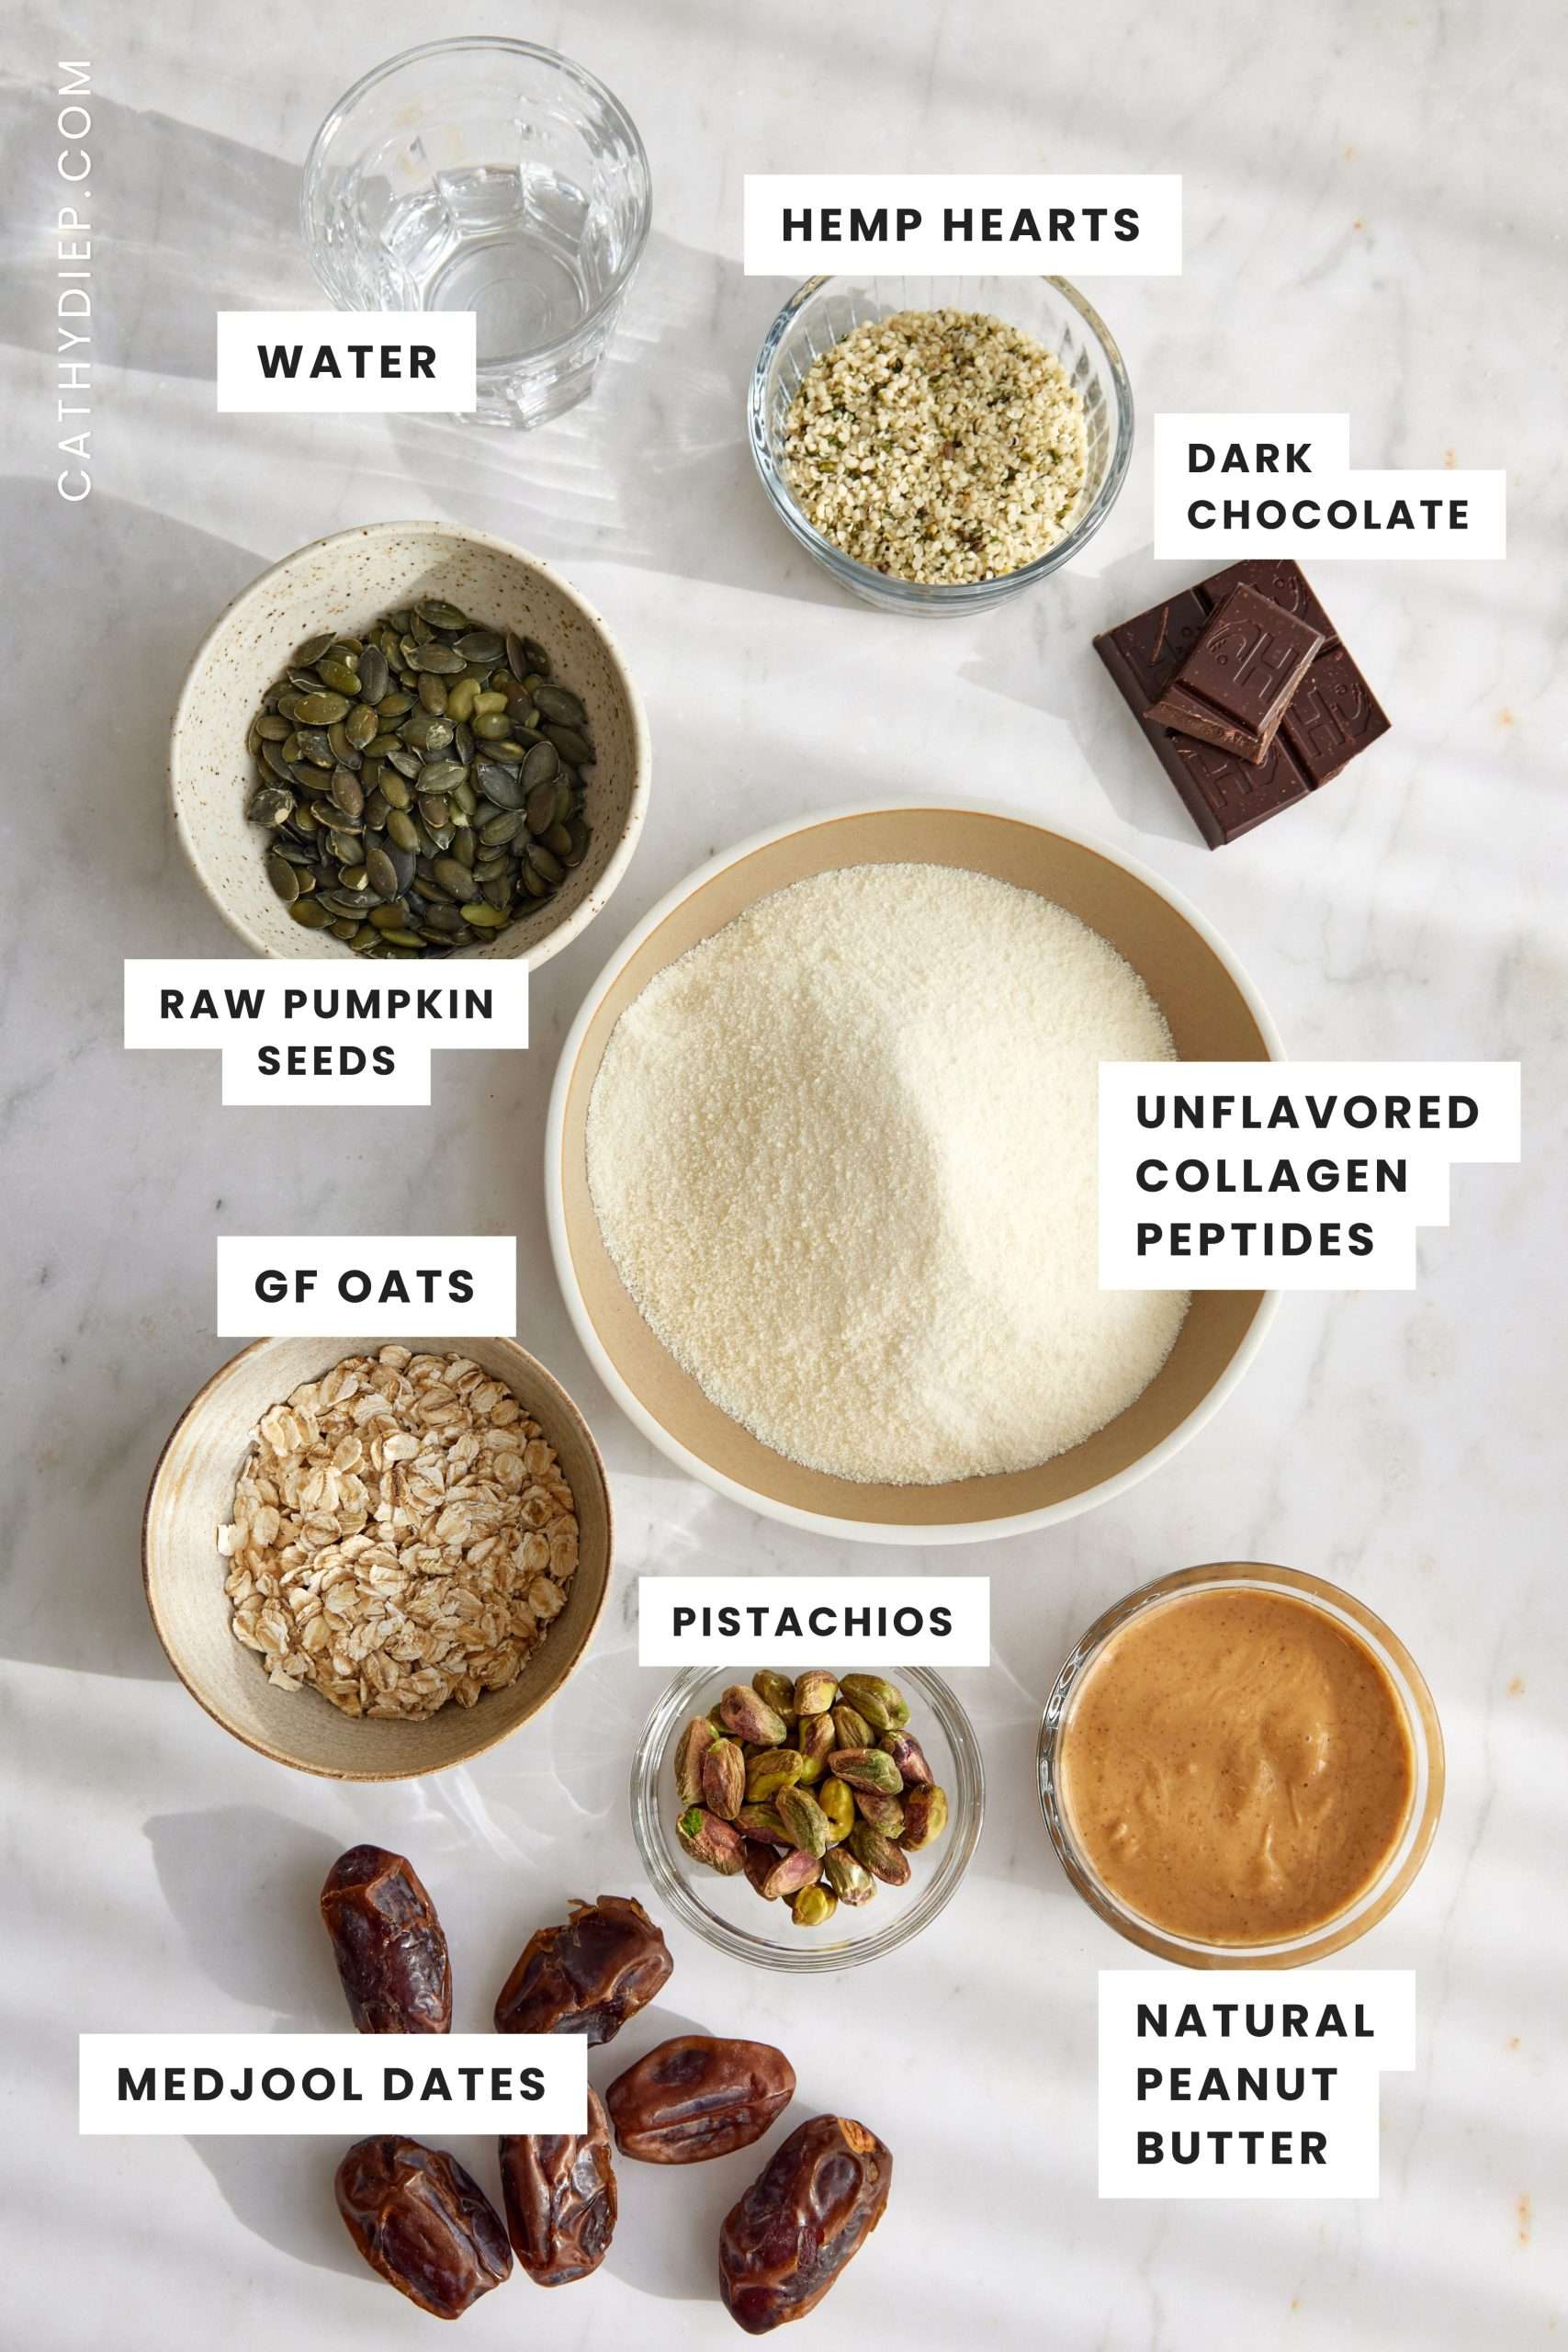
These no bake protein bars are made with simple, whole-food ingredients that give them a chewy texture, naturally sweet flavor, and satisfying protein boost without using traditional protein powder.
- Raw pumpkin seeds: Add minerals, healthy fats, and a slightly nutty flavor. I like using raw pepitas because they blend easily and keep the bars simple.
- Gluten-free old-fashioned oats: Help bind the bars and give them that chewy, snack-bar texture. Use certified gluten-free oats if needed.
- Hemp hearts: Add plant-based fats, minerals, and a little extra protein. They also blend well without making the bars gritty.
- Medjool dates: Naturally sweeten the bars and help hold everything together. Use soft, moist dates for the best texture.
- Unflavored collagen peptides: I like collagen peptides because they’re unflavored, blend smoothly, and usually do not contain the gums, artificial sweeteners, or additives found in many flavored protein powders.
- Natural peanut butter: Adds creaminess, healthy fats, and that classic peanut butter flavor. Use a natural, runny peanut butter made with simple ingredients.
- Water: Helps the mixture come together. Start with less and add more only as needed, since the dates and peanut butter can vary in moisture.
- Dark chocolate: Adds a thin chocolate layer that makes these homemade protein bars feel more like a treat. I like using a refined-sugar-free or lower-sugar dark chocolate option, such as Hu Kitchen.
- Optional toppings: Chopped nuts, coconut flakes, bee pollen, or cacao nibs can add crunch, texture, and extra flavor.
Optional Swaps and Variations
- For a nut-free version, try sunflower seed butter instead of peanut butter.
- For a different flavor, use almond butter or cashew butter, as long as it is natural and runny.
- For extra crunch, sprinkle chopped almonds, walnuts, pumpkin seeds, or cacao nibs over the melted chocolate before chilling.
- For a more chocolatey version, add a spoonful of cacao powder to the bar mixture before pressing it into the pan.
- For a refined-sugar-free option, choose dark chocolate made without refined sugar, or use the cleanest dark chocolate you enjoy.
Find the complete recipe with measurements and instructions below. 👇
Are These No Bake Protein Bars High in Protein?
Yes, these no bake protein bars are made with protein-rich ingredients like collagen peptides, peanut butter, hemp hearts, pumpkin seeds, and oats.
The collagen peptides provide most of the protein, while the seeds, oats, and peanut butter add a little extra protein, fiber, and healthy fats.
The exact protein per bar will depend on the collagen brand you use, so I recommend checking your label if you are tracking macros closely.
How to Make Easy No Bake Protein Bars: Step by Step
These no bake protein bars come together in simple, step-by-step instructions with a food processor, parchment paper, and a quick chill in the fridge.
Step 1: Add the pumpkin seeds, gluten-free oats, and hemp hearts to a food processor. Blend until the mixture looks coarse and mealy.
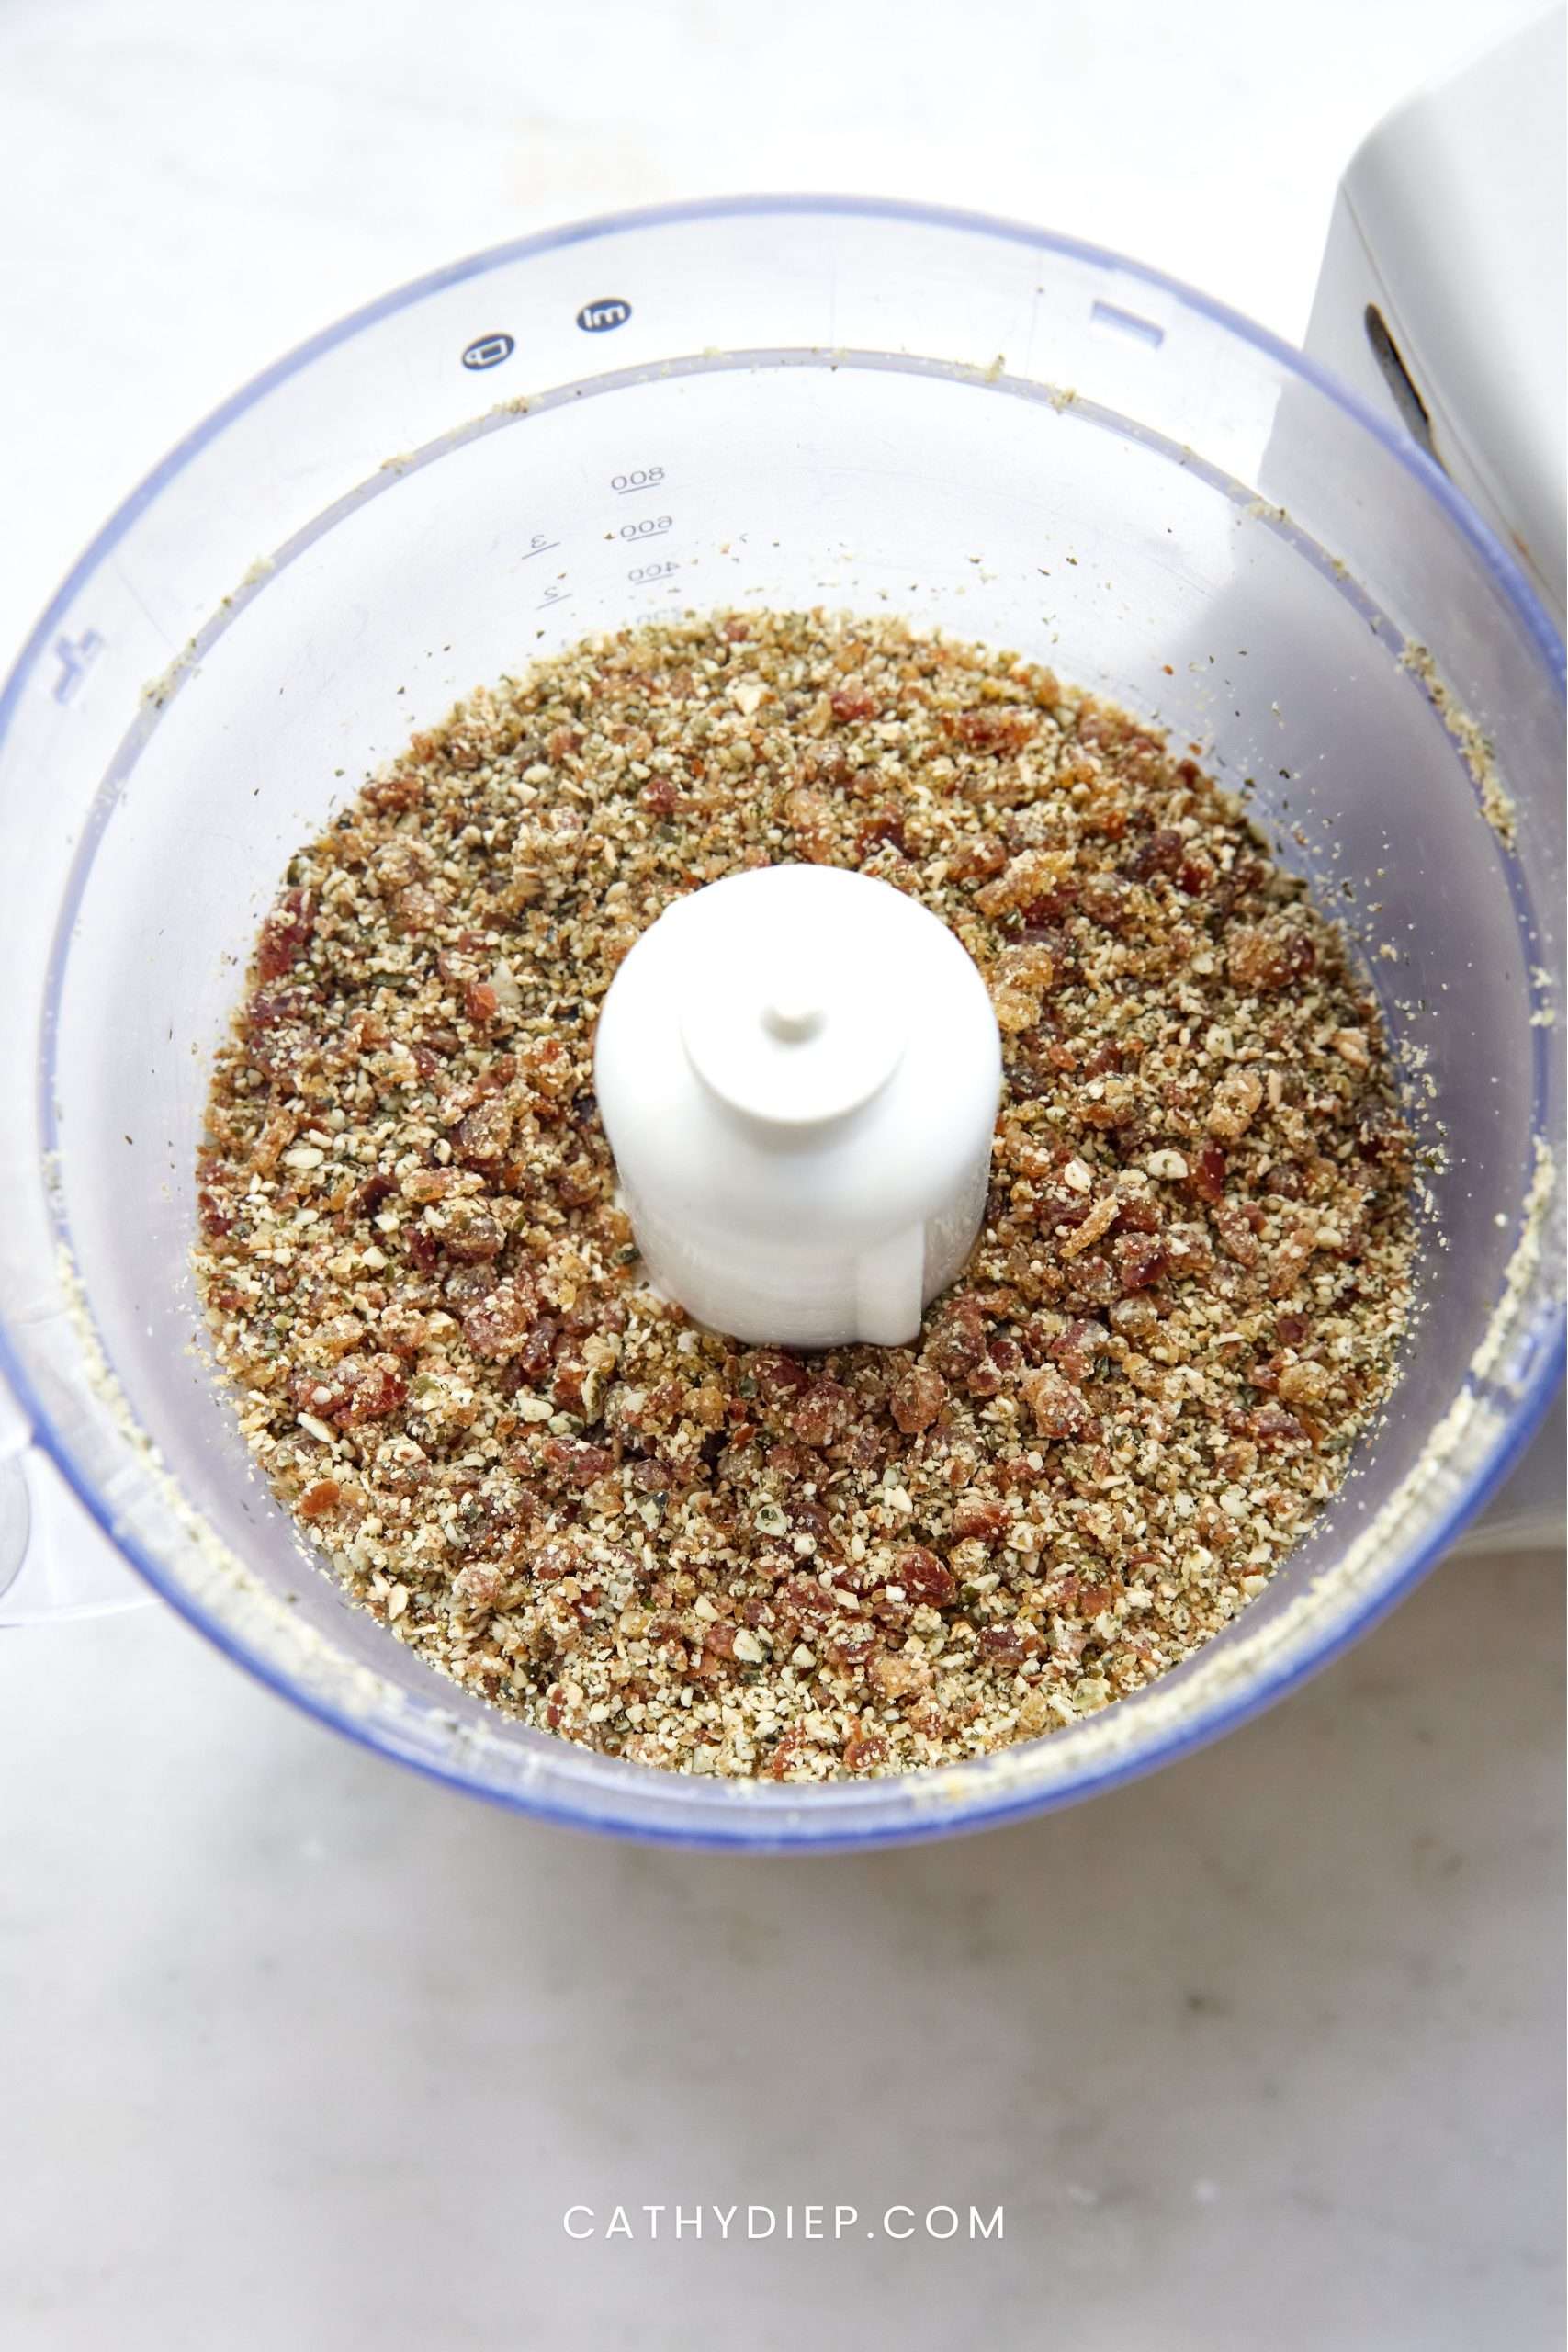
Step 2: Add the pitted medjool dates and blend again until they break down into small pieces. Soft, moist dates will help the bars stick together better.
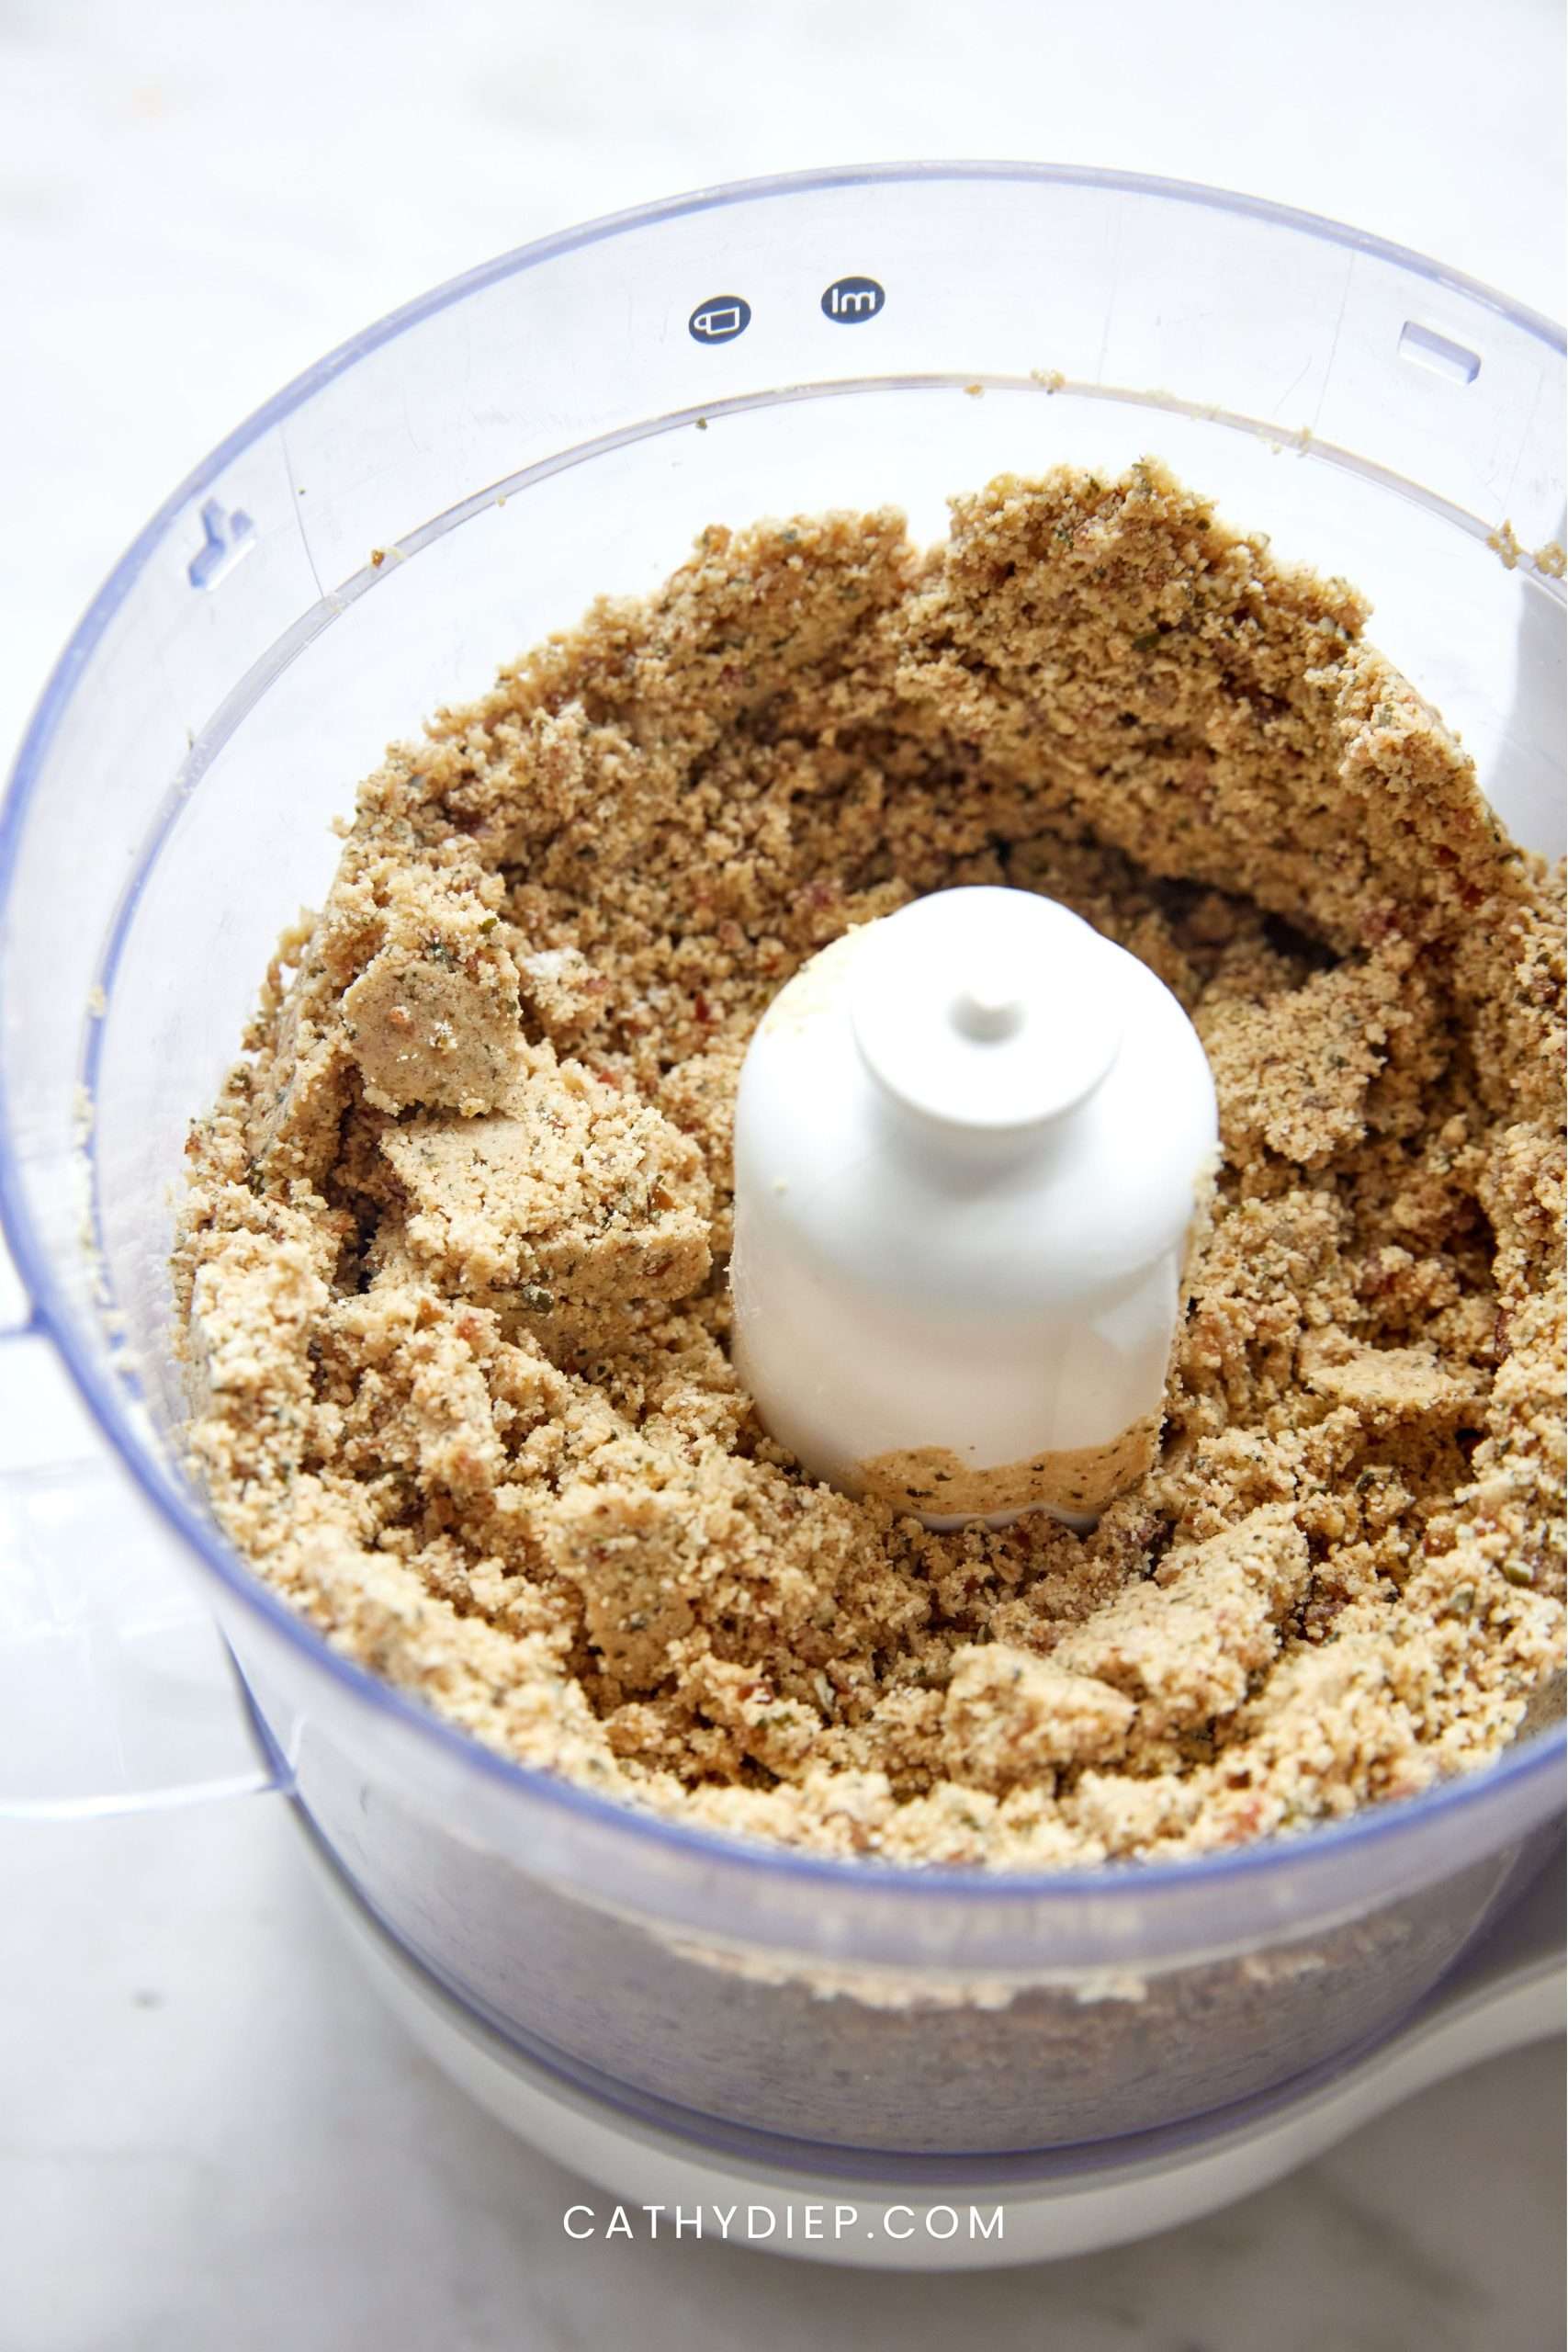
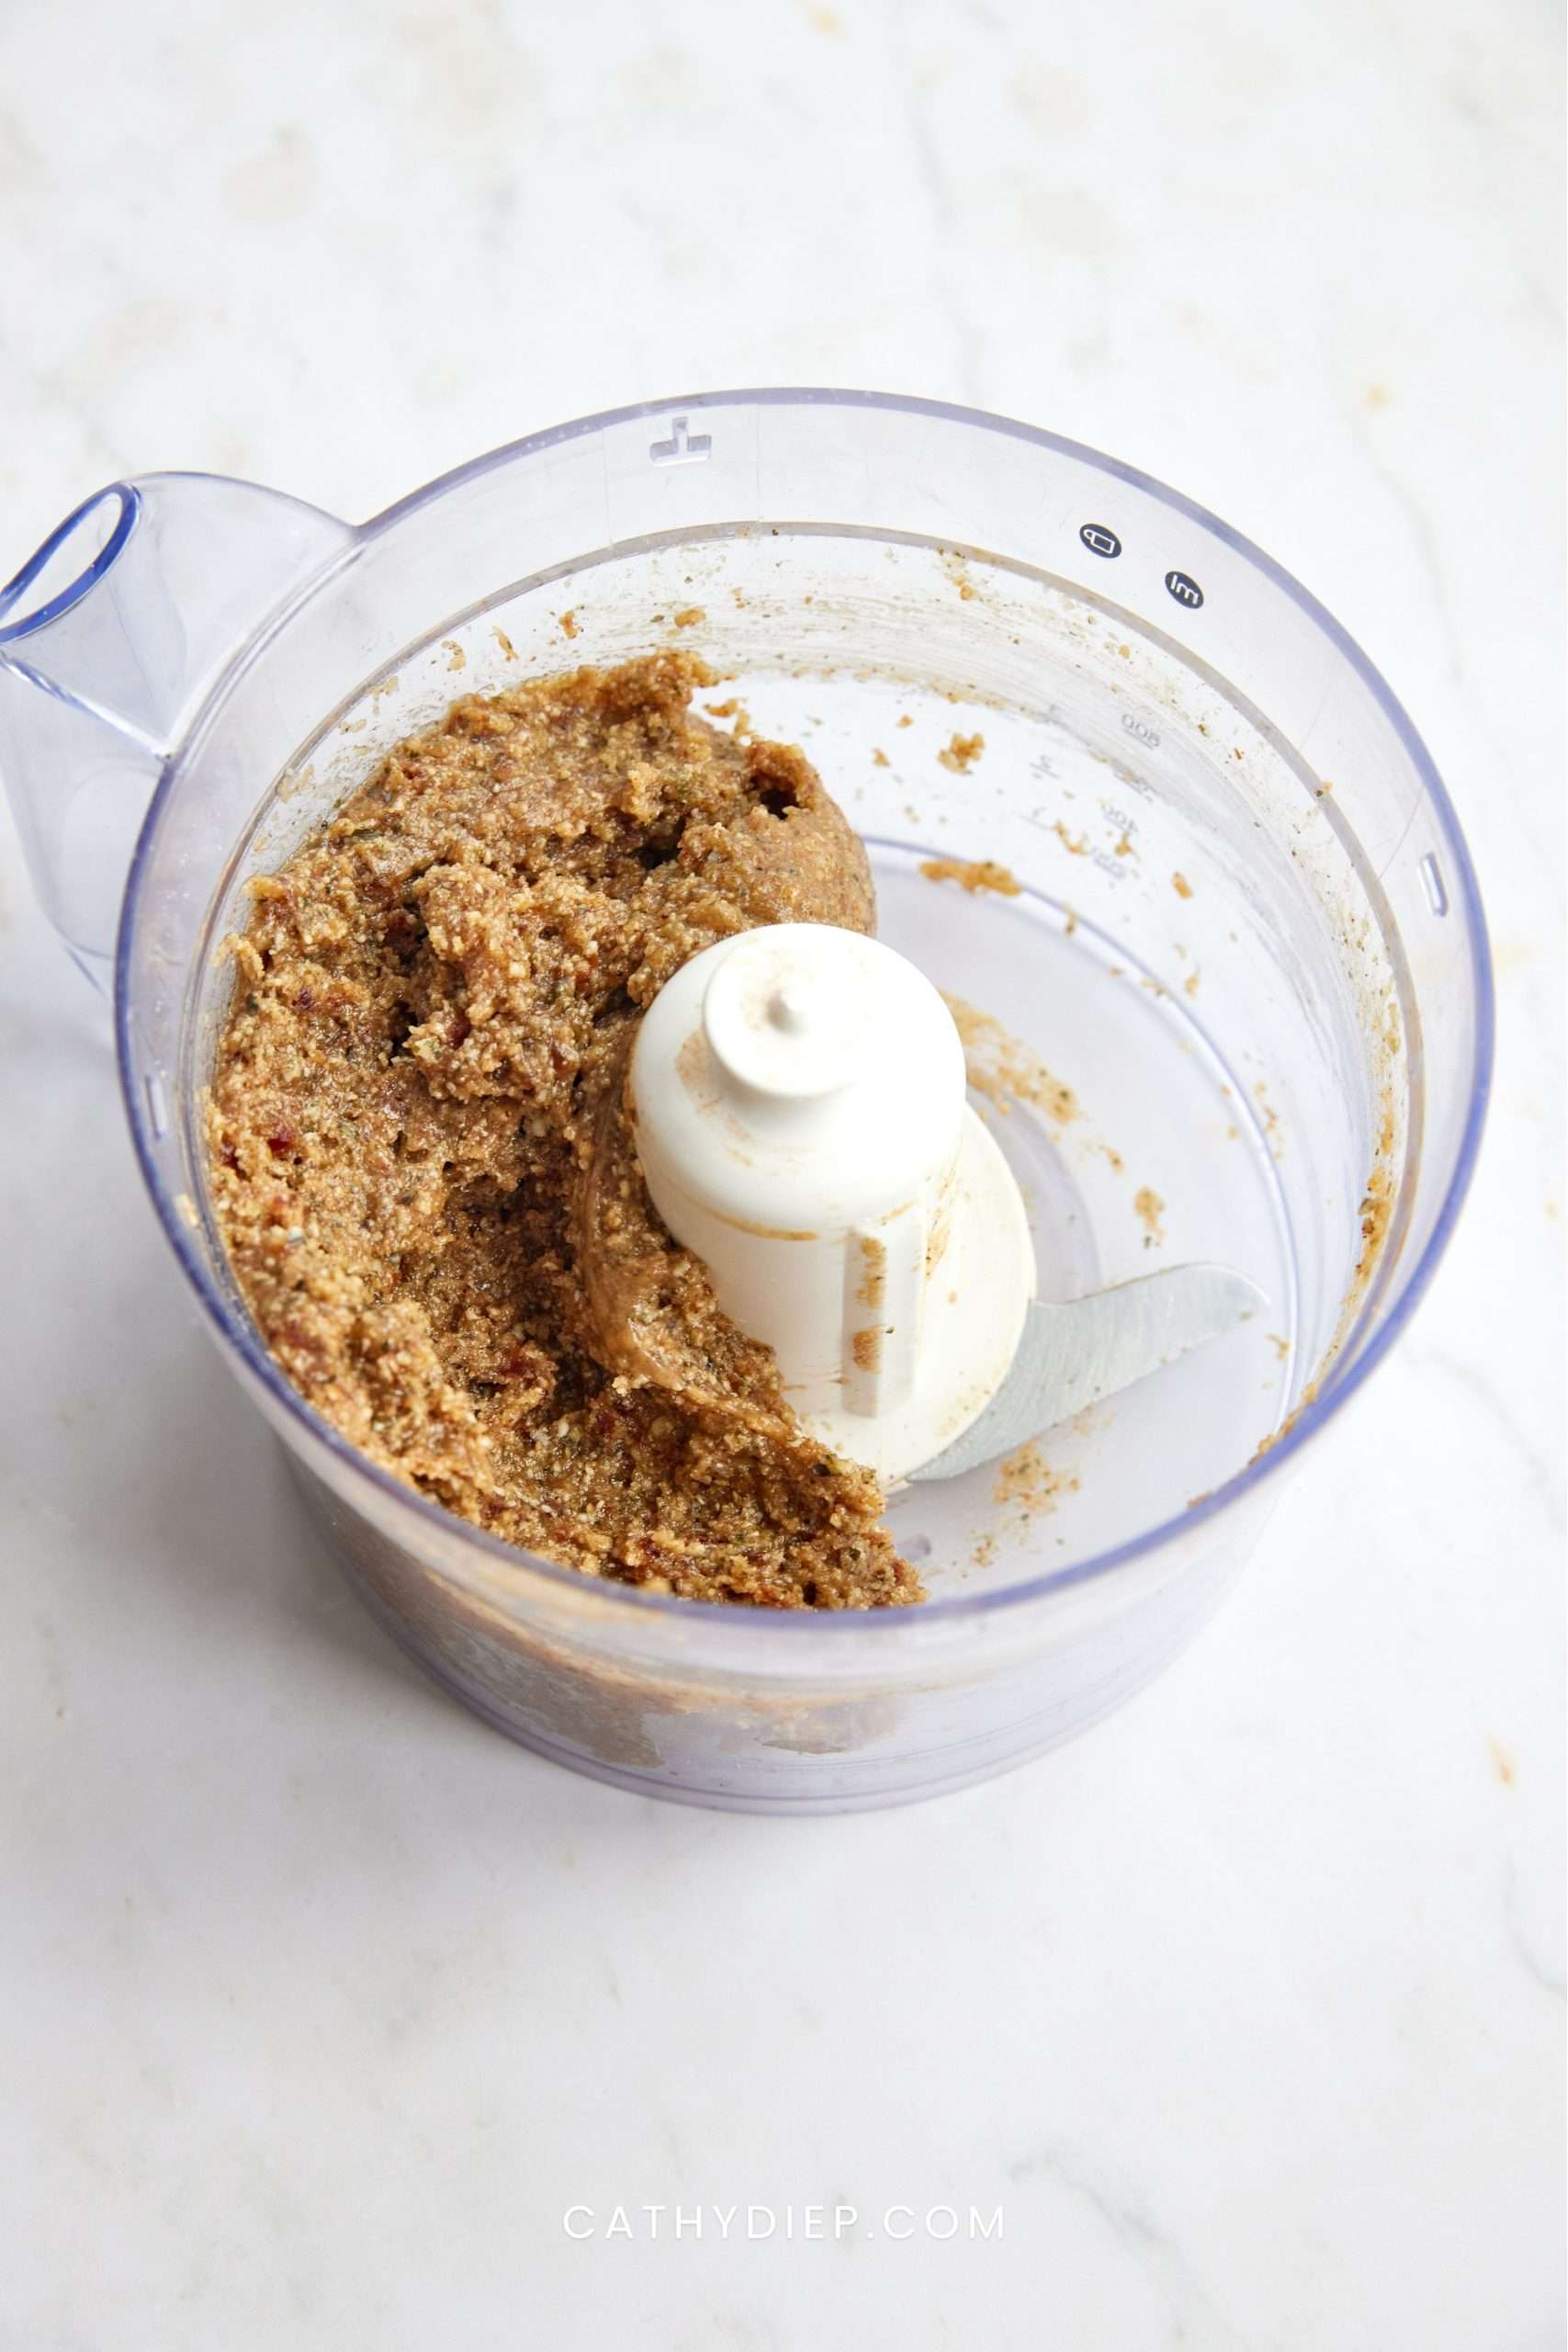
Step 3: Add the collagen peptides and peanut butter. Blend until everything is fully combined, stopping to scrape down the sides as needed.
Step 4: Drizzle in 2 tablespoons of water and blend again. Add more water, 1 tablespoon at a time, until the mixture starts to clump together.
Texture check: The mixture should look sticky and hold together when pressed between your fingers. If it feels dry or crumbly, add a little more water before shaping.
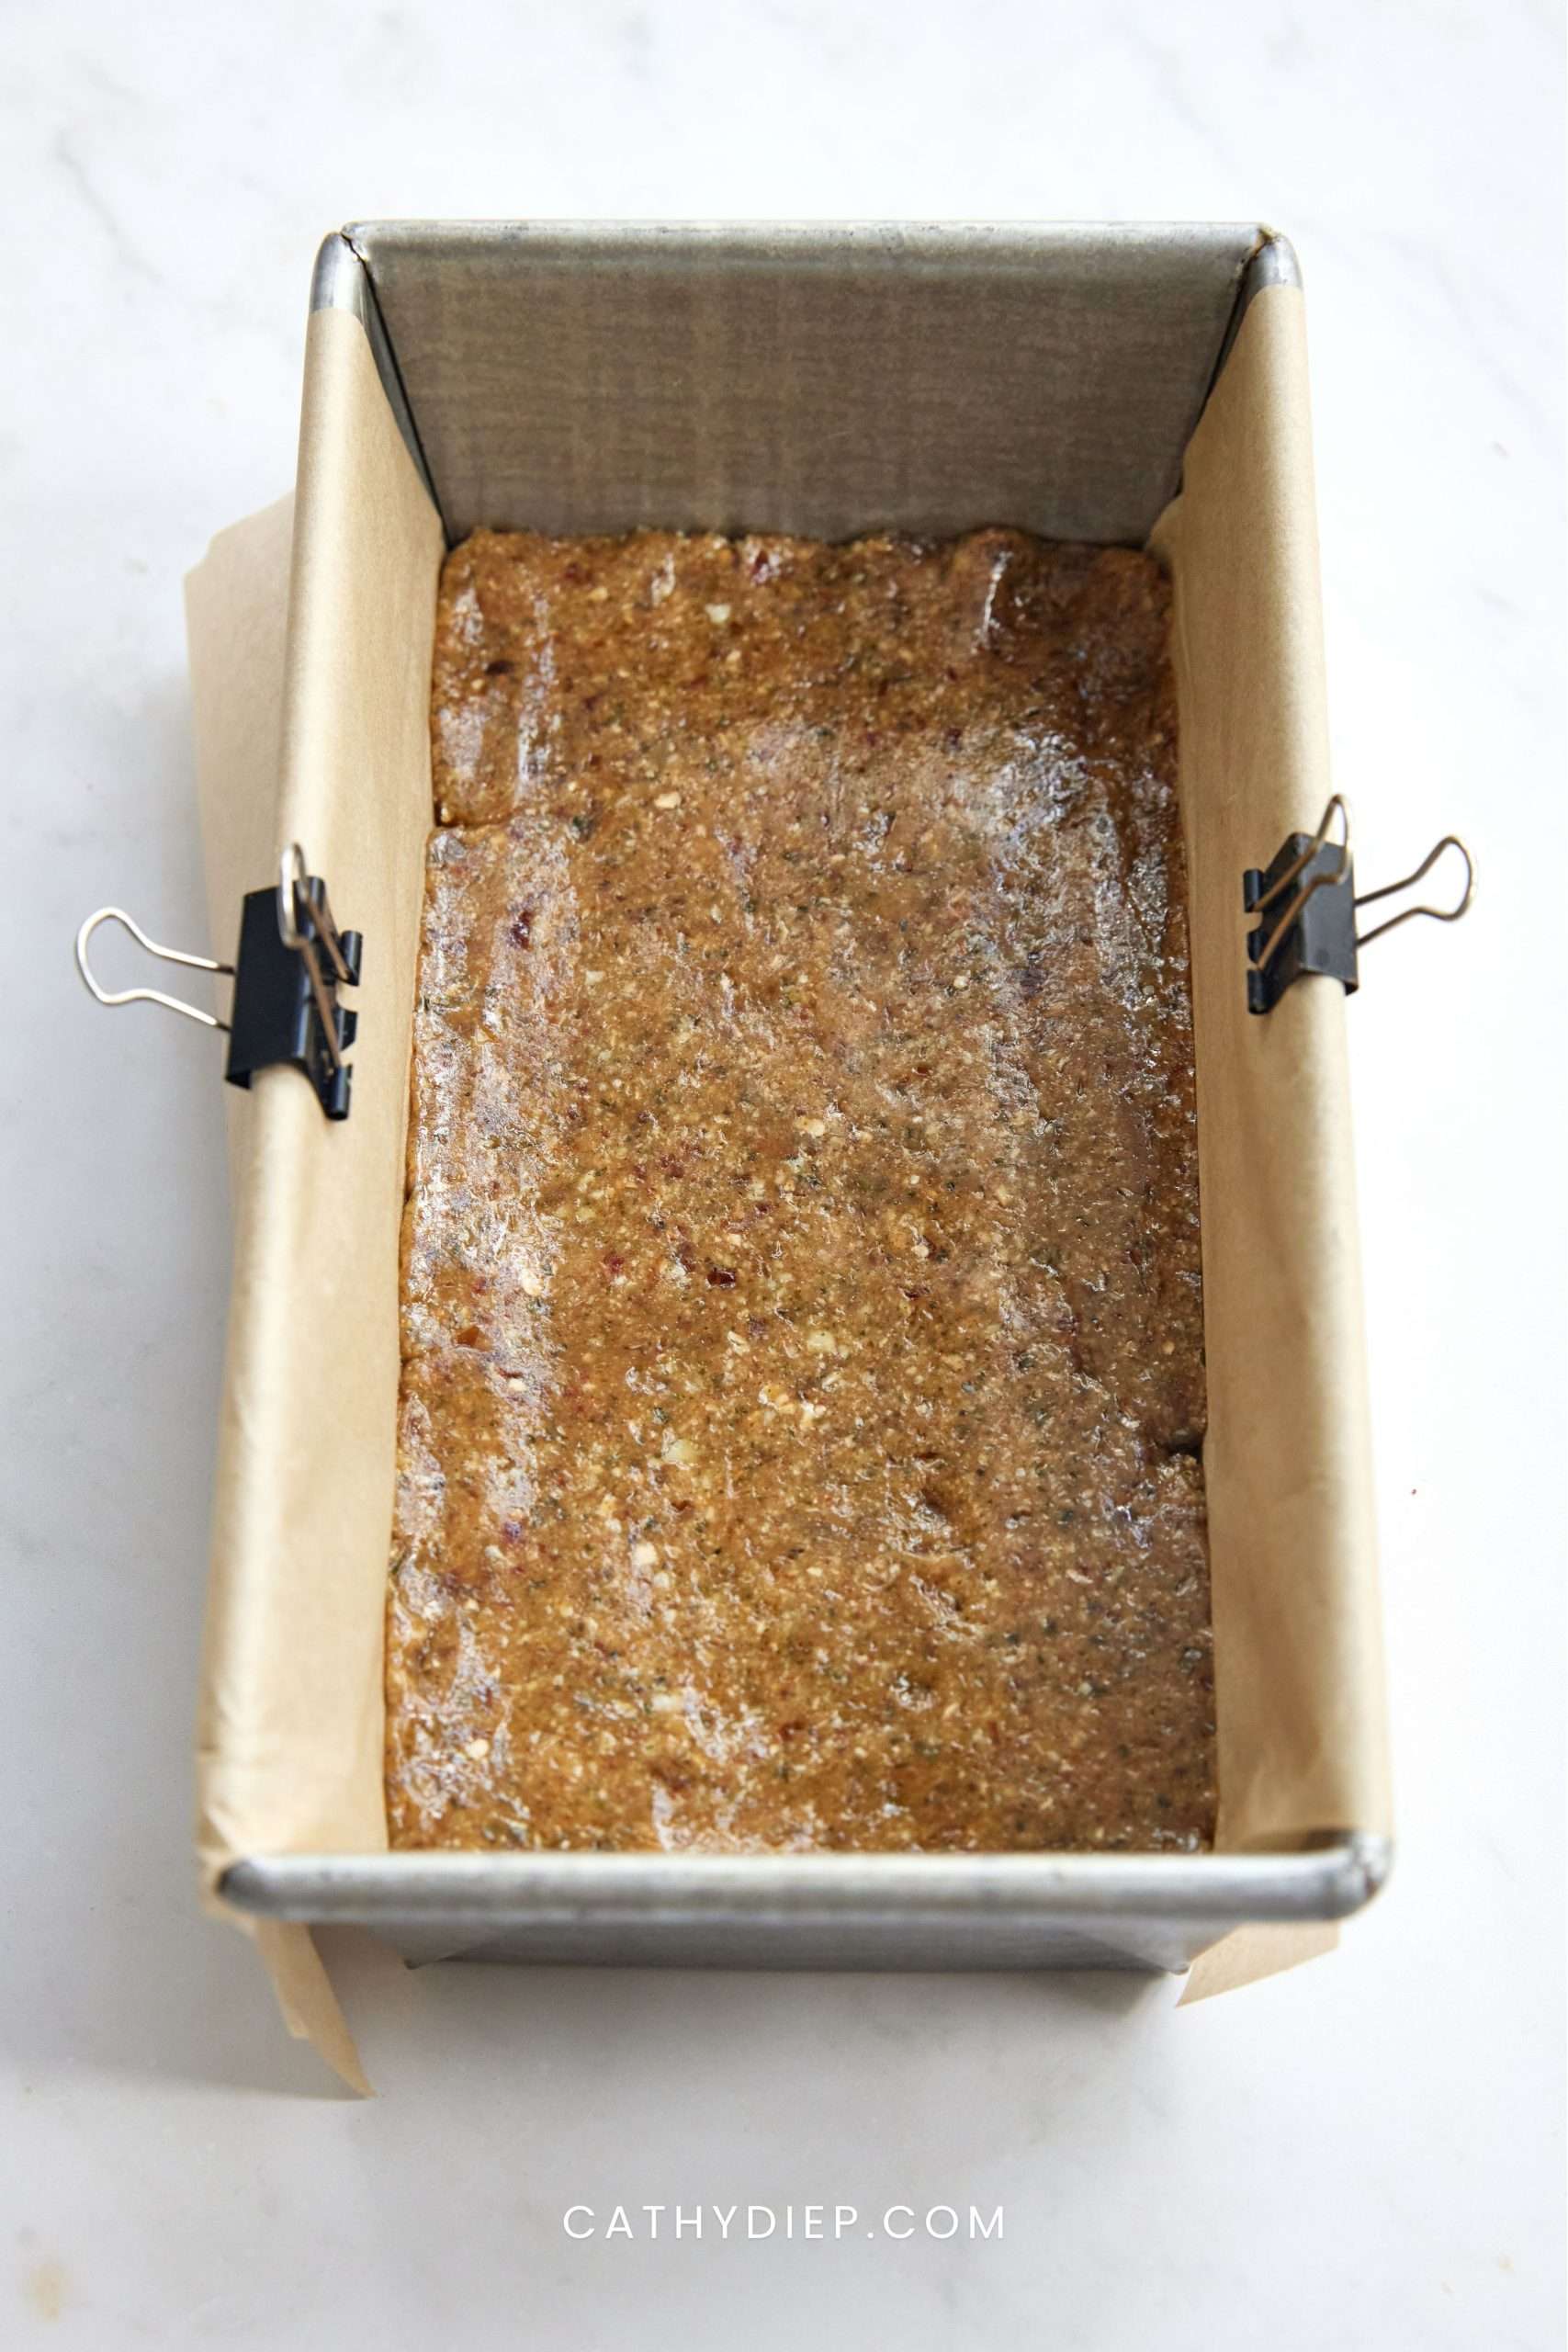
Step 5: Transfer the mixture to parchment paper and use damp hands to press it into a rectangle about 4.25 x 10 inches. You can also press it into a parchment-lined 2-pound loaf pan.
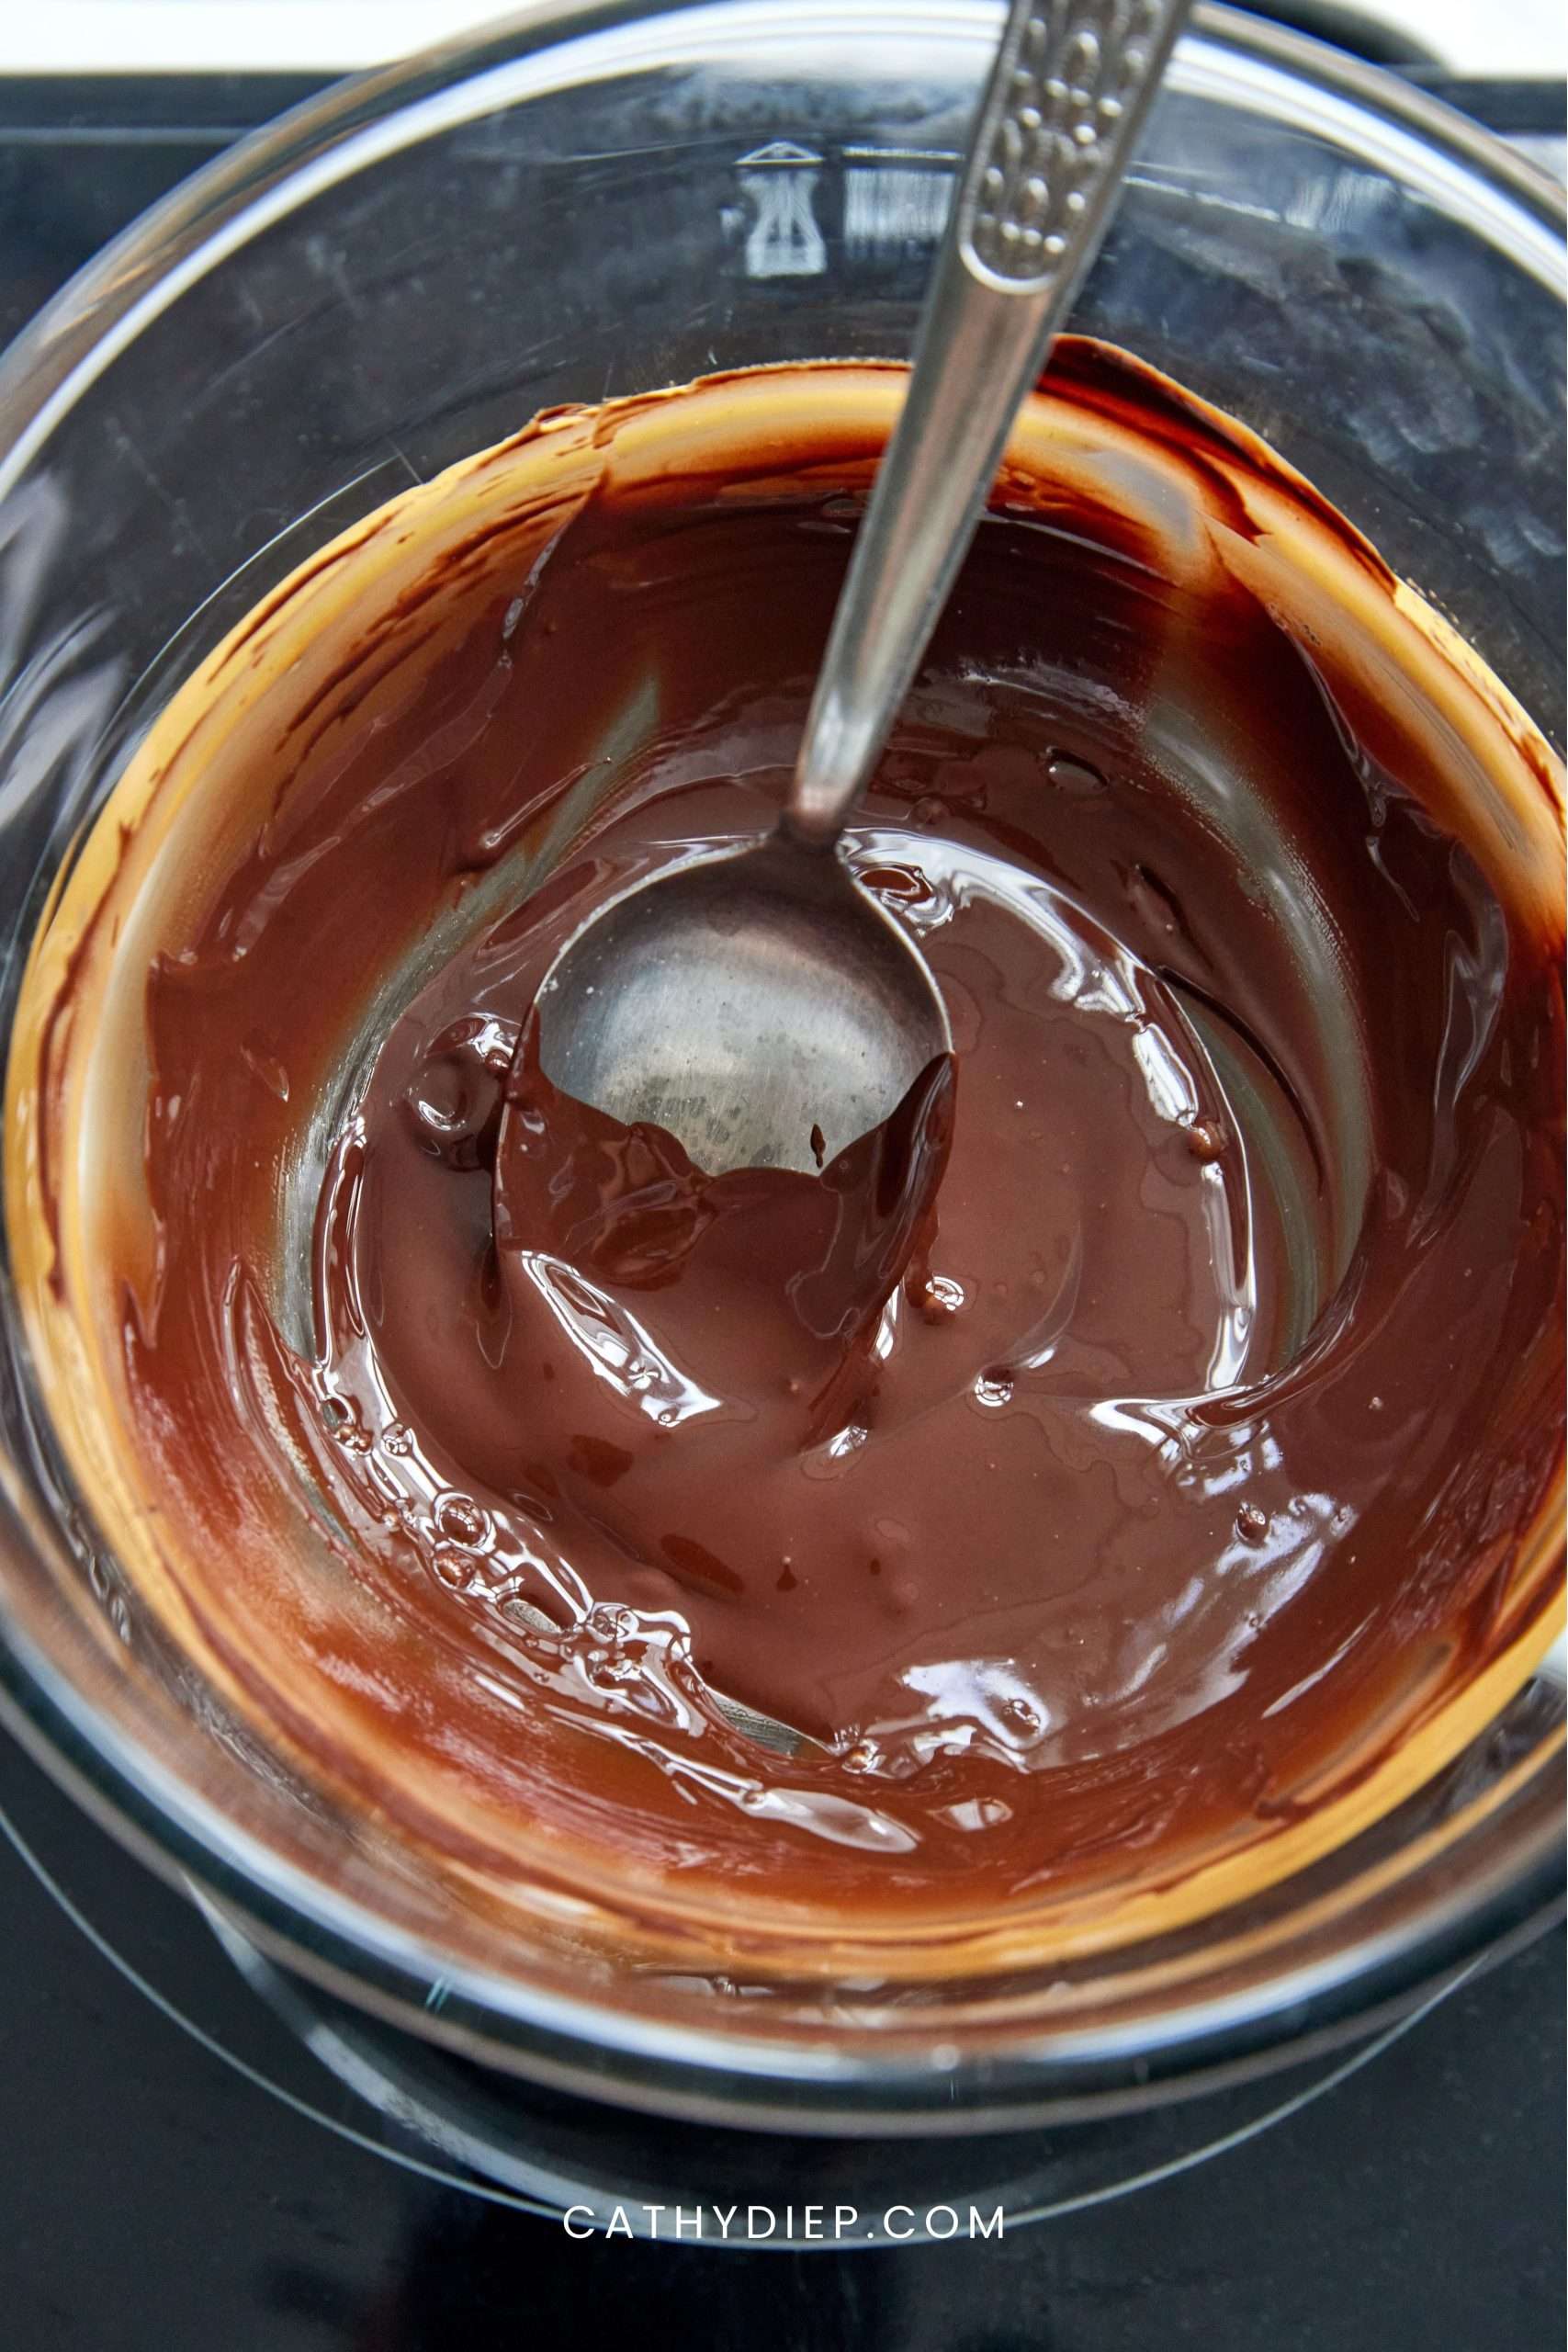
Step 6: Melt the dark chocolate in a heatproof bowl set over a small pot of simmering water. Stir until smooth and fully melted.
Step 7: Spread the melted chocolate evenly over the bars. Sprinkle with chopped nuts, coconut flakes, bee pollen, or cacao nibs if using.
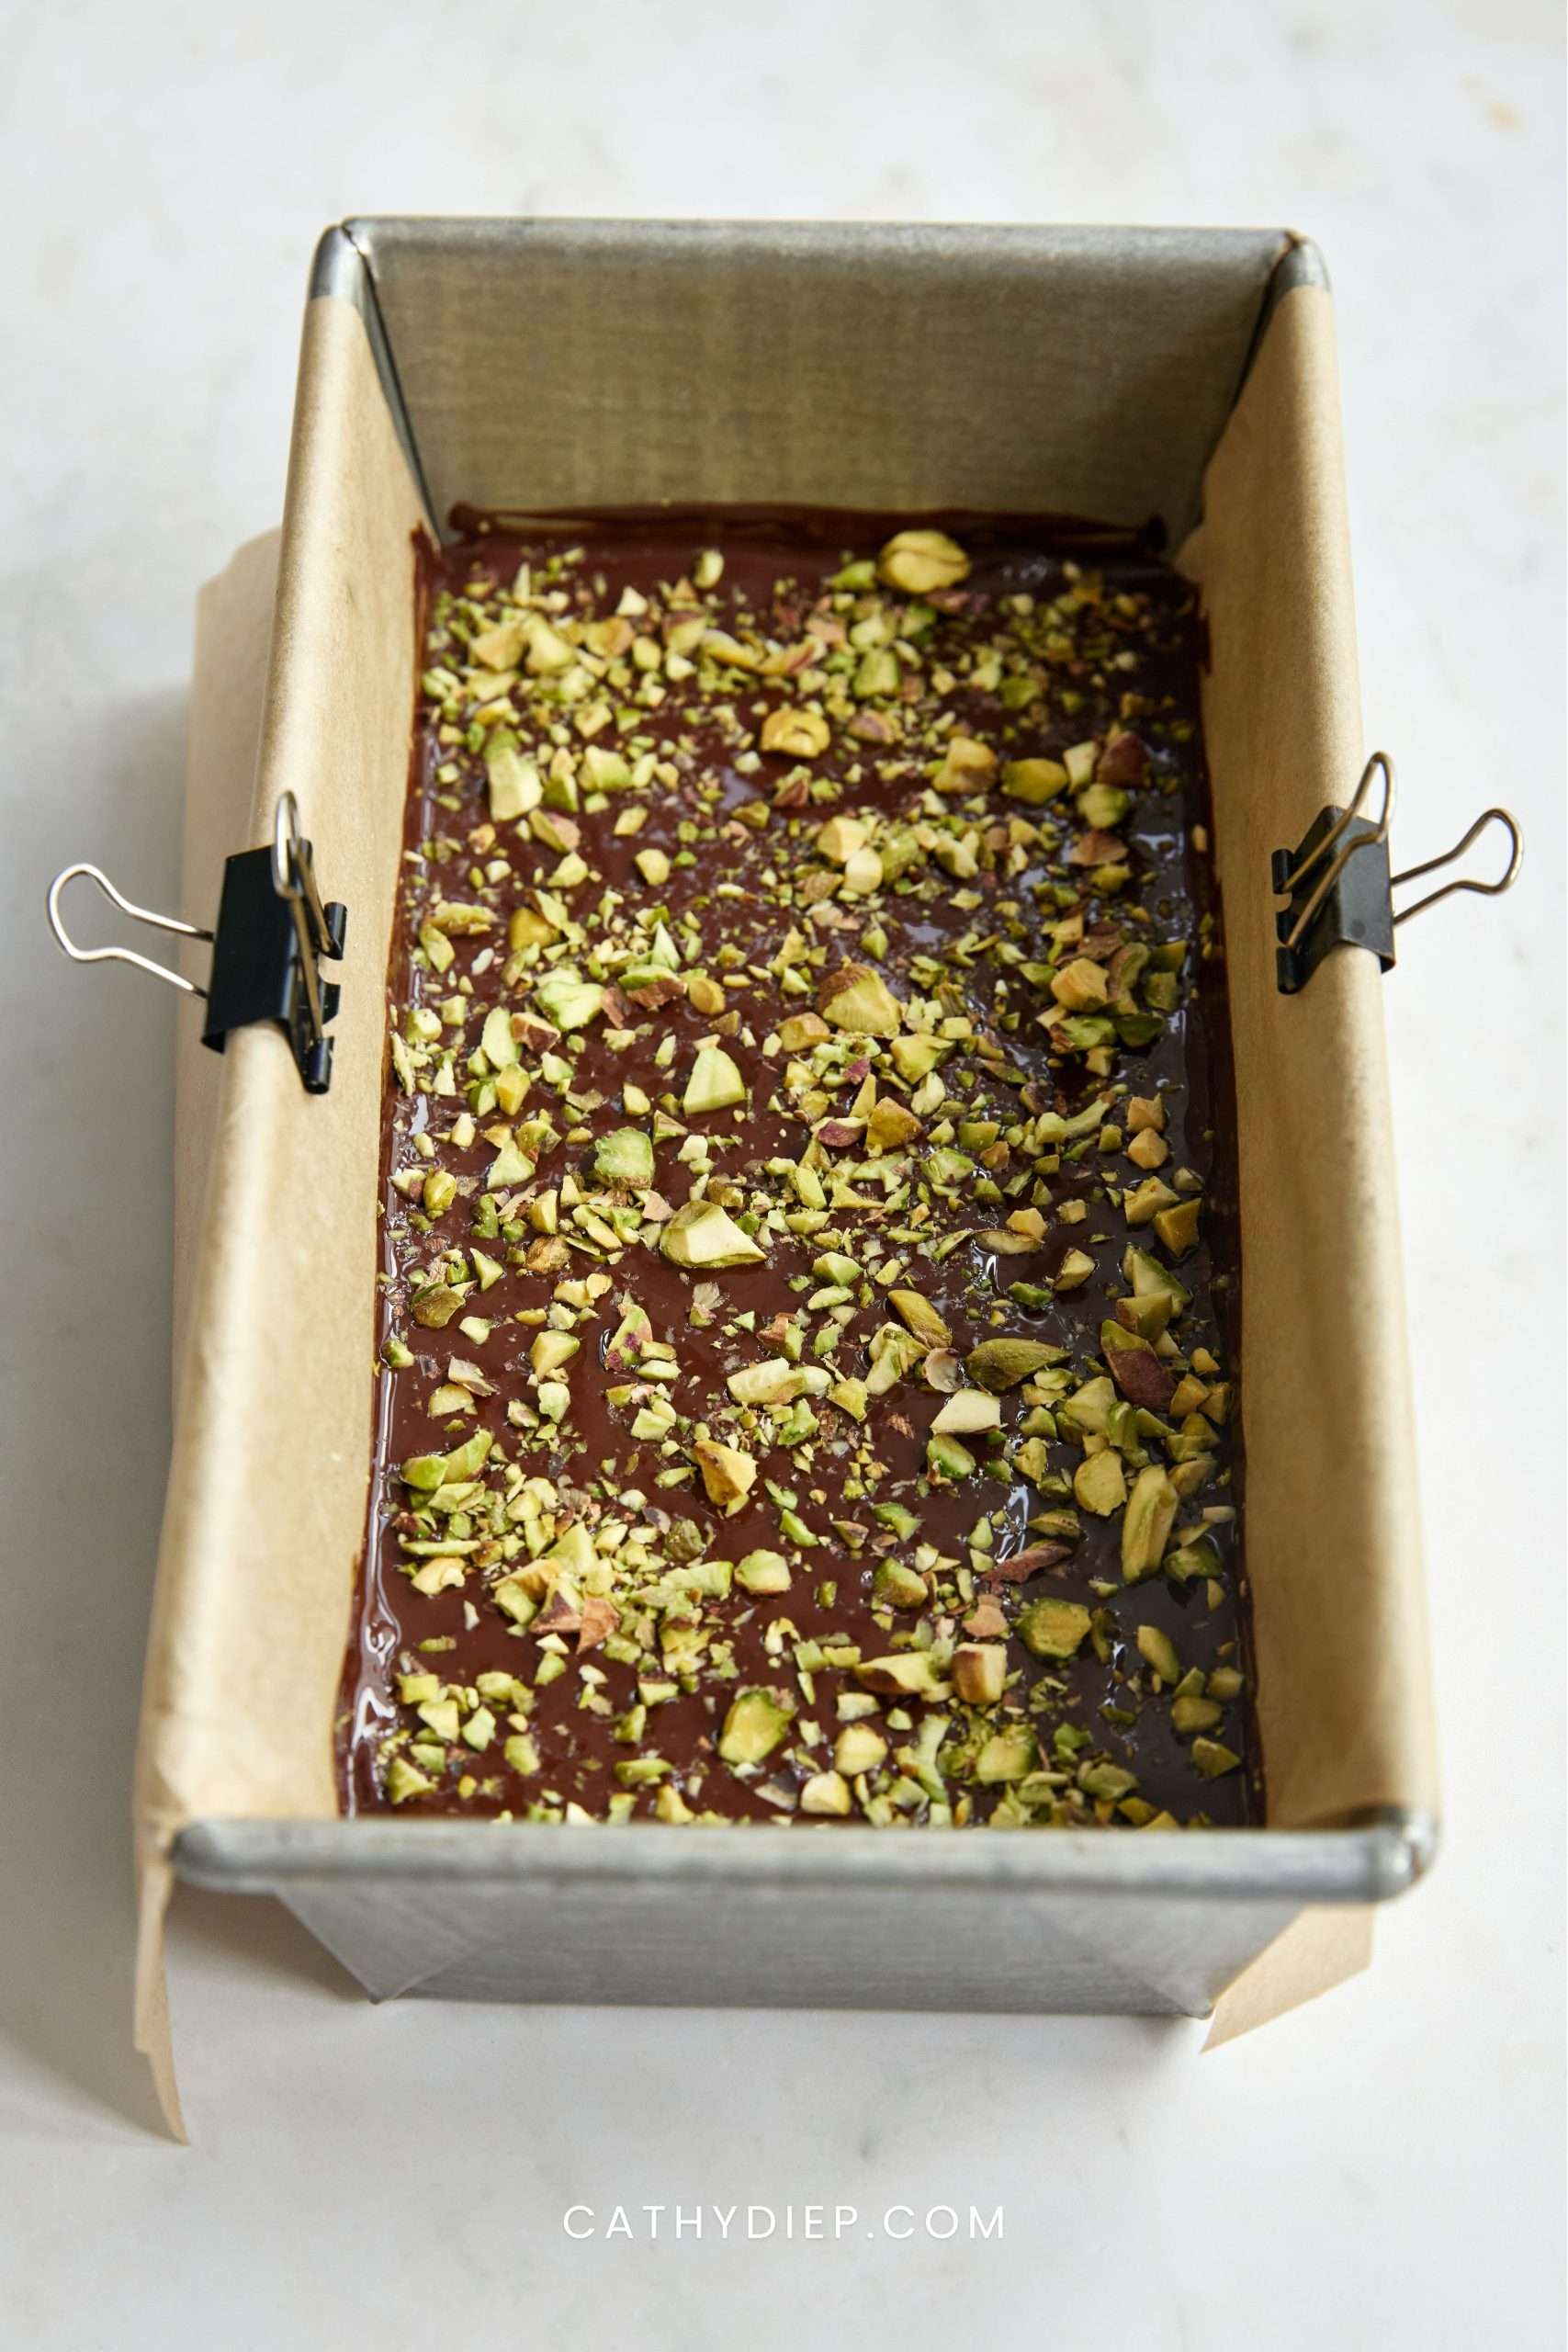
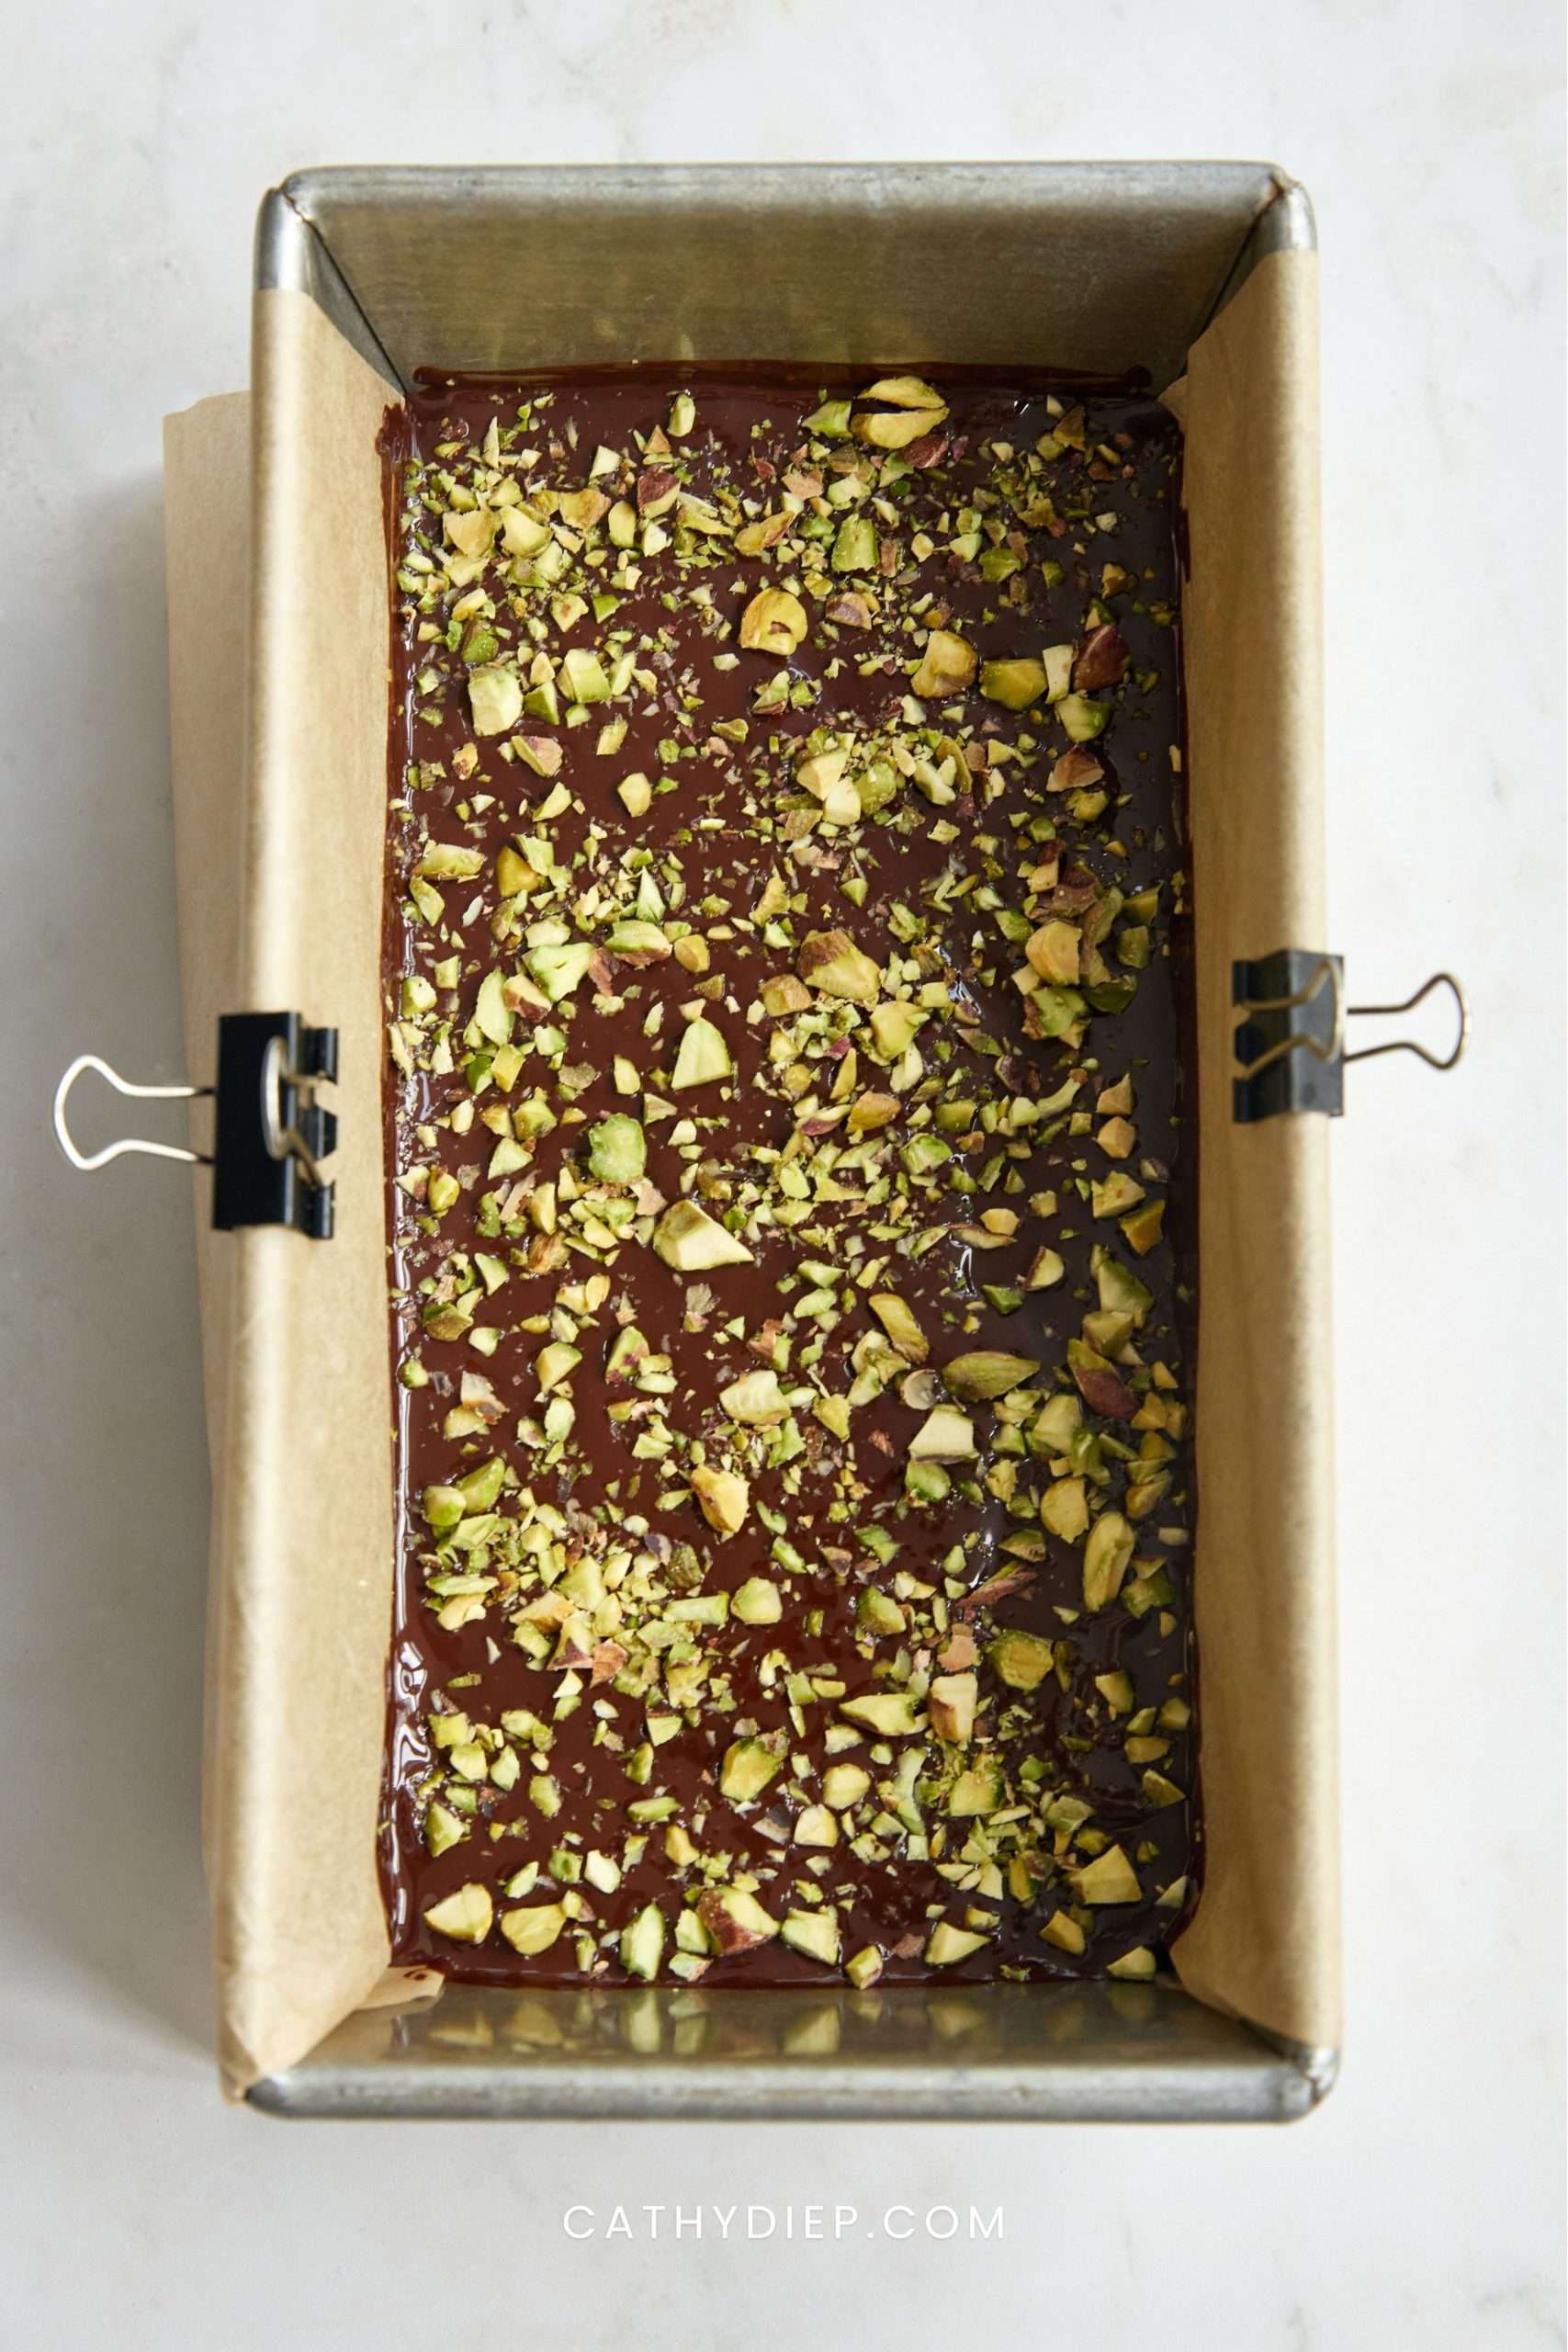
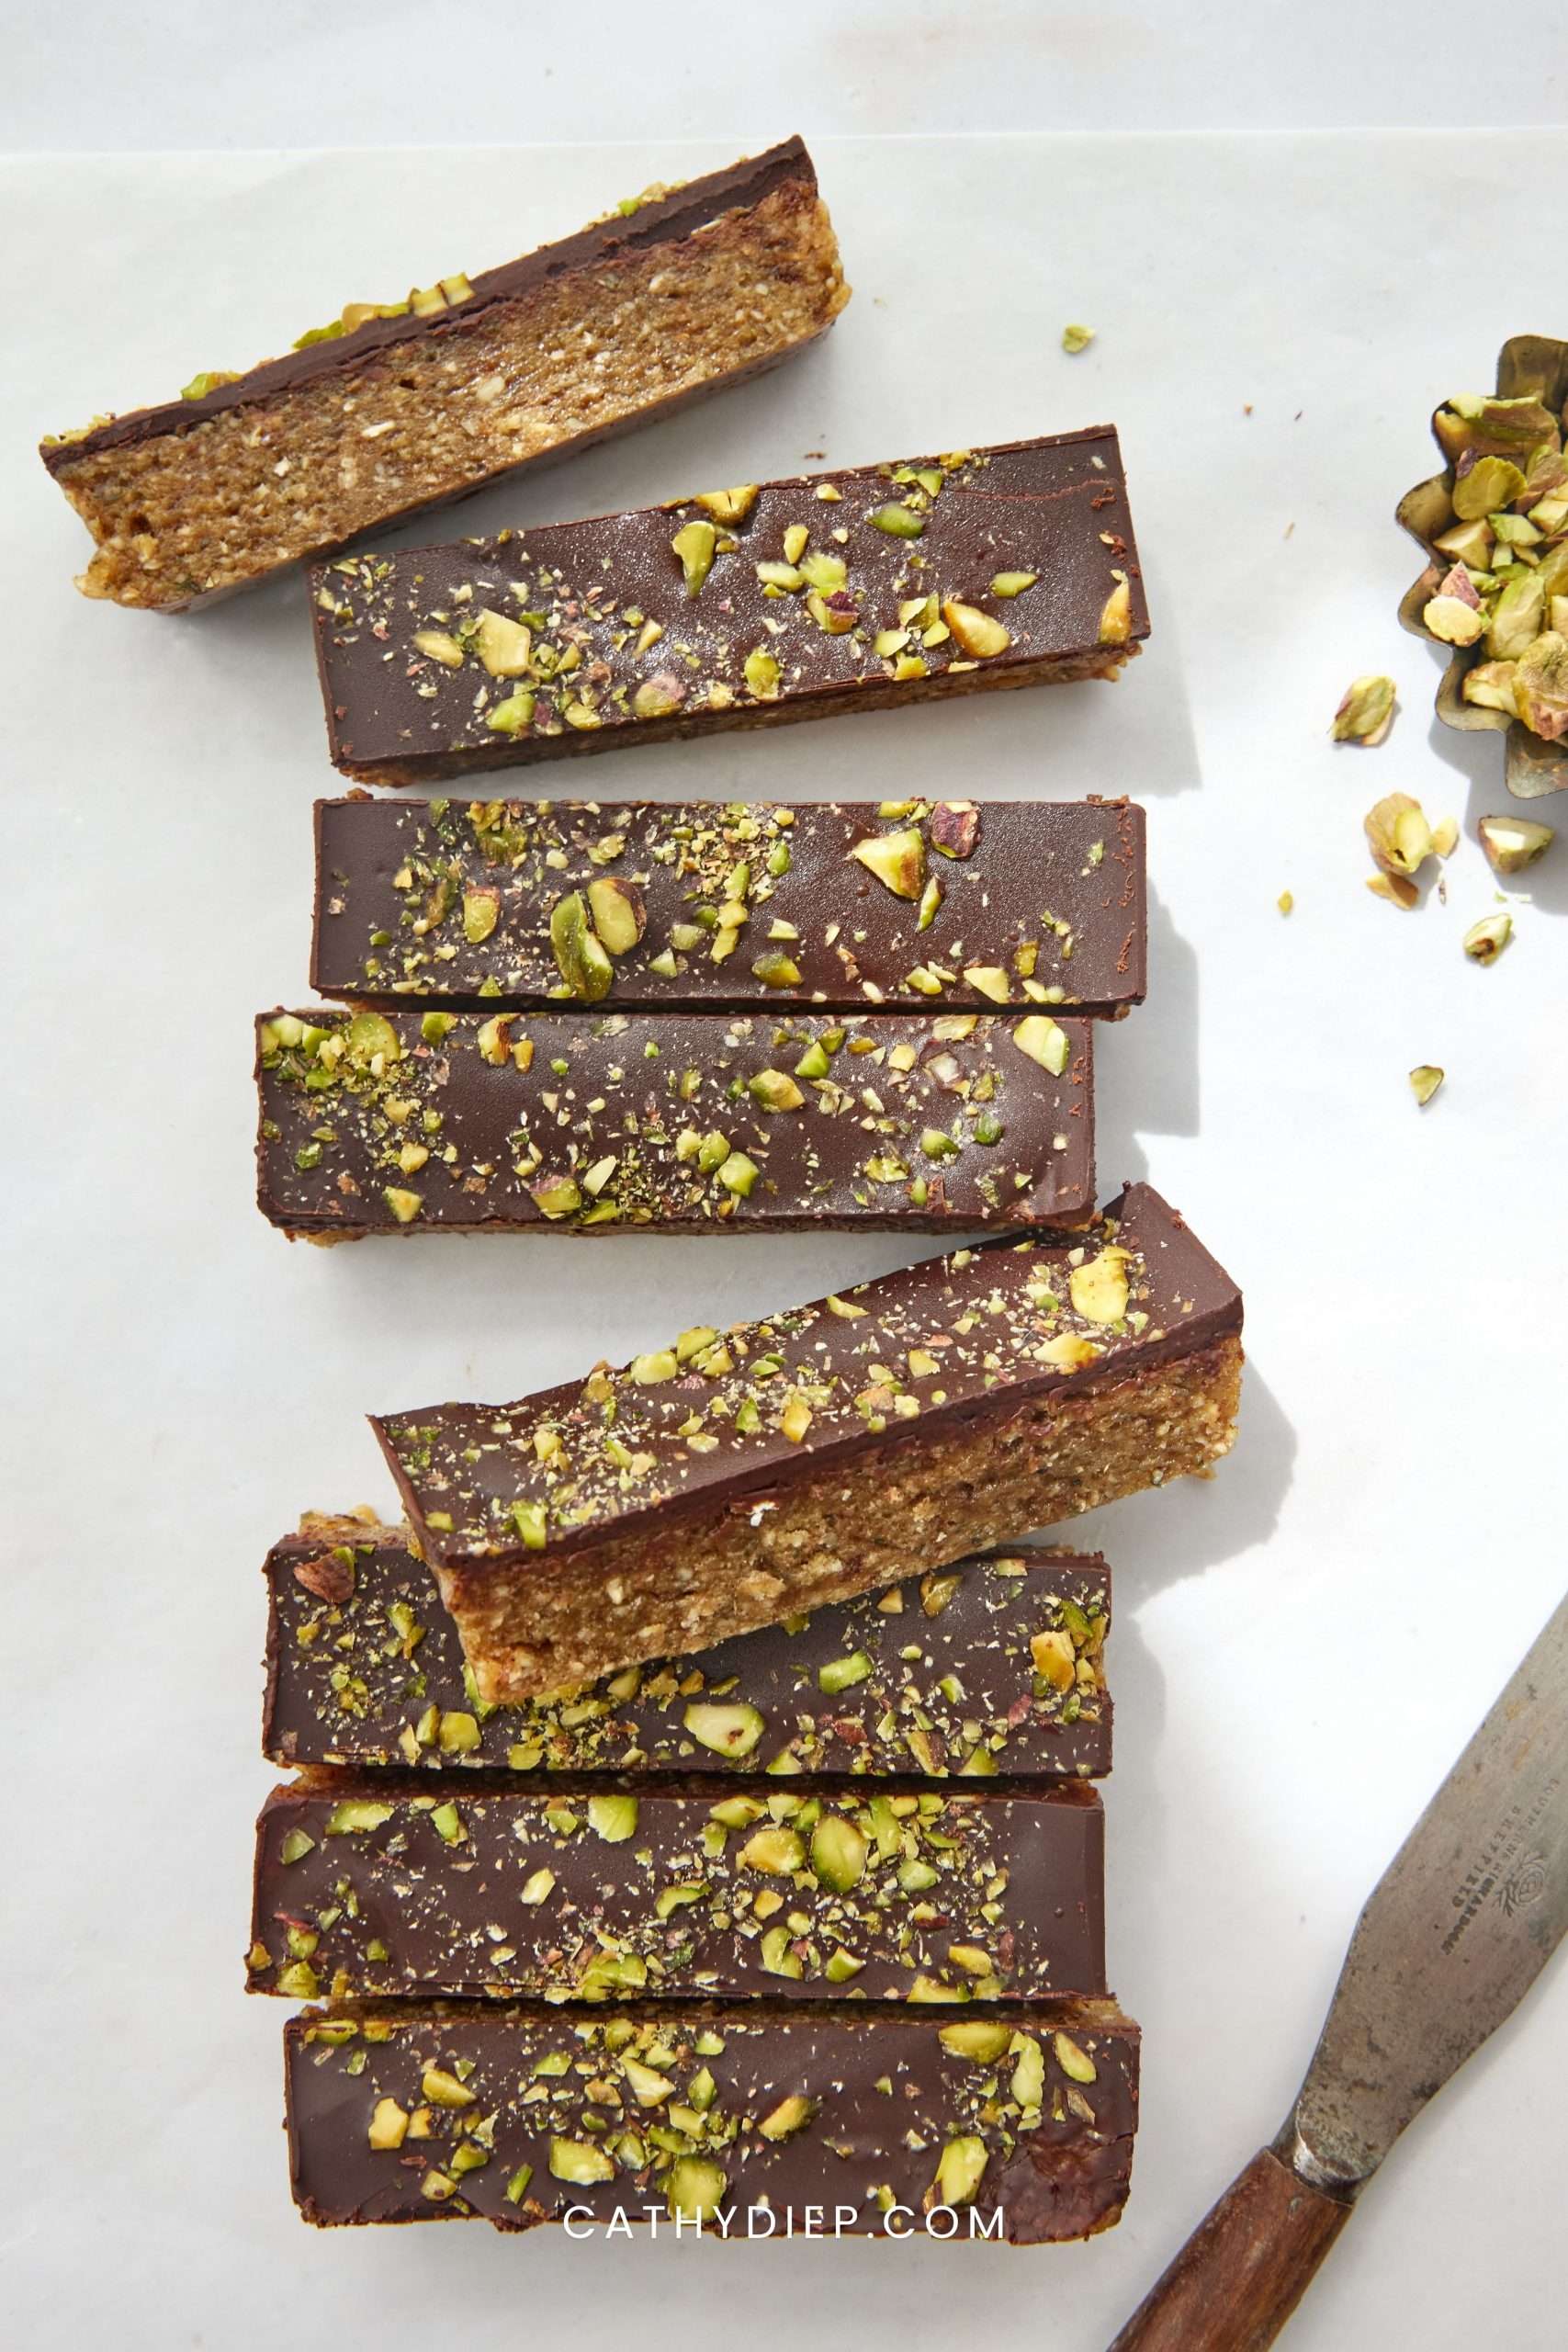
Step 8: Chill in the refrigerator for 30 minutes, or until the chocolate is set. Slice into 8 bars with a sharp knife.
Recipe Tips & Tricks
- Use soft, sticky dates: If your medjool dates feel dry, soak them in warm water for 5 to 10 minutes, then drain well before blending. This helps the bars hold together without needing too much extra water.
- Start with less water: I always start with 2 tablespoons, then add more slowly. Too much water can make the bars overly soft, especially after they sit in the fridge.
- Use runny peanut butter: Natural peanut butter that drips off the spoon blends better and helps create a smoother, chewier texture. If your peanut butter is very thick, the mixture may need an extra splash of water.
- Press firmly before chilling: Take a minute to really compact the mixture with damp hands or the bottom of a measuring cup. This helps the bars slice cleanly and keeps them from crumbling.
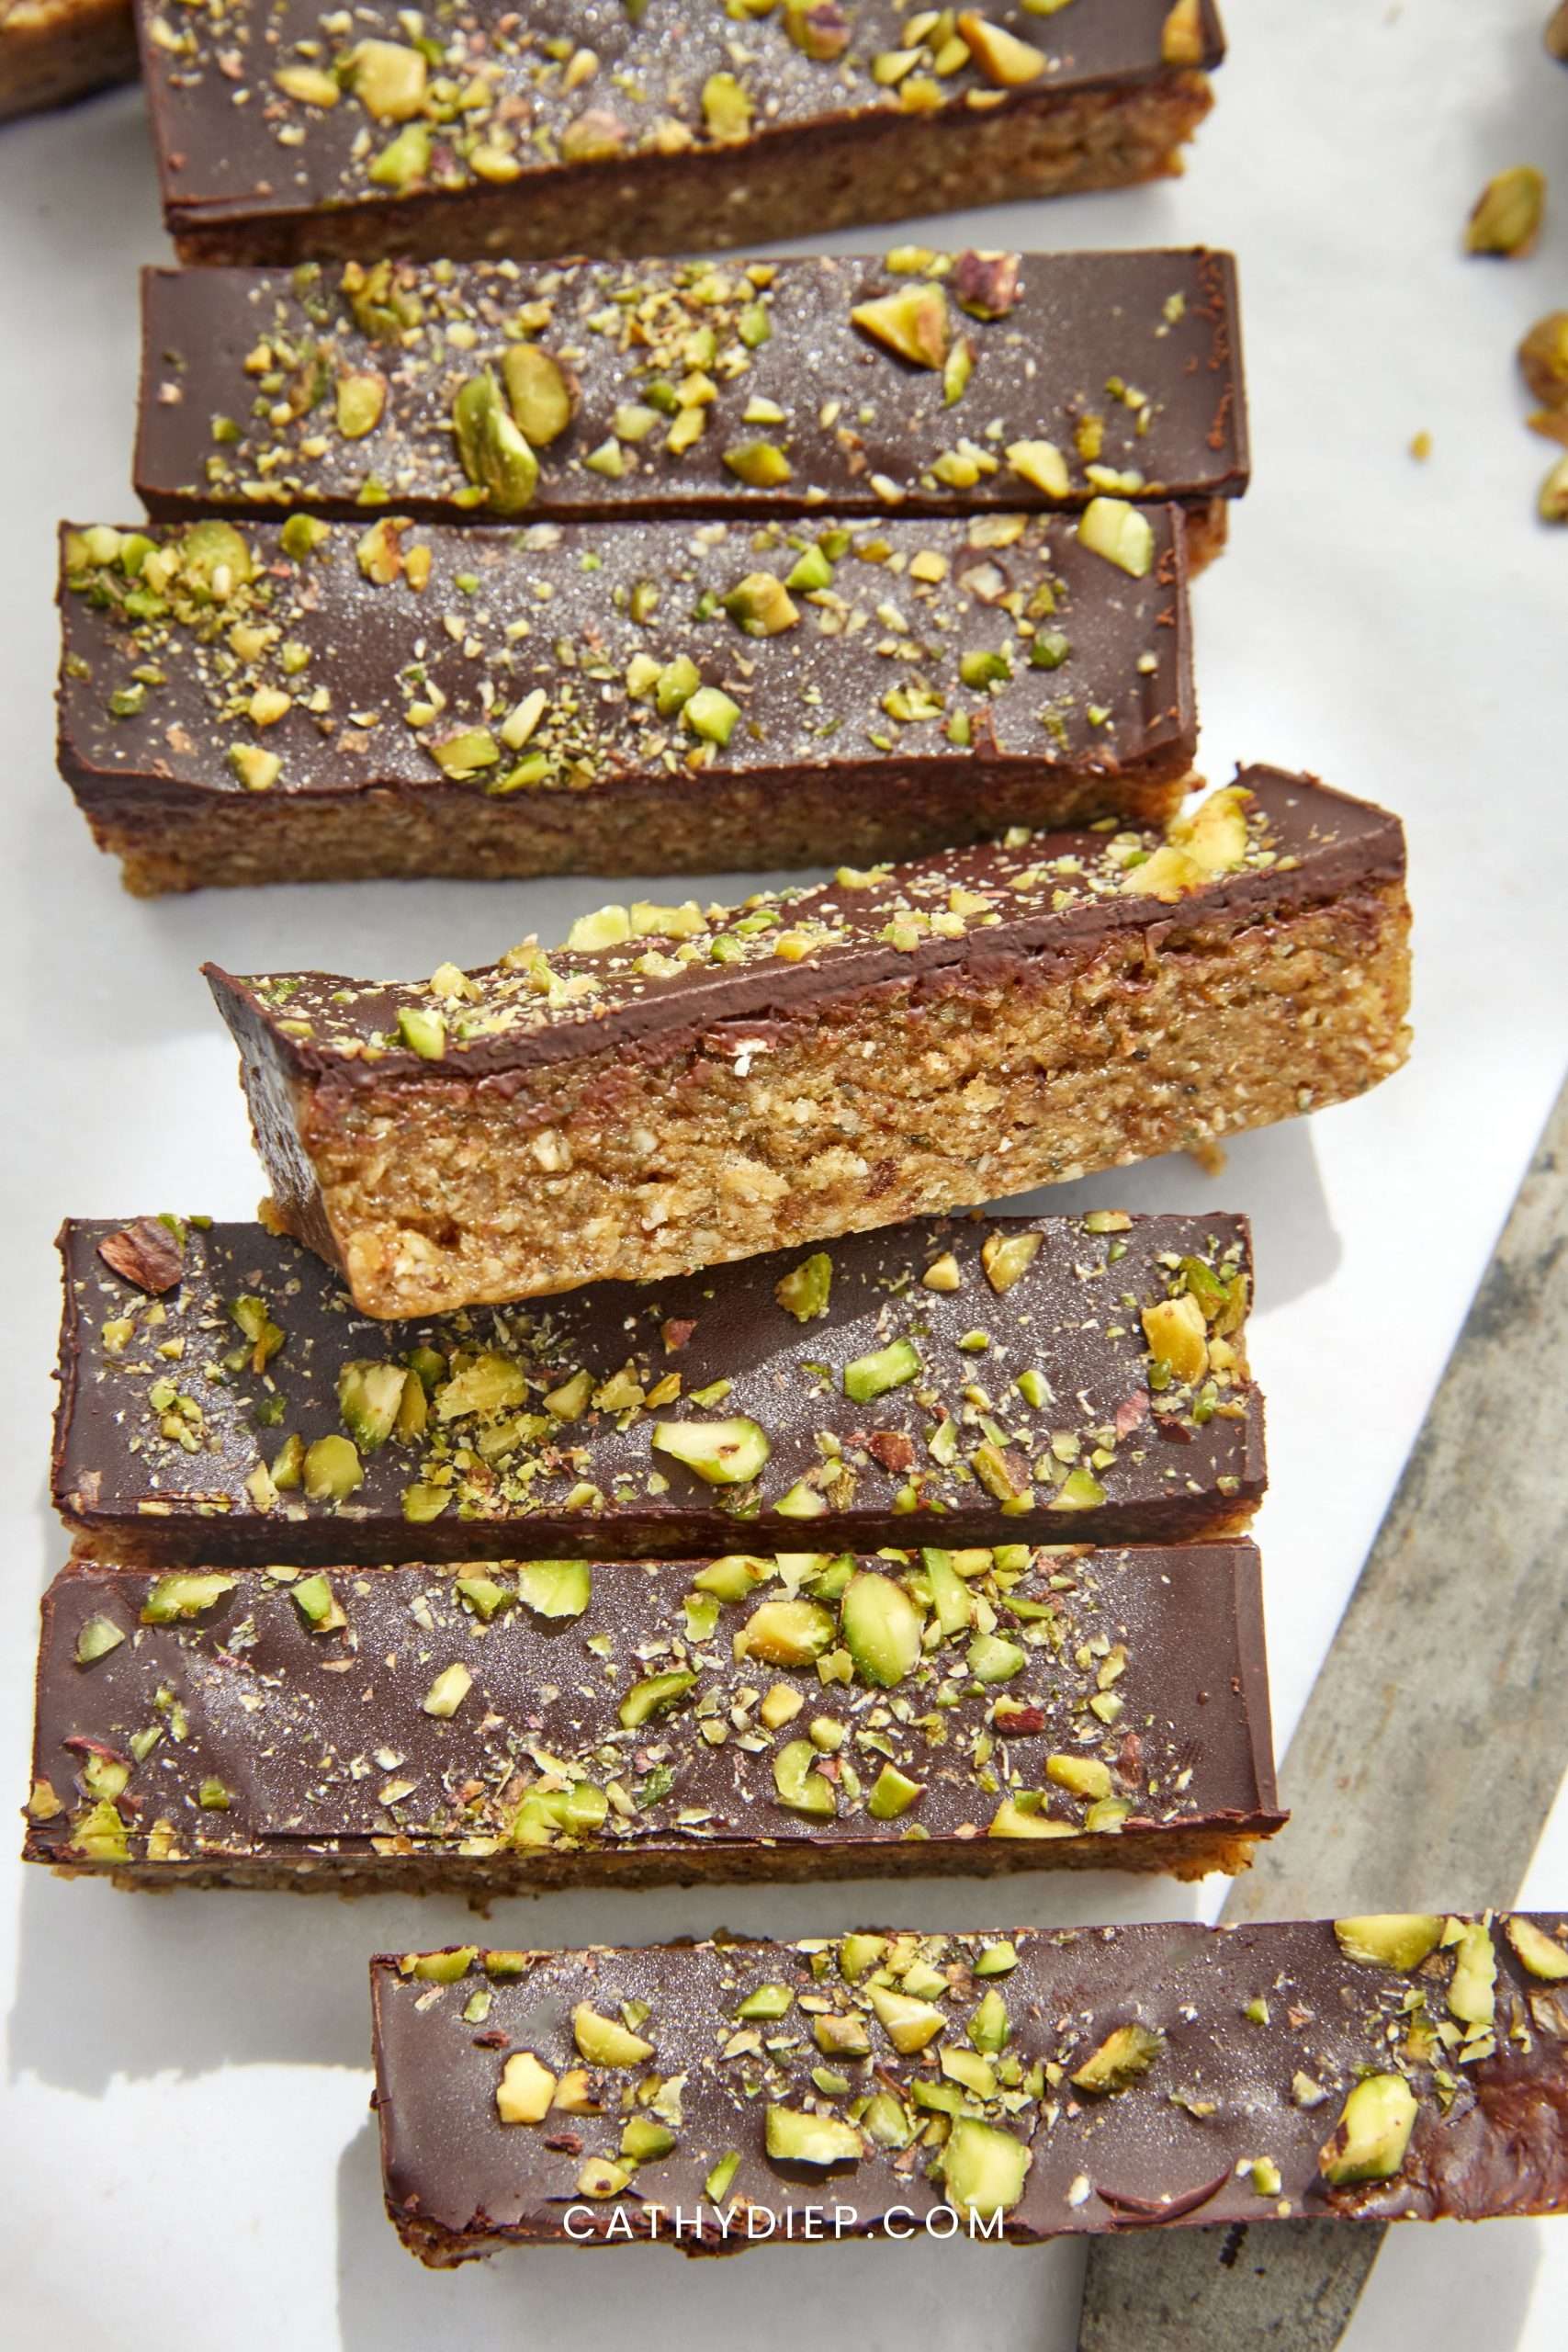
- Warm the knife before slicing: For cleaner cuts, run a sharp knife under warm water, wipe it dry, then slice through the chilled chocolate layer.
- Store them cold: These homemade protein bars hold their shape best in the fridge or freezer. I like keeping them chilled until right before serving.
⭐ Confidence Tip: I like to score the chocolate layer lightly after about 10 minutes in the fridge, before it fully hardens. It makes slicing easier later and helps prevent the chocolate from cracking.
Storage & Reheating
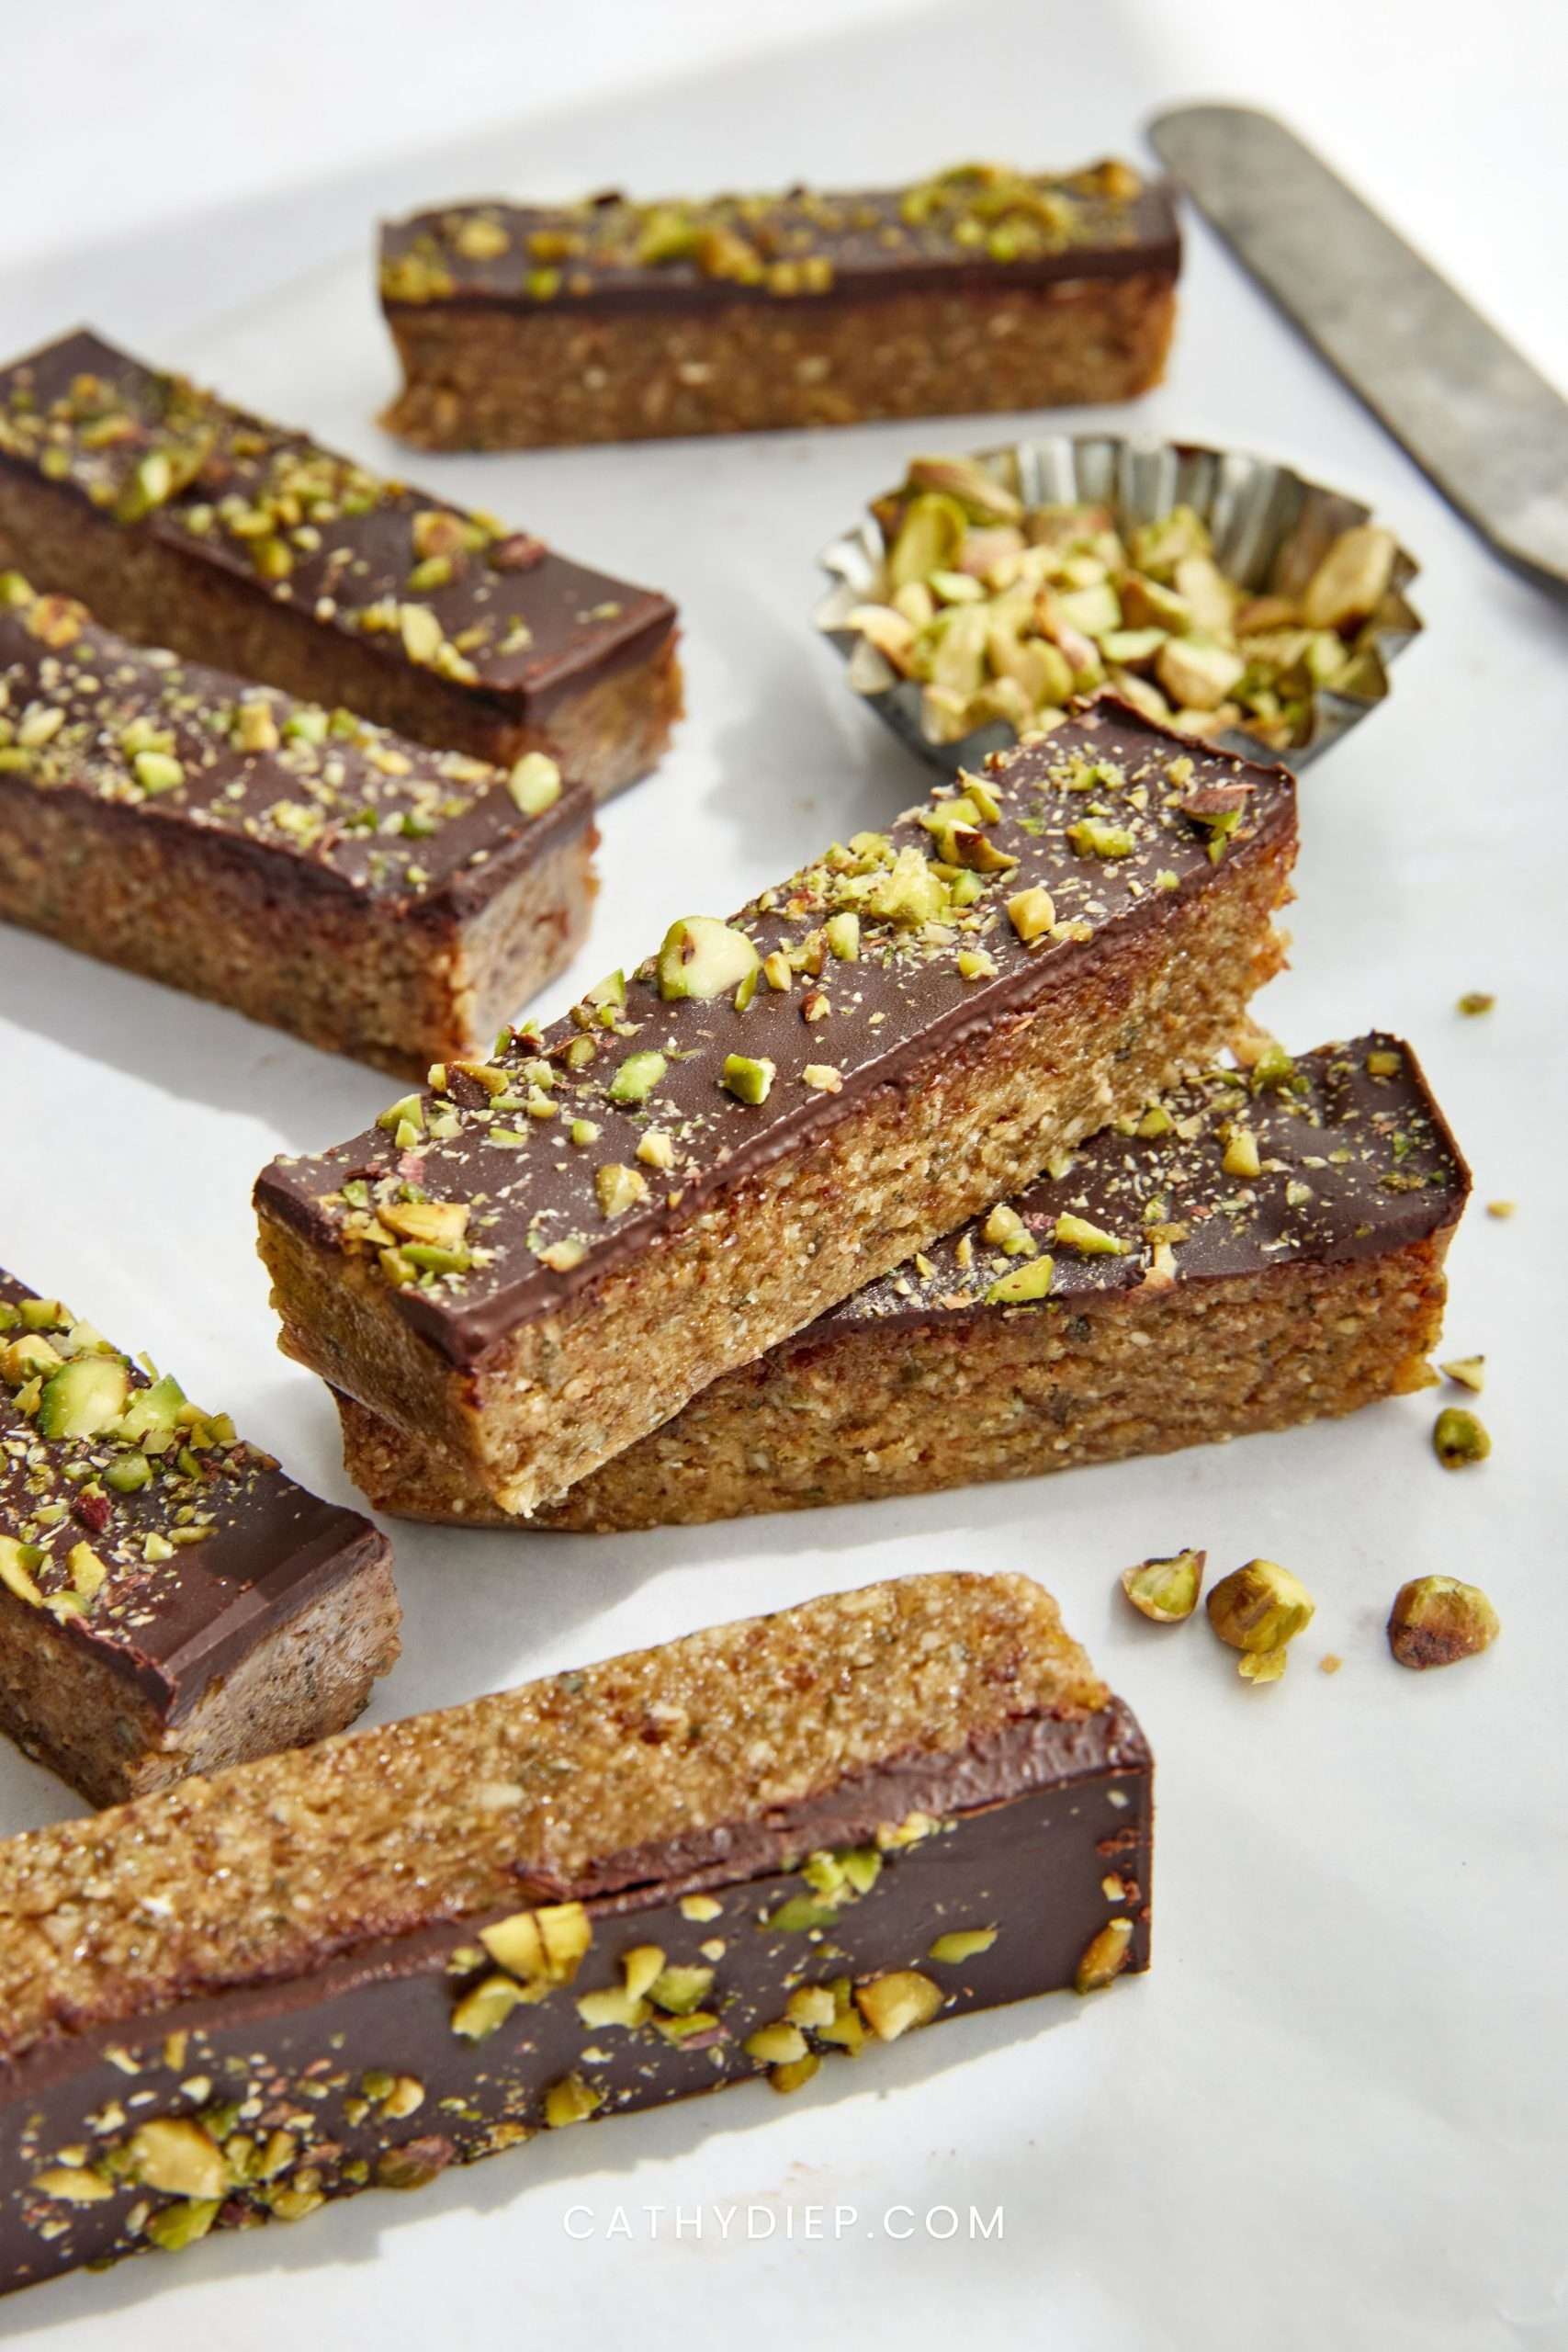
- Storage: Store the no bake protein bars in an airtight container in the refrigerator for up to 1 week. I like to keep parchment between layers so the chocolate stays neat and the bars do not stick together.
- Reheating: No reheating needed. These are best enjoyed chilled straight from the fridge, or you can let one sit at room temperature for 5 minutes if you prefer a softer, chewier texture.
- Freezing: Freeze in a freezer-safe container for up to 3 months. For easy grab-and-go snacks, I recommend freezing them individually wrapped or separated with parchment paper.
Additions & Substitutions
These homemade no bake protein bars are flexible and easy to customize, so you can adjust the flavor, texture, and toppings based on what you have on hand.
Additions
- Cinnamon and vanilla: Add cinnamon with a small splash of vanilla extract for a warmer, bakery-style flavor that works really well with dates and peanut butter.
- Cacao powder: Mix cacao powder into the bar mixture for a richer chocolate peanut butter flavor without making the bars overly sweet.
- Crunchy toppings: Sprinkle cacao nibs, chopped walnuts, chopped almonds, or extra pumpkin seeds over the melted chocolate before chilling.
- Unsweetened coconut: Add unsweetened coconut flakes on top for a chewy texture and a naturally sweet flavor.
- Sea salt finish: Add a tiny pinch of flaky sea salt over the chocolate layer to balance the sweetness and make the peanut butter flavor pop.
Substitutions
- Peanut butter: Swap with almond butter, cashew butter, or sunflower seed butter. I recommend using a runny, natural option so the mixture blends smoothly and holds together well.
- Pumpkin seeds: Use sunflower seeds, chopped almonds, or chopped walnuts instead. The flavor will change slightly, but the bars will still have a good chewy-crunchy texture.
- Hemp hearts: Swap with ground flaxseed or chia seeds, but start with less since they absorb more moisture. You may need to add an extra splash of water if the mixture feels dry.
- Collagen peptides: Use an unflavored, minimally processed protein powder if needed. Since protein powders absorb liquid differently, add water slowly until the mixture clumps together.
- Dark chocolate: Use dairy-free dark chocolate chips or a refined-sugar-free dark chocolate bar. I like keeping the chocolate layer thin so the bars still feel balanced and not too sweet.
Frequently Asked Questions
How long do no bake protein bars last?
No bake protein bars last up to 1 week in the refrigerator when stored in an airtight container. I recommend keeping parchment paper between layers so the chocolate topping stays neat and the bars do not stick together.
Can I make no bake protein bars without peanut butter?
Yes, you can make these no bake protein bars without peanut butter by using almond butter, cashew butter, or sunflower seed butter. I recommend choosing a runny, natural option so the mixture blends easily and holds together well.
Do I need protein powder to make these protein bars?
No, you do not need protein powder for this recipe. I use unflavored collagen peptides instead because they blend smoothly, add protein, and are a simpler option than many flavored protein powders with gums, sweeteners, or additives.
Can I freeze homemade protein bars?
Yes, you can freeze homemade protein bars for up to 3 months. I like wrapping them individually or separating them with parchment paper so they are easy to grab one at a time.
Is it better to use collagen peptides or protein powder?
Collagen peptides work better in this recipe because they keep the flavor neutral and the texture softer. As a Gut Health Coach, I also like that unflavored collagen is usually simpler than many flavored protein powders, but you can use an unflavored protein powder if needed and adjust the water as you blend.
Try These Next
Final Thoughts
These easy no bake protein bars are one of those simple homemade snacks I love keeping in the fridge for busy weeks. They’re chewy, chocolatey, high in protein, and made with cleaner ingredients than many store-bought bars, which makes them such a practical snack to prep ahead.
Now I’d love to hear from you. What toppings did you add to your protein bars?
If you try it, I’d love to hear how it turned out. Leave a comment below, rate the recipe, and let me know what you think.
Easy No Bake Protein Bars with Chocolate & Peanut Butter
Ingredients
- ⅓ cup raw pumpkin seeds also called pepitas
- ⅓ cup gluten-free old-fashioned oats
- 3 tablespoons hemp hearts
- 6 medjool dates pitted
- 1 cup unflavored collagen peptides
- ¼ cup plus 2 tablespoons natural peanut butter
- 2 to 4 tablespoons water
- 1.5 ounces dark chocolate such as Hu Kitchen
- 2 tablespoons chopped nuts (coconut flakes, bee pollen, or cacao nibs) optional
Instructions
- Add the pumpkin seeds, oats, and hemp hearts to a food processor. Blend until coarse and mealy.
- Add the pitted medjool dates and blend until broken down into small pieces.
- Add the collagen peptides and peanut butter. Blend until fully combined.
- Drizzle in 2 tablespoons of water and blend again. Add more water as needed until the mixture starts to clump together.
- Transfer the mixture to parchment paper and press into a rectangle about 4.25 x 10 inches.
- Melt the dark chocolate in a heatproof bowl set over a small pot of simmering water. Stir until smooth.
- Spread the melted chocolate evenly over the bars. Add optional toppings if using.
- Chill in the refrigerator for 30 minutes, or until set.
- Slice into 8 bars with a sharp knife.
Video
Notes
- The oats will continue to absorb moisture as the bars are stored, so it’s better to err on the side of a mixture which is sticky (I found 3 tbsp of water perfect for my bars).
- Use dates which are nice and moist as they’ll break down more easily and help the bars stick together.
- The mixture should hold together when pressed between your fingers before shaping.
👉 Like this and want to save it for later? Tap the Pinterest Pin button below—it’s an easy way to keep it on hand when you need it.